The mai vang (yellow apricot) bonsai in an upright style is one of the most admired forms in Vietnamese ornamental tree culture. With its straight trunk reaching skyward like a noble figure, the upright mai vang bonsai is not only visually striking but also carries deep feng shui meaning — symbolizing integrity, steadfastness, and prosperity. Mastering the mai vang bonsai upright style shaping process requires solid technique, the right timing, and patient long-term care. This guide walks you through every step.
What Is the Upright Style in Mai Vang Bonsai?
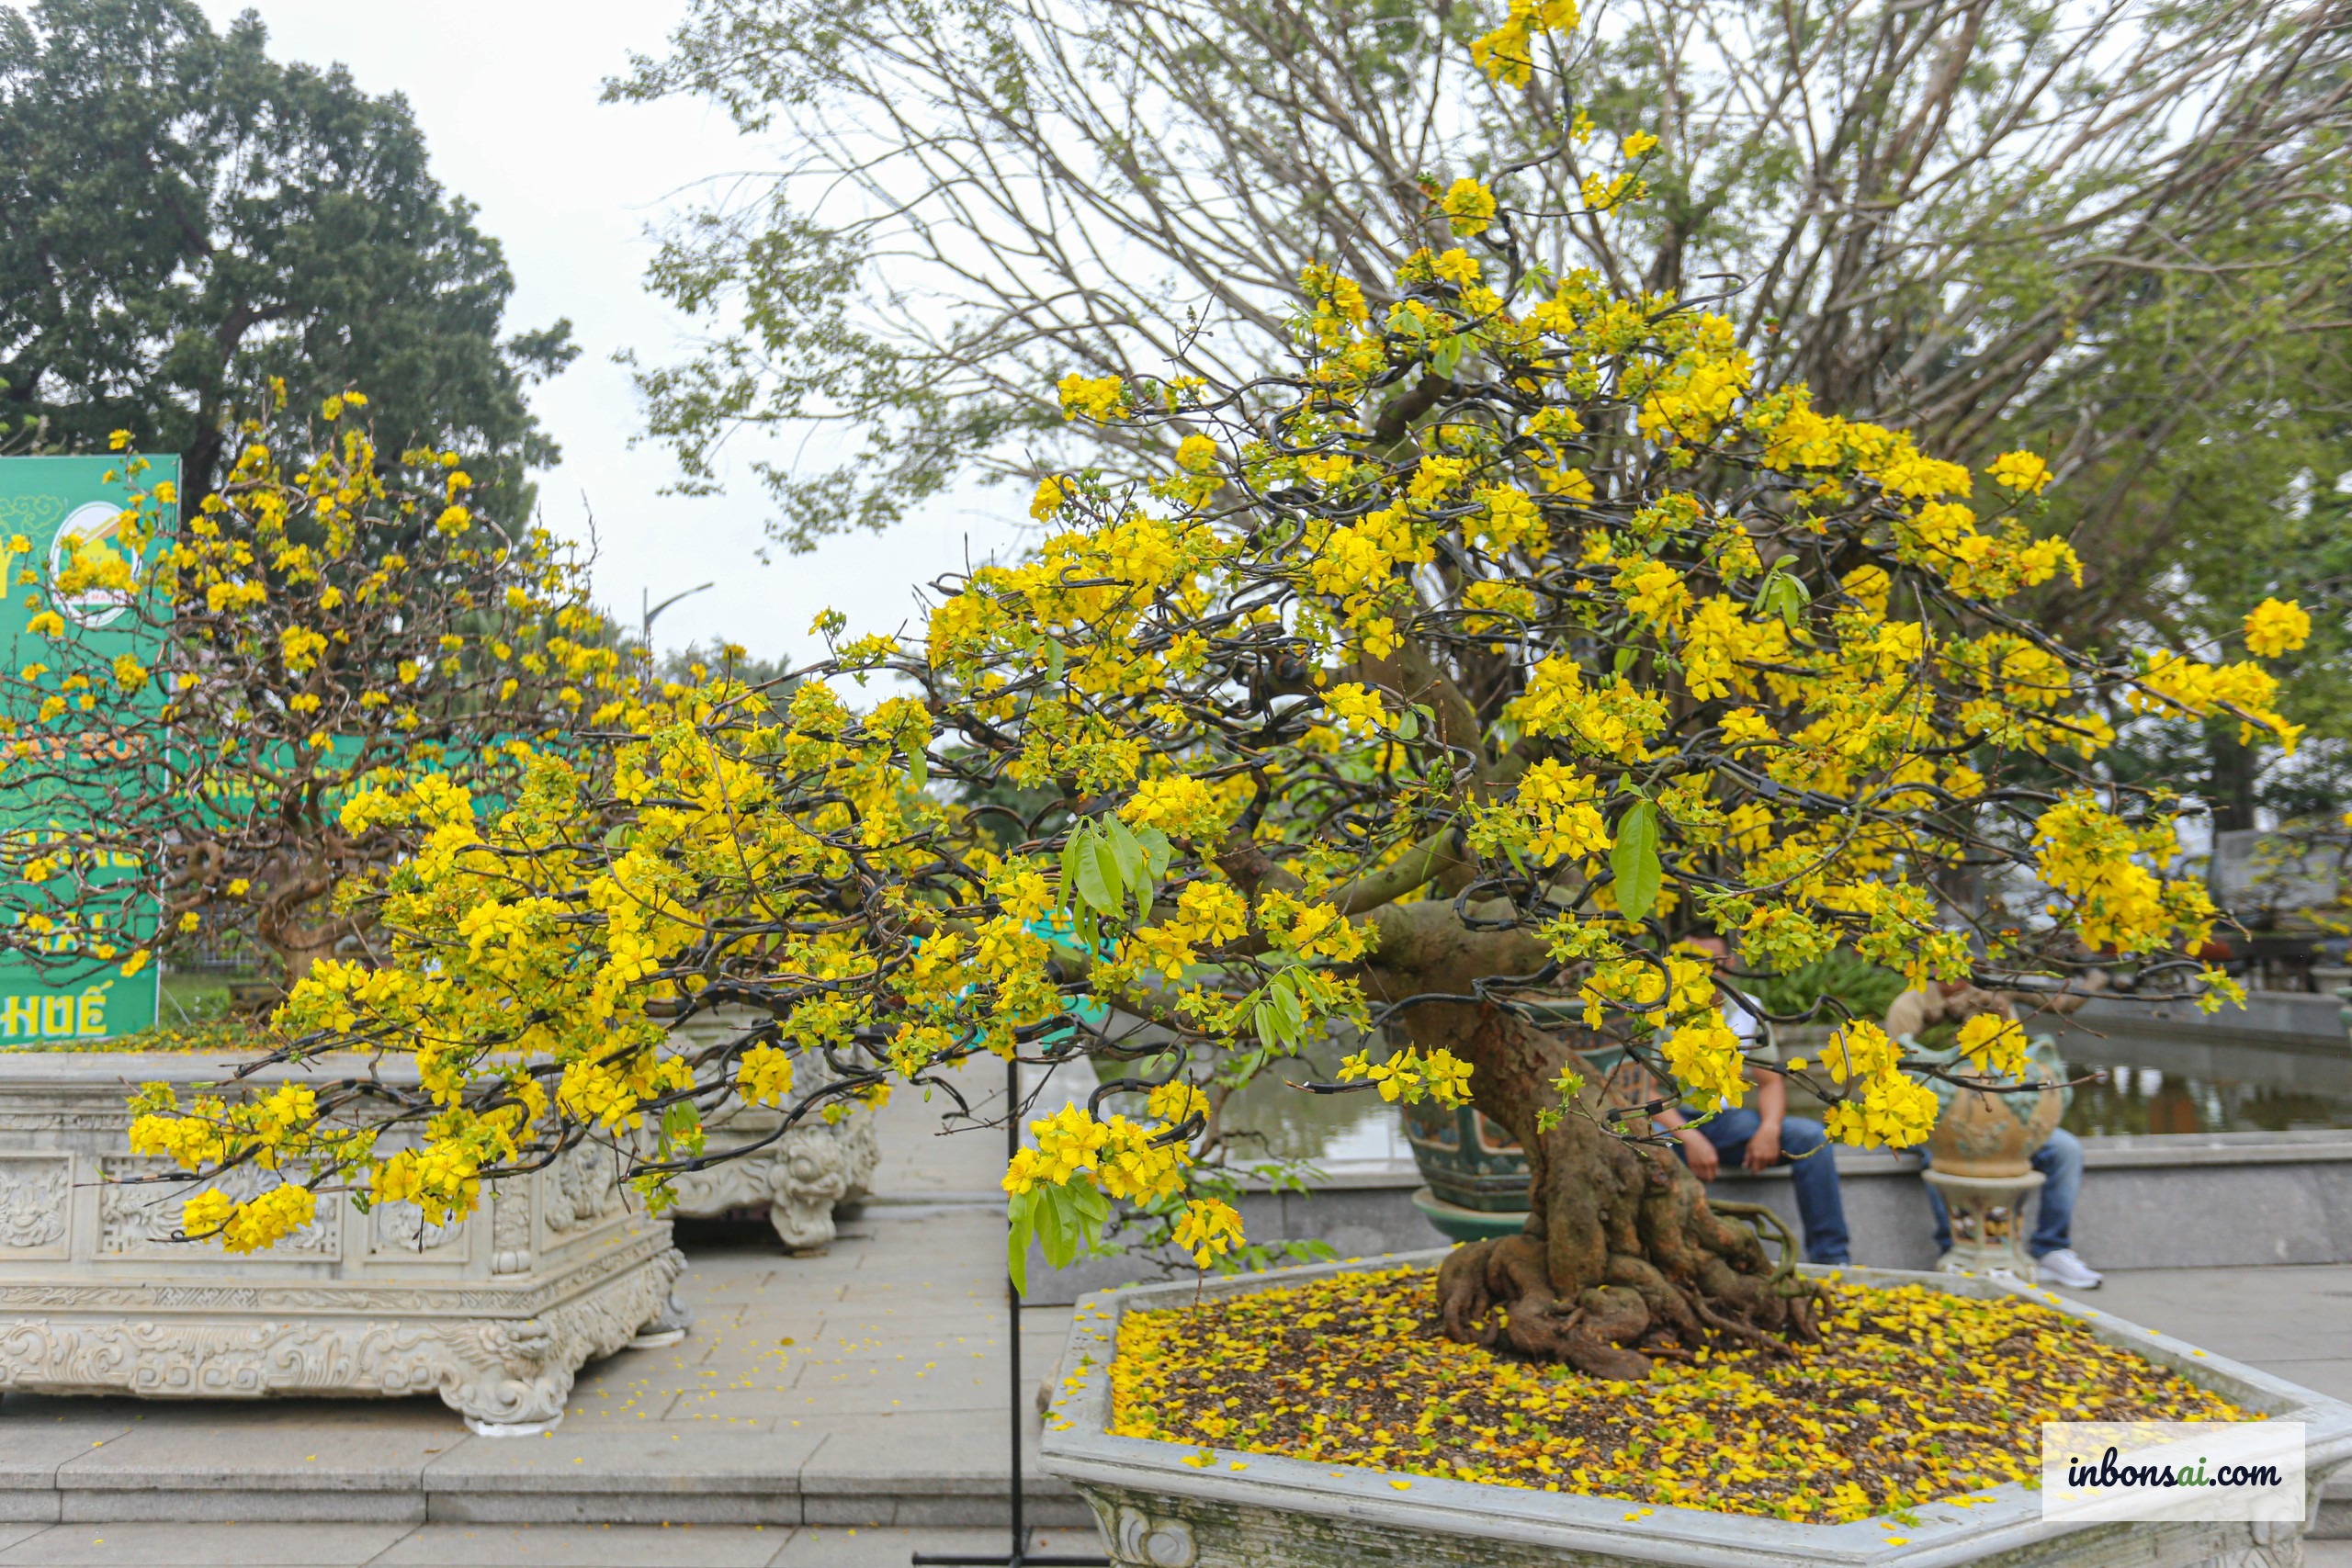
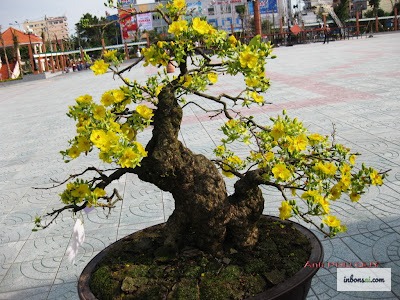
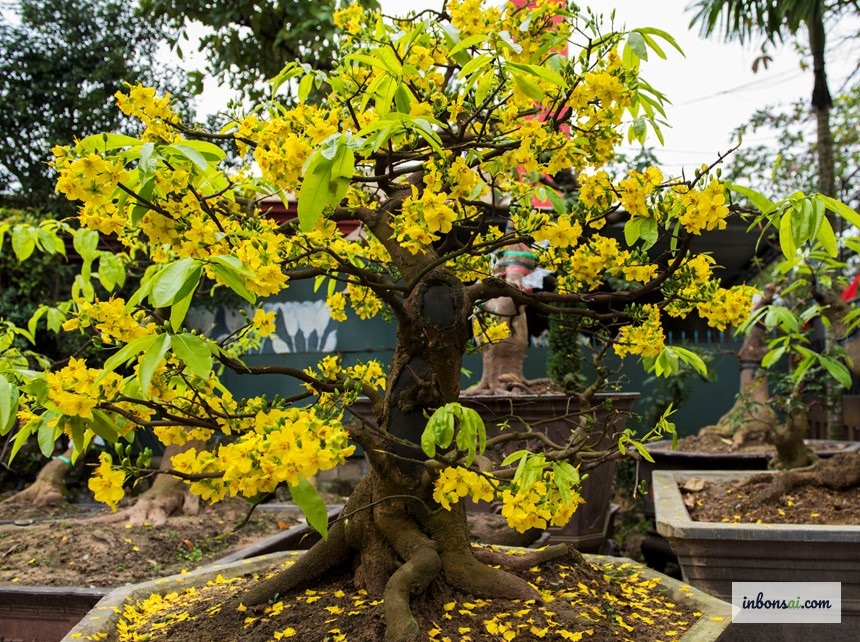
The upright style — known as Chokkan in Japanese bonsai terminology — is one of the most classic and widely admired bonsai forms. When applied to mai vang, the upright style expresses a sense of soaring strength and stability, like the image of a noble figure standing tall beneath the open sky. The trunk rises straight, tapering naturally from base to apex, with branches distributed harmoniously on both sides to form a balanced triangular silhouette.
The upright style falls into two main categories: the formal upright (Chokkan), where the trunk is completely straight, and the informal upright (Moyogi), where the trunk gently curves yet still reaches upward. In Vietnamese mai vang bonsai culture, the upright style is especially prized because it embodies the virtues of integrity and nobility — making it ideal for display in living rooms or as a feng shui ornament.
Successfully shaping a mai vang bonsai into a beautiful upright form demands not only technique but also patience and time. Practitioners need to understand how mai vang grows so they can intervene at the right moment without harming the tree. For a broader overview of mai vang styles and their feng shui significance, see 10 Most Beautiful Mai Vang Styles before beginning.
Choosing the Right Mai Vang Tree for the Upright Style
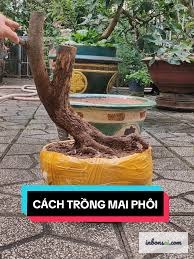
Selecting the correct raw material is the foundational step that determines a large share of the bonsai's ultimate success. Not every mai vang tree is suitable for the upright style — you need to look for specific characteristics.
Trunk criteria: The ideal trunk for the upright style should naturally grow in an upright or only slightly tilted direction (less than 15 degrees from vertical). The base diameter should be at least 3–5 times greater than the apex to create a sense of solidity. The bark should have attractive texture without large unsightly scars or damage.
Root criteria: The nebari (surface roots) should spread evenly in all directions around the base, gripping the soil firmly with no broken or rotted roots. Beautiful nebari gives the tree a grounded, powerful appearance that greatly enhances the upright style.
Branch criteria: Look for a tree with at least 3–4 healthy primary branches distributed across different height zones. The first (lowest) branch typically sits at about one-third of the trunk's height — this "foundation branch" defines the tree's overall proportions.
Age and size: Mai vang trees aged 3–7 years are ideal for beginning upright style training. Trees that are too young have soft, flexible trunks that can distort unpredictably; trees that are too old have rigid trunks that are difficult to shape and prone to cracking. If you are a beginner, native mai vang varieties (Binh Dinh yellow apricot or central Vietnamese apricot) are recommended as they are hardier and easier to train.
Essential Tools to Prepare Before Shaping
Having the right tools prepared before you begin shaping is critical. Proper tools make the work easier while protecting the tree's health.
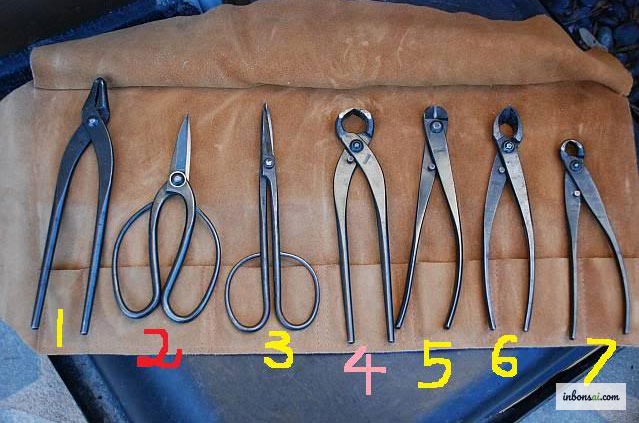
Aluminum bonsai wire: This is the most important tool for shaping the mai vang upright form. Aluminum wire is malleable, rust-resistant, and not so rigid that it damages bark. Prepare multiple gauges from 1mm to 3mm depending on the thickness of the branch being shaped.
Bonsai scissors: You need at least two types — fine scissors (pruning scissors) for trimming small branches and leaves, and a concave branch cutter for removing unwanted primary branches. Sharp, clean cuts mean wounds heal faster and reduce the risk of fungal infection.
Appropriate bonsai pot: Choose a pot with a height roughly one-third to one-quarter the height of the tree. Adequate drainage holes are essential. Neutral-colored pots (earth brown, gray, moss green) work best as they do not compete with the tree's visual impact.
Bonsai soil mix: A blend of akadama, pumice, and perlite in a 5:3:2 ratio is ideal for mai vang. Well-draining soil encourages strong root development and prevents waterlogged, rotting roots.
Cut paste (wound sealant): Apply to any cut larger than 1cm in diameter to keep out fungal spores and accelerate healing. This step is often overlooked by beginners but is essential. Additional supplies include raffia tape to protect bark under wire, support stakes if needed, a fine-rose watering can, and a comfortable working table.
Upright Style Shaping Technique for Mai Vang Bonsai
This is the most technically demanding phase of the shaping process. The ideal time to shape mai vang into the upright style is between February and April — after flowering, when the tree is in active growth, wounds heal quickly, and branches are still relatively flexible.
Step 1 — Sketch the design: Before cutting or wiring anything, step back 2–3 metres and observe the entire tree from multiple angles. Identify clearly: which face shows the best front view, which branches to keep, and which to remove. Use temporary ties to preview the planned form before committing.
Step 2 — Remove unnecessary branches: Cut away branches growing inward, directly opposite pairs at the same height, downward-facing branches, and overly thick branches near the apex. Cuts should be flush with the trunk, leaving no stubs. Immediately apply cut paste to any wound larger than 1cm.
Step 3 — Shape the main trunk: If the trunk needs a slight angle correction (for Moyogi), wrap 3mm aluminum wire in a spiral from the base upward at approximately 45 degrees. Bend slowly and evenly — never force an abrupt bend as this causes splitting. Check daily and adjust as needed.
Step 4 — Set the primary branches: Wire and shape each primary branch individually. The lowest branch should angle horizontally or slightly downward; middle-tier branches extend horizontally; the apex branch points upward. Create a natural visual transition from bottom to top to give the tree depth. Importantly, do not attempt to complete all shaping in one session — spread the work over 2–3 sessions spaced 4–6 weeks apart to allow recovery time between interventions.
Caring for Mai Vang Bonsai After Upright Style Shaping
After shaping, the mai vang bonsai requires special care to recover and maintain its newly established form. This is the phase where many beginners become complacent, often resulting in a weakened tree or loss of the desired shape.
Watering: Increase watering frequency for the first 2–3 weeks after shaping. The tree has just undergone stress and needs stable moisture without waterlogging. Water in the early morning or late afternoon — never during midday heat.
Sun protection: Place the tree in diffused light (not direct sun) for the first 3–4 weeks. This reduces water loss through the leaves and allows the root system to focus energy on healing wounds.
Fertilizing: Delay fertilizing for at least 4–6 weeks after major shaping. Fertilizing too early stimulates overly vigorous new growth, which can cause wires to cut into bark or distort the newly established form. After the recovery period, apply a balanced NPK fertilizer (10-10-10) monthly.
Checking wires: Aluminum wire must be removed before it cuts into the bark — typically after 3–6 months depending on growth rate. Inspect every 2–3 weeks; when the bark begins to bulge around the wire, remove it immediately.
Maintenance pruning: Once the tree has settled into its upright form (usually after 1–2 years), maintain the style by regularly trimming new growth that deviates from the intended direction. For a detailed yearly care calendar including fertilizing, watering, and pruning schedules, see our guide to caring for mai vang after Tet.
Common Mistakes and How to Fix Them
Even experienced bonsai artists occasionally make errors when shaping mai vang in the upright style. Recognizing these pitfalls will save you considerable time and effort.
Mistake 1 — Bending too aggressively in one session: The most common beginner error, resulting in cracked or broken branches that cannot recover. Solution: bend a little at a time over multiple sessions without trying to reach the target angle immediately.
Mistake 2 — Forgetting to remove wire on time: Wire cutting into bark leaves permanent ugly scars and can kill a branch. Set phone reminders or keep a written log of wiring dates so you don't miss inspections.
Mistake 3 — Fertilizing too soon after shaping: As noted above, wait at least 4–6 weeks. Applying high-nitrogen fertilizer immediately after shaping triggers a flush of new growth that destroys the proportions you worked hard to create.
Mistake 4 — Creating perfectly symmetrical branches: Beautiful bonsai is not perfectly symmetrical — it should look natural. Avoid placing two branches at exactly opposite positions at the same height; offset them by at least 30–45 degrees.
Mistake 5 — Cutting without careful observation: Cut branches cannot grow back. Always observe the tree carefully from multiple angles — and consult a more experienced practitioner if unsure — before removing any major branch. For comprehensive guidance on overall mai vang styling principles, see creating beautiful forms for mai vang.
Tips for a Mai Vang Upright Bonsai That Improves With Time
Shaping a mai vang bonsai into the upright style is not a one-time project but a multi-year journey. Here are key insights to help your tree grow more refined over time.
Patience is the master key: A truly beautiful mai vang upright bonsai requires at least 5–10 years to fully mature. Do not rush. Each flowering season is an opportunity to observe, learn, and make incremental refinements to your living artwork.
Document with photos and notes: Photograph the tree from the same angle every 3 months to track its development. Keep written records of every intervention, its outcome, and lessons learned — this "bonsai journal" becomes an invaluable reference for the future.
Engage with the community: Join bonsai clubs and ornamental plant exhibitions to receive feedback and learn from experienced practitioners. An outside perspective often reveals things you cannot see when looking at your tree every day.
Never shape during the flowering season: From the 11th to the 2nd month of the lunar calendar, the tree is accumulating energy for its flowers. Never perform major pruning or wiring during this period — doing so will compromise that year's flowering display.
Mind proportions and negative space: The beauty of bonsai lies not only in its branches and foliage but also in the open spaces between them. Avoid an overly dense canopy — allow light to filter through, creating depth and visual breathing room that invites the eye to fully appreciate the tree.
With patience, sound technique, and genuine care for the living material, you can create a mai vang bonsai in the upright style that is both aesthetically beautiful and artistically significant. The journey of shaping mai vang is not merely tending a tree — it is nurturing a living work of art where nature and human craft unite to create something that transcends time.
Tags
#mai-vang#upright-style#bonsai-shaping#bonsai-techniqueGet bonsai guidance every week.
Fresh care guides, styling notes, and bonsai inspiration delivered to your inbox.

