Bonsai stem cutting is one of the most accessible propagation techniques, letting you create a new tree from your existing collection without spending extra money or waiting for seeds to germinate. Because it is a vegetative method, the new plant will inherit all the traits of the parent — growth habit, leaf shape, and branching pattern — making it a reliable way to reproduce a tree you love. This guide walks you through every step, from selecting the right cutting to caring for it until it can stand on its own.
What Stem Cutting Propagation Is and Why It Works
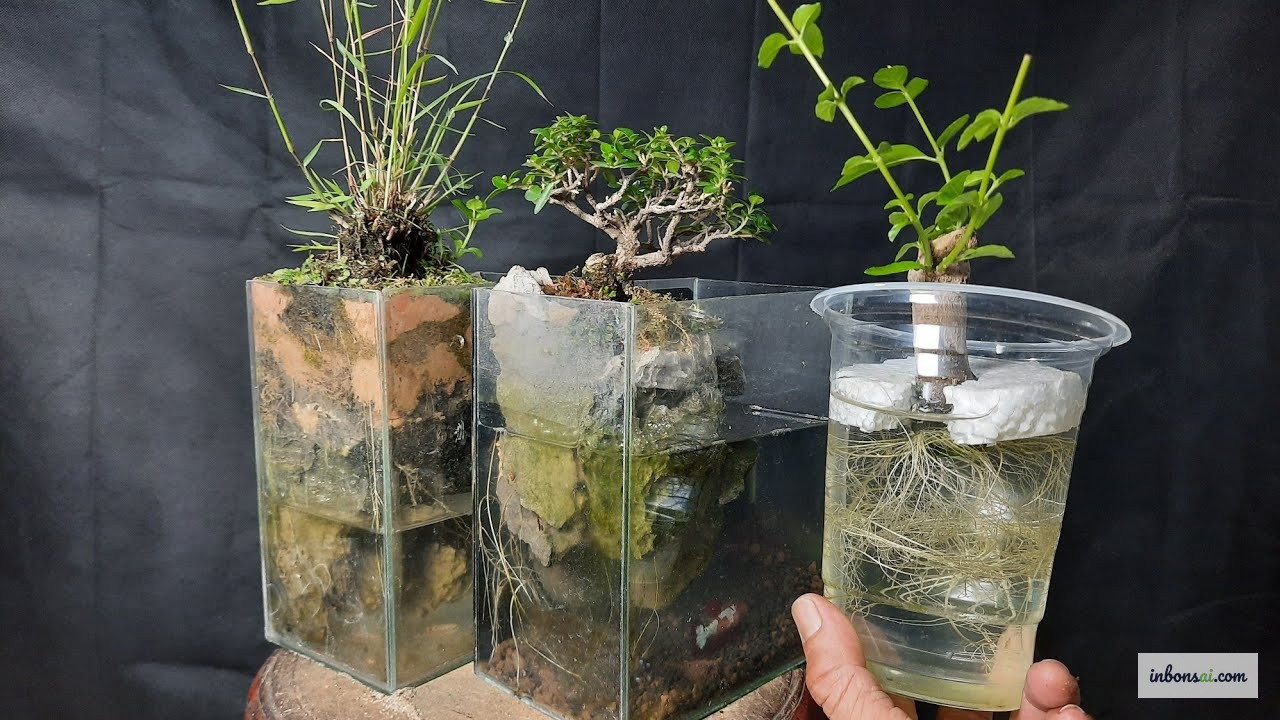
Stem cutting propagation involves removing a section of branch from the parent plant, treating it to encourage root formation, then planting it in a growing medium until a full root system develops. Since no genetic recombination occurs, the resulting plant is a true clone of the parent.
Compared to air layering, stem cuttings require far less preparation — no bark removal, no moss ball, no wire. You simply cut, treat, and plant. This makes it ideal for beginners and for anyone wanting to propagate many cuttings at once. It also gives you a practical use for branches removed during routine pruning sessions, turning waste material into new trees.
The key to success lies in three factors: timing the cutting correctly, maintaining humidity during the rooting phase, and using the right growing medium. Get these right and you can achieve survival rates of 70–90% with cooperative species.
Selecting the Right Branch for Stem Cuttings
Not every branch is suitable. Choosing correctly is the single most important variable in bonsai stem cutting success.
Semi-hardwood cuttings are the gold standard. These are branches that have matured partially — no longer soft and floppy, yet not yet hard and woody. They are typically 2–4 months old, with a slightly brownish base and green upper growth. They root reliably and resist wilting better than fully soft cuttings.
Softwood cuttings (fully green, very new growth) root quickly but wilt easily if humidity drops even briefly. They work well for naturally vigorous species like Ficus, Portulacaria, and Serissa.
Hardwood cuttings (fully lignified wood) suit slow-rooting conifers. Expect 2–3 months before roots appear, but the resulting trees are robust.
The ideal cutting is 8–15 cm long, has at least 2–3 leaf nodes, and is 3–6 mm in diameter. Too thin and it desiccates before rooting; too thick and the cutting cannot be sustained by the young roots.
Preparing Tools and Growing Medium
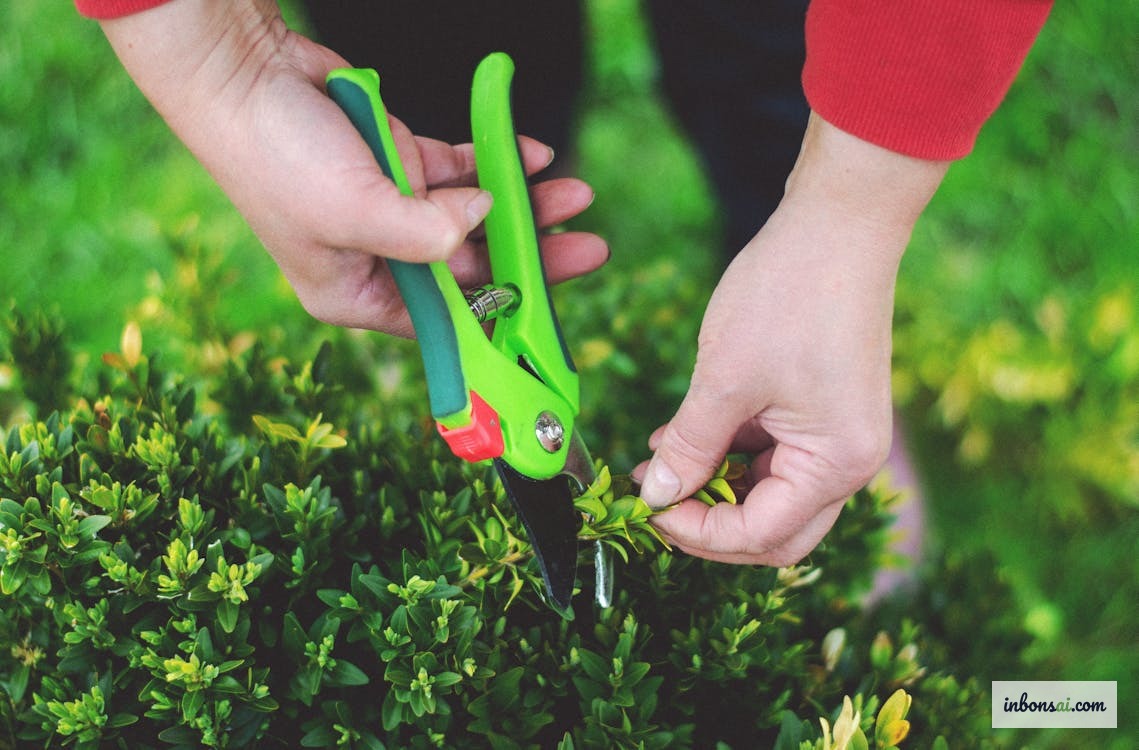
Good preparation raises your success rate before you even make a cut.
Tools you will need:
- Sharp scissors or a grafting knife sterilized with 70% rubbing alcohol
- Small pots or seed trays with drainage holes
- A clear plastic bag or humidity dome
- IBA (indole-3-butyric acid) rooting hormone in powder or gel form
Growing medium must be free-draining, moisture-retentive, and loose enough for fragile new roots to penetrate. A reliable mix is:
- 50% coarse sand or perlite
- 30% coco peat
- 20% pumice
Avoid garden soil entirely — it is too dense, tends to compact, and introduces pathogens. If you want to learn more about the right soil composition for different stages of bonsai development, the beginner's guide to bonsai covers this in depth.
Bonsai Stem Cutting Technique Step by Step
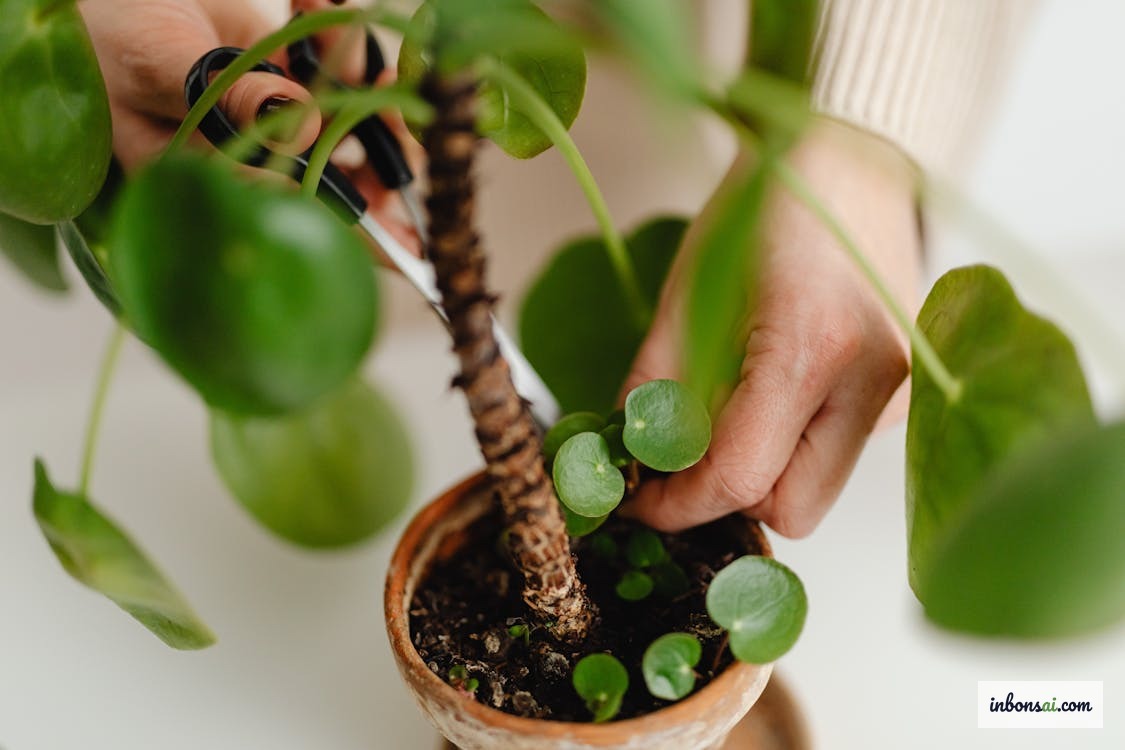
This is the core of successful propagation — follow each step carefully for the best results.
Step 1: Take the cutting at the right time
Cut in the early morning when the plant is well-hydrated. Use a clean, sharp blade to make a 45° angled cut just below a leaf node — this area naturally concentrates rooting hormones. The cut surface must be clean, not crushed or torn.
Step 2: Prepare the cutting
Remove all leaves from the bottom third of the cutting to reduce water loss. Keep 2–4 leaves at the top for photosynthesis. If leaves are large, trim them to half their area. Using a knife, lightly scrape a 1–2 cm section of bark near the base to expose the cambium layer — this encourages callus tissue and accelerates root initiation.
Step 3: Apply rooting hormone
Dip the base briefly in water, then dust it lightly with IBA powder. Tap off excess — a thin, even coat is sufficient. Too much can inhibit rooting.
Step 4: Insert into the growing medium
Pre-moisten your growing medium, then use a pencil or skewer to create a hole before inserting the cutting. Never push the cutting in directly, as this scrapes off the hormone coating. Insert to one-third of the cutting's length and firm the medium gently around it.
Step 5: Create a humidity chamber
Cover the pot with a clear plastic bag or dome to retain moisture. Place in bright, indirect light — avoid direct sun, as heat inside the dome can damage the cutting. Check every 2–3 days and mist lightly if the medium surface begins to dry.
Caring for Cuttings After Planting
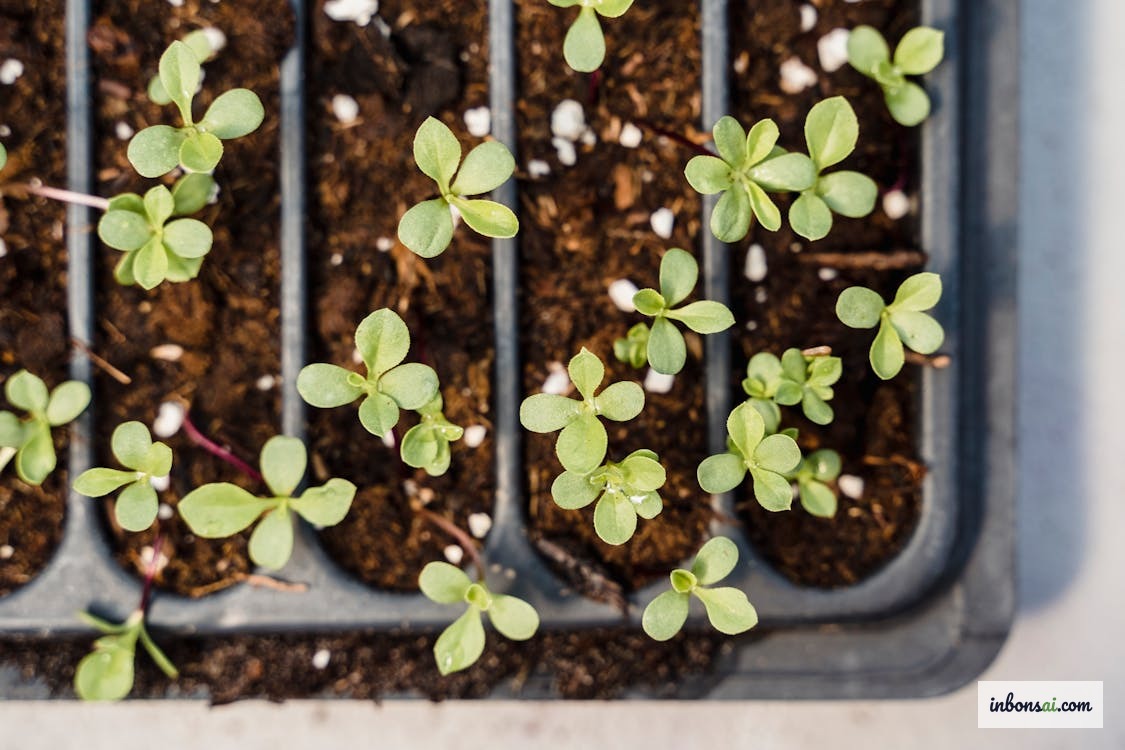
The period from planting to rooting typically lasts 3–8 weeks depending on species. This is when careful observation matters most.
How to check for roots without disturbing them: Never pull the cutting up to check — this tears delicate new roots. Instead, watch for indirect signs: new leaf growth, consistently fresh color, and no wilting even on warm afternoons. After 4–6 weeks, apply gentle upward pressure — resistance indicates roots have formed.
Gradual acclimatization: Once new leaves appear, begin opening the humidity dome slightly each day over 5–7 days. Removing it suddenly exposes the cutting to low humidity it cannot yet handle, causing rapid wilting.
Watering and feeding: Keep the medium evenly moist but never waterlogged. Hold off on fertilizer entirely until 2–3 months after rooting — young roots are extremely sensitive to mineral salts.
Potting up: When roots begin emerging from drainage holes, it is time to move to a larger container. Handle gently, use bonsai-appropriate soil for the species, and provide light shade for the first week after repotting.
Easiest Bonsai Species for Stem Cuttings
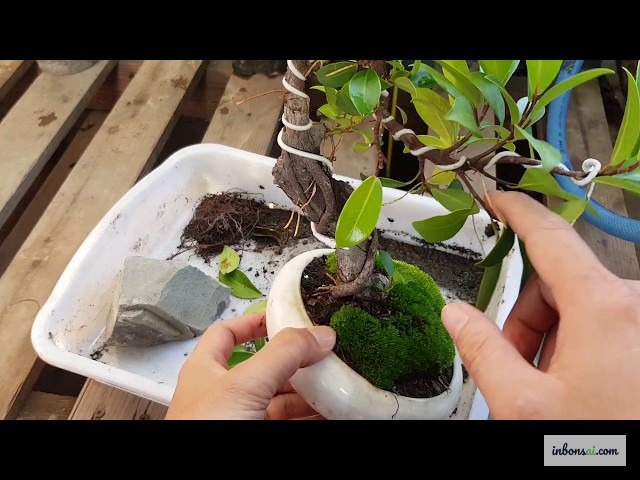
Some species are particularly forgiving, making them perfect for practicing your technique.
Ficus (fig trees): The easiest group of all. Almost any cutting will root, and you can even pre-root cuttings in a glass of water before planting. Success rates can reach 90%.
Murraya paniculata (Orange Jasmine): Semi-hardwood cuttings root in 3–4 weeks. This species is very popular in Vietnamese bonsai culture and an excellent choice for practice.
Portulacaria afra (Elephant Bush): Set and forget — simply stick a cutting in the soil and it will almost certainly root. Let the cut end dry for 1–2 days before planting to prevent rot.
Duranta, guava, and Taiwan banyan: Root readily within 3–5 weeks in good humidity.
Harder species like juniper, cypress, and pine require fully hardwood cuttings and may need 3 months to root, but they are entirely achievable once you have the fundamentals down.
Common Mistakes and How to Fix Them
Even with a simple technique, some pitfalls trip up beginners. Here is what to watch for:
Cutting wilts and dies within a few days: Insufficient humidity. Check the dome for gaps, mist the leaves daily, and move the pot out of direct sun.
Base rots: The medium is too wet, or the cutting tool was contaminated. Next time, squeeze the medium first — it should feel damp but not drip. Sterilize your blade before every cutting session. If caught early, trim the rotted section, let the cutting dry for 30 minutes, and try again.
Cutting stays green for weeks but never roots: The cutting is surviving on stored reserves but struggling to root. Try a higher-concentration rooting hormone, or switch to pre-rooting in water. You may also consider air layering as an alternative when stem cuttings consistently fail.
Cutting roots but dies after transplanting: Repotted too early, or the new soil was too nutrient-rich. Wait until the root mass is dense and visible, use low-nutrient soil, and keep in gentle shade after the move.
Beyond technique, timing matters enormously. Spring and early summer — when the plant is in active growth and natural hormone levels are high — are the best windows for taking cuttings. Avoid propagating in winter or during drought stress, when trees are in a dormant or weakened state.
Don't be discouraged by early failures. Stem cutting is a skill that improves with every attempt. Combined with the fundamentals from the basic bonsai pruning guide, mastering this technique gives you a genuinely powerful toolkit for building and expanding your bonsai collection on your own terms.
Tags
#stem-cutting#bonsai-propagation#bonsai-techniques#bonsai-for-beginnersGet bonsai guidance every week.
Fresh care guides, styling notes, and bonsai inspiration delivered to your inbox.