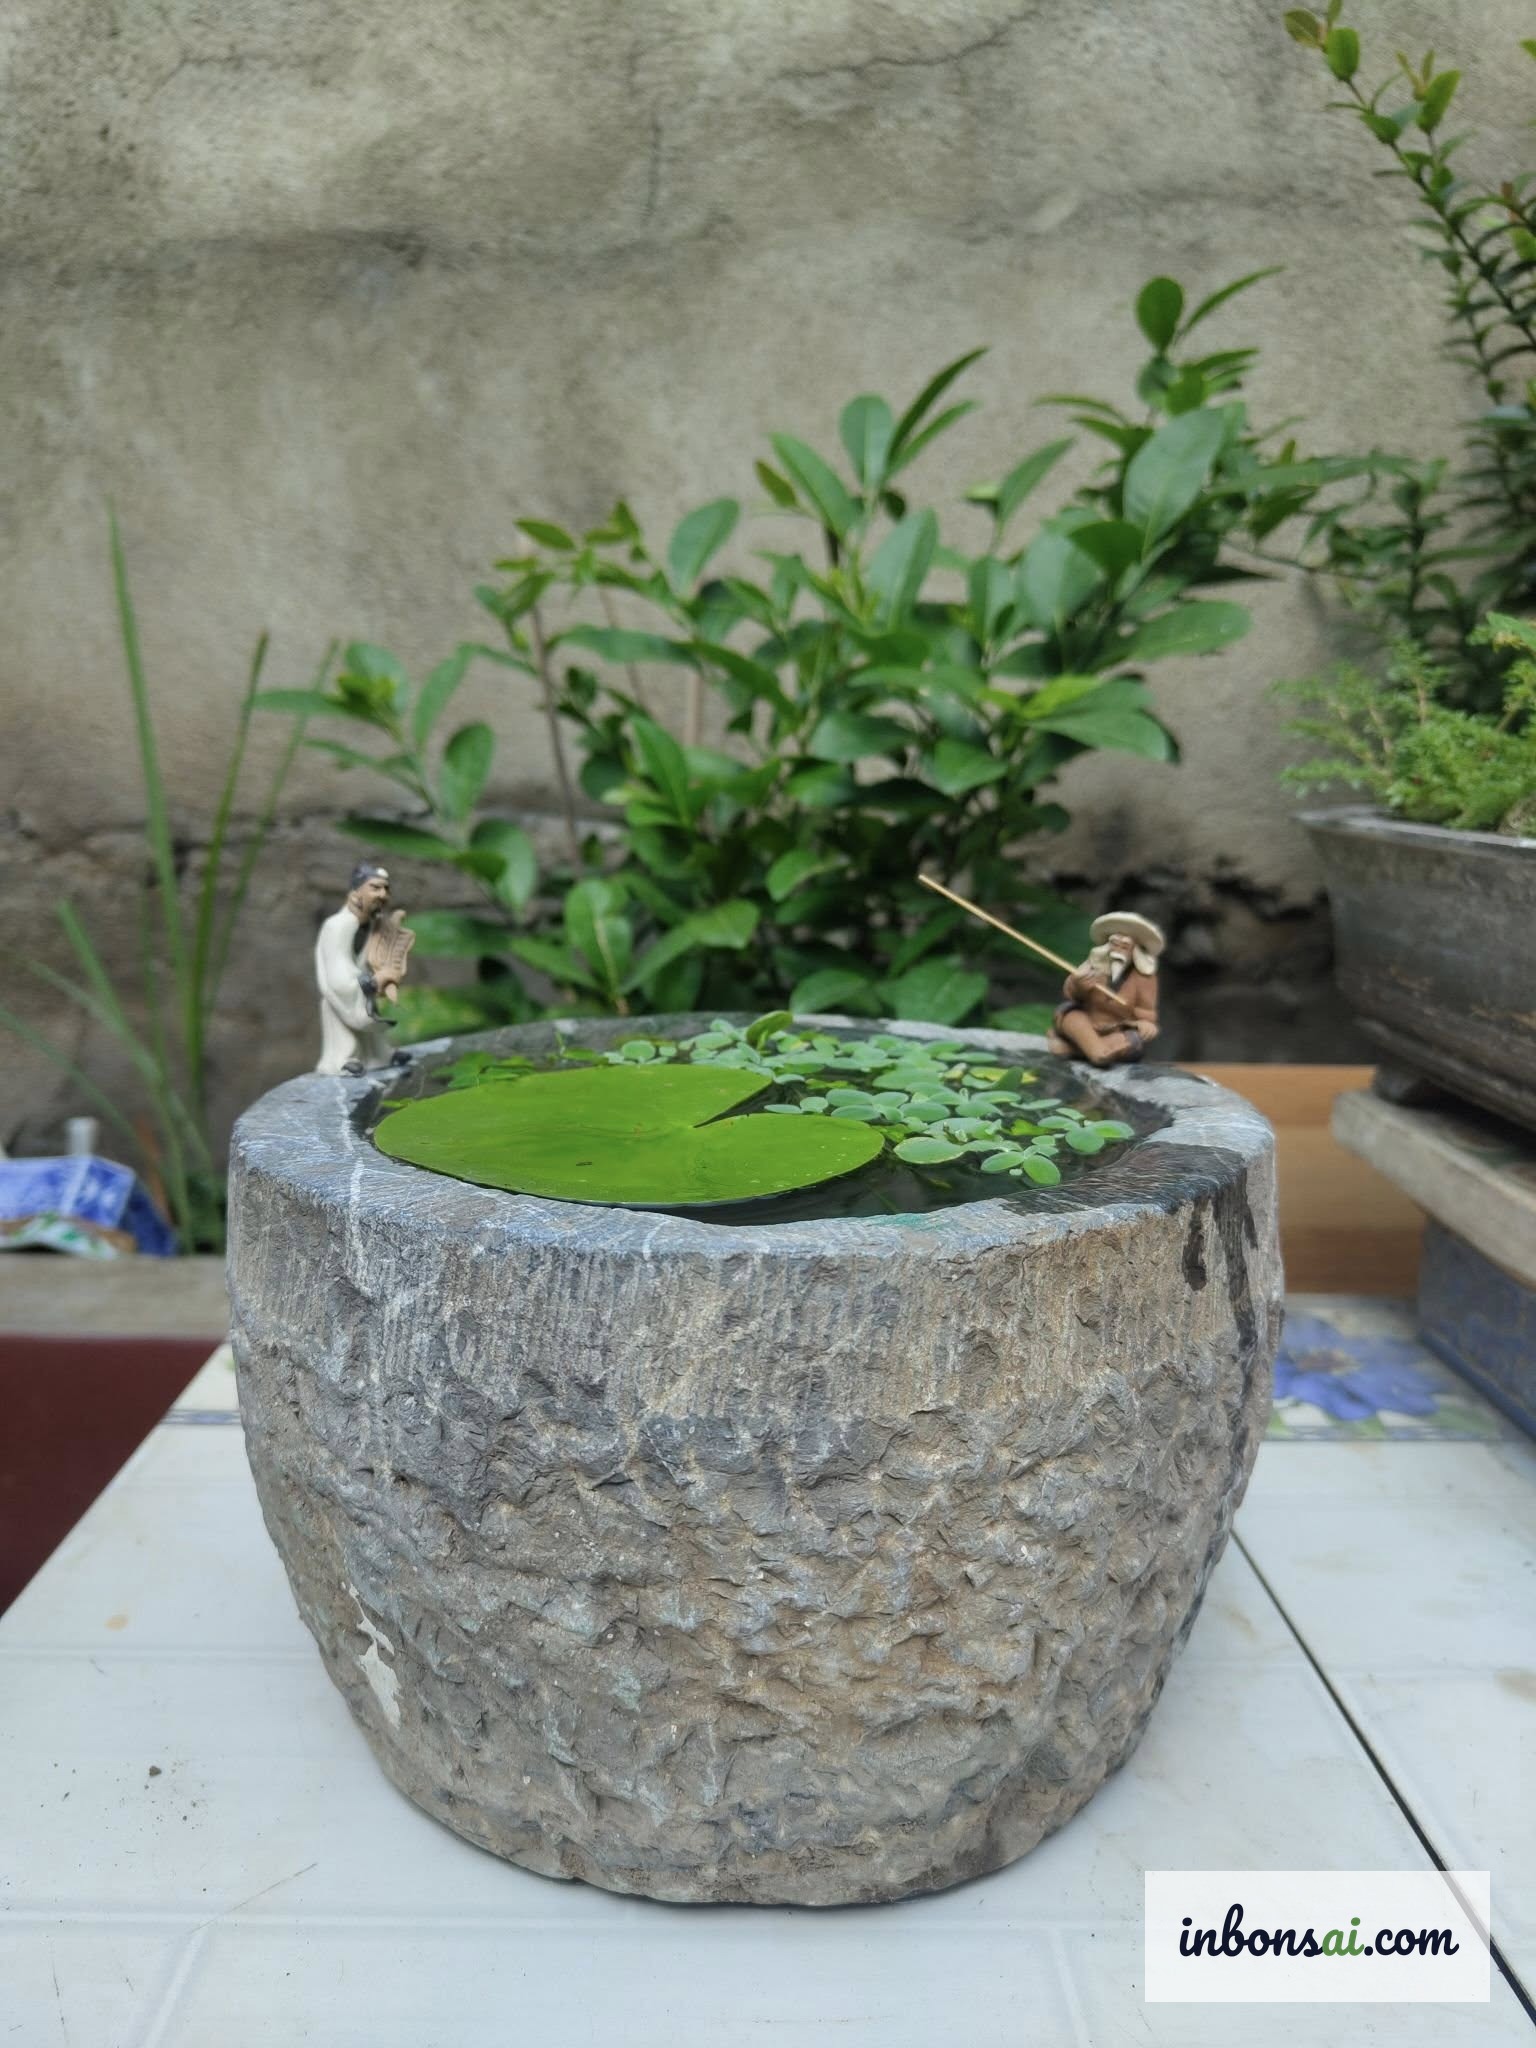
Looking for a way to recycle an old stone mortar into a one-of-a-kind classic-garden bonsai pot? This trend is gaining ground among Vietnamese bonsai artists because it both saves money and brings an aged, mossy character no new pot can match. In this guide, I'll walk you step-by-step through choosing, processing, and styling a recycled stone mortar as a bonsai pot — from drilling drainage holes to growing a natural moss patina.
Old rice-pounding mortars and flour-grinding mortars left over in rural northern and central Vietnam used to be everyday tools in grandparents' homes. When no longer used, they're often tucked in a corner of the yard or sold as scrap. But to a bonsai enthusiast with an artistic eye, every stone mortar is a natural sculpture — pitted surfaces, decades of wear, a dark gray tone laced with green moss — all of it builds the kind of "aged" quality that mass-produced ceramic pots simply can't replicate.
Why recycled old stone mortar bonsai pots are so loved
A recycled old stone mortar bonsai pot in a classic garden has three advantages industrial pots struggle to match. First, the aesthetic of time: the stone has been used for decades, sometimes centuries, so its surface carries wear marks, fine cracks, and a deeply nostalgic color palette. When you set a bonsai on top, the whole composition feels like "tree and pot aged together" — the most important aesthetic principle in East-Asian bonsai art.
Second is physical durability. Natural stone is dense, weathers all seasons without cracking, and never fades like plastic or molded concrete. A rice-pounding mortar from your grandparents' era can easily serve another 50–100 years if processed correctly.
Third is sustainability. Recycling old objects reduces waste, saves resources, and gives the mortar a "new life." Many artists in Bắc Ninh, Nam Định, and Quảng Ngãi now hunt for old stone mortars at antique fairs for around 200,000–800,000 VND depending on size — far cheaper than importing premium Japanese ceramic pots.
How to choose the right old stone mortar for a bonsai pot
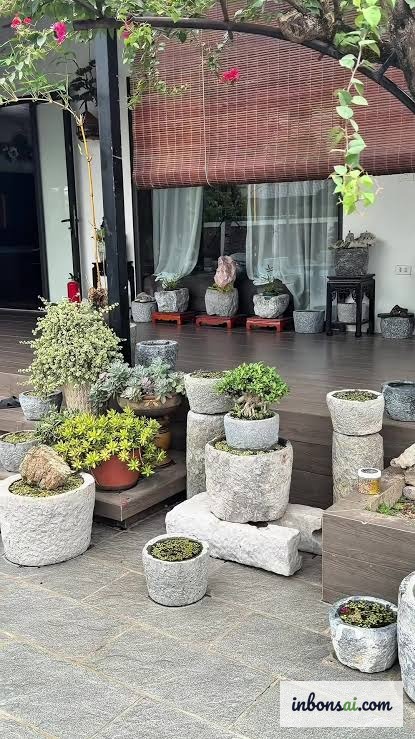
Not every stone mortar suits a bonsai. When shopping, evaluate four concrete criteria:
Opening diameter and depth: Aim for a 25–60 cm opening depending on the bonsai you intend to plant. Ideal depth is 15–25 cm. Too shallow and roots can't develop; too deep and roots stay waterlogged. A safe rule is depth equal to about one-third of the canopy height.
Stone material: Prefer granite, Thanh Hóa green stone, or laterite — they're hard and resist water seepage. Avoid overly porous marble, which mineral salts from fertilizer can erode.
Cracks and damage: Inspect the bottom and walls carefully. Small cracks on the outer wall are fine (and often add to the antique look), but cracks running through the base disqualify the piece — it will fail when moved.
Natural moss patina: A mortar already mossy on the outside is a big plus. Don't scrub it too aggressively — you'll erase years of natural aging that you can't recreate.
How to process an old stone mortar before planting bonsai
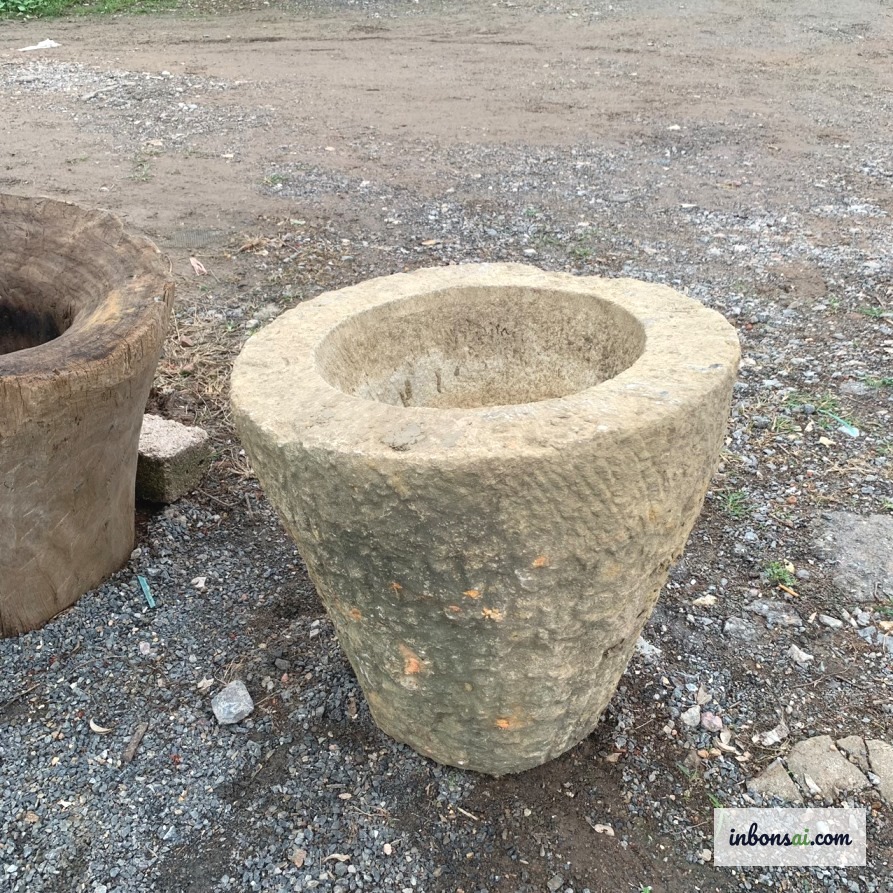
An old mortar usually carries flour residue, food grease, and sometimes mold. The processing routine goes like this:
Step 1 — Pressure rinse: Use a pressure washer on both the inside and outside walls. The goal is to clear soil, fine dust, and crumbs stuck inside small crevices.
Step 2 — Soak in limewater for 48 hours: Mix 0.5 kg slaked lime (Ca(OH)₂) into 20 liters of water and submerge the mortar. Lime kills fungus, removes odors, and neutralizes acids from old food. After 48 hours, rinse thoroughly with clean water.
Step 3 — Sun-dry for 3–5 days: Place the mortar upside down in strong sun to kill remaining microbes and dry the interior completely. This step is critical to prevent mold returning once you fill it with soil.
Step 4 — Leak test: Fill the bowl with water and leave for 24 hours. A noticeable water drop means hidden cracks — seal with stone-rated epoxy or discard. Slow seepage through the base is normal, since stone is mildly porous.
How to drill drainage holes in the stone mortar
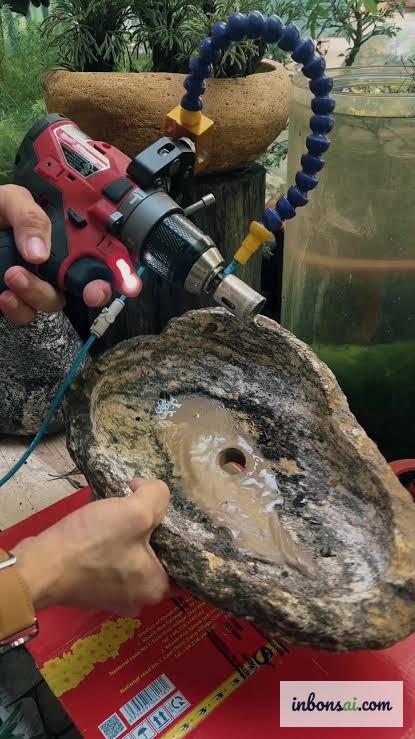
This is the hardest technical step in recycling an old stone mortar as a bonsai pot — a single mistake can shatter the piece. You'll need: a drill rated at 800W or higher, a 12–20 mm diamond core bit, water for cooling, and safety gear.
Drill position: Drill on the bottom, slightly off-center to avoid structural weak points. For mortars over 40 cm in diameter, drill 2–3 holes spaced evenly.
Drilling technique:
- Place the mortar on a flat surface with a rubber pad to dampen vibration.
- Drill at low RPM (500–800), with moderate pressure — never push hard.
- Continuously drip water onto the drill point to cool the bit and prevent heat fractures. This is the single most important rule.
- As the bit nears breakthrough, ease off pressure to avoid chipping the rim of the hole.
- Once drilled, place a plastic mesh or shard of pottery over the hole before adding soil so the soil doesn't wash out.
If you don't own a diamond drill, use a workaround: prop the mortar on four bricks for ground clearance, then chisel a side drainage channel near the base using a traditional stone chisel. Slower, but safer for old or brittle stone.
Pairing bonsai trees and arranging in a classic garden
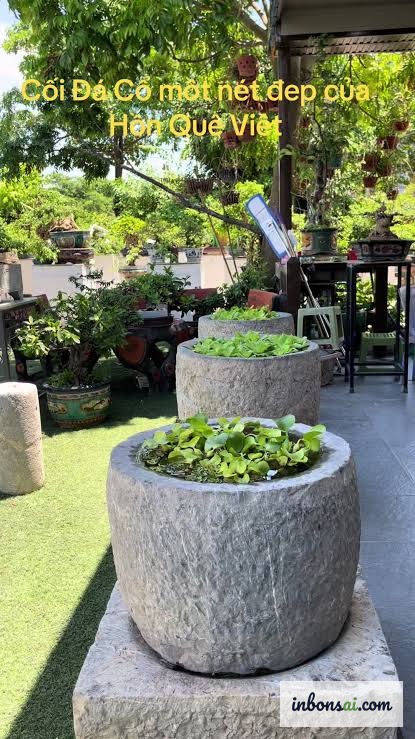
A recycled stone mortar suits natural, wild-style bonsai better than rigid geometric forms. A few pairings that work:
Cascade and literati styles: Buddhist pine, Nam Điền banyan, and Sông Mây fir paired with a wide-mouthed mortar showcase trunk and branch lines beautifully. A tree-to-mortar-diameter ratio of 2 to 2.5 is most elegant.
Small-flowered trees: Water jasmine (Wrightia religiosa), Aglaia odorata, and orange jasmine all show white blooms beautifully against gray stone, without being overwhelmed.
Stone-plus-tree saikei: If the mortar is wide enough (over 50 cm), build a tiny mountain scene with one or two compact bonsai and ground-cover moss — the saikei style is very popular right now.
Garden placement: put the mortar where it gets morning light (east or southeast) and away from direct strong wind. Base it on a flat slab of stone or aged wood to enhance the classic feel. Avoid placing it on flat concrete — that breaks the nostalgic mood.
Preserving and growing natural moss on the stone mortar
To make your recycled stone mortar bonsai pot better-looking with time, follow three rules:
Accelerate moss growth: Mix unsweetened yogurt with water at a 1:3 ratio, brush it onto the outside walls in a shady, humid spot. In 4–6 weeks, moss appears naturally as a beautiful green patch. See more options in our moss growing technique guide.
Winter protection: In northern Vietnam, temperatures below 5°C combined with water trapped in stone crevices can crack the mortar from freeze expansion. Tilt the mortar when not planted so water drains fully, or cover it with a tarp on coldest nights.
Routine cleaning: Every six months, gently brush outside walls with a soft brush to remove dust while preserving the moss. Never use harsh chemical cleaners — they kill the moss and strip the patina that took years to build.
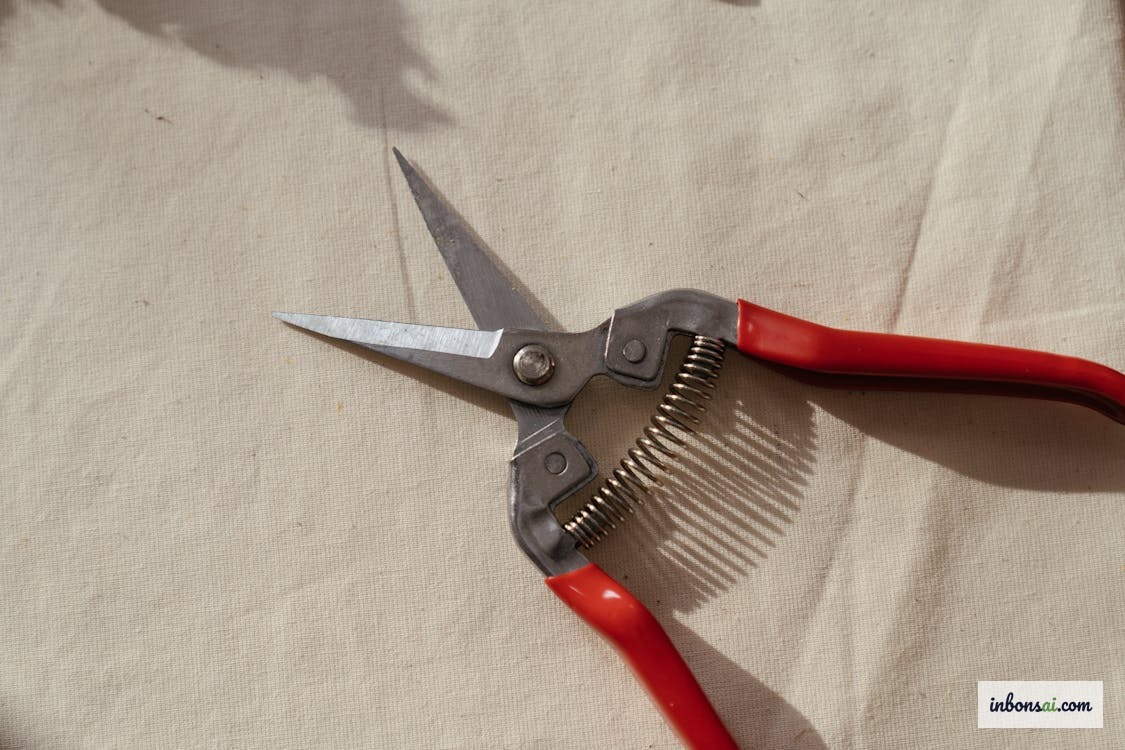
Avoid sharp metal tools when working soil or pruning roots inside, since they scratch the stone. Use a proper bonsai pruning shears and a bamboo stick to work soil safely.
Conclusion
Recycling an old stone mortar into a classic-garden bonsai pot is more than a money-saving trick — it's a way to bridge Vietnamese cultural heritage with bonsai art. Every mortar carries its own story: a grandfather pounding herbal medicine, a grandmother grinding flour, the rural markets they came from. When you set a bonsai on top, you're not just planting a tree — you're nurturing a layer of history.
Start with a small, manageable mortar, process it carefully through the four steps above, drill drainage holes slowly and safely, and pair it with a bonsai whose form suits the stone. Within a few months of care, the mortar–bonsai duo will become the indispensable focal point of your classic garden corner.
Tags
#old-stone-mortar#stone-bonsai-pot#recycled-planters#classic-garden#bonsai-mossGet bonsai guidance every week.
Fresh care guides, styling notes, and bonsai inspiration delivered to your inbox.