Cascade Bonsai Style: A Beginner's Complete Guide
InBonsai Team
April 12, 2026 · 10 min read
Among the most dramatic bonsai styles, the cascade style (Kengai) captivates with branches cascading far below the pot’s rim — evoking a tree clinging to a steep cliff face, shaped by gravity and wind over decades. Many beginners assume this style is too complex to attempt. In reality, with the right technique — from tree selection to post-styling care — you can create an impressive cascade bonsai on your very first try.
This guide walks you through the entire cascade bonsai styling process step by step, designed specifically for beginners approaching this spectacular style for the first time.
What Is Cascade Style? Differences from Semi-Cascade
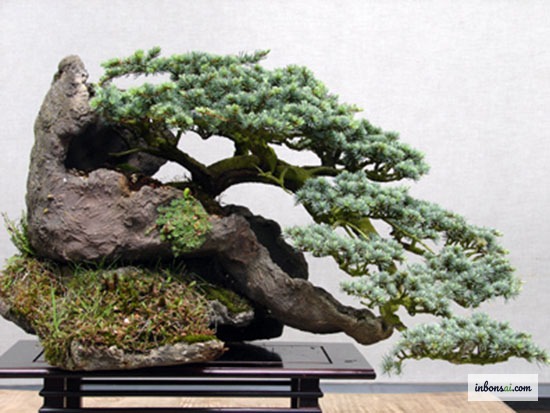
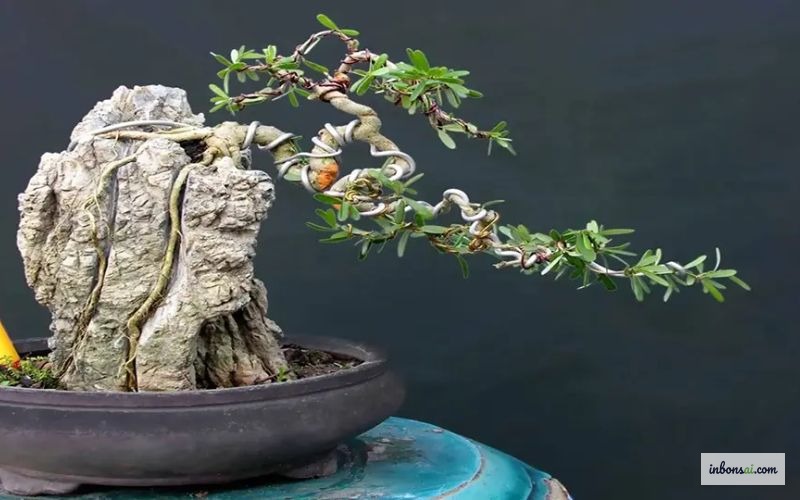
Cascade style (Kengai in Japanese) is a bonsai form where the lowest point of the tree — typically the apex or a primary branch — extends below the bottom of the pot. This is the key difference from semi-cascade (Han-Kengai), where the apex only reaches down to the rim level without passing the bottom.
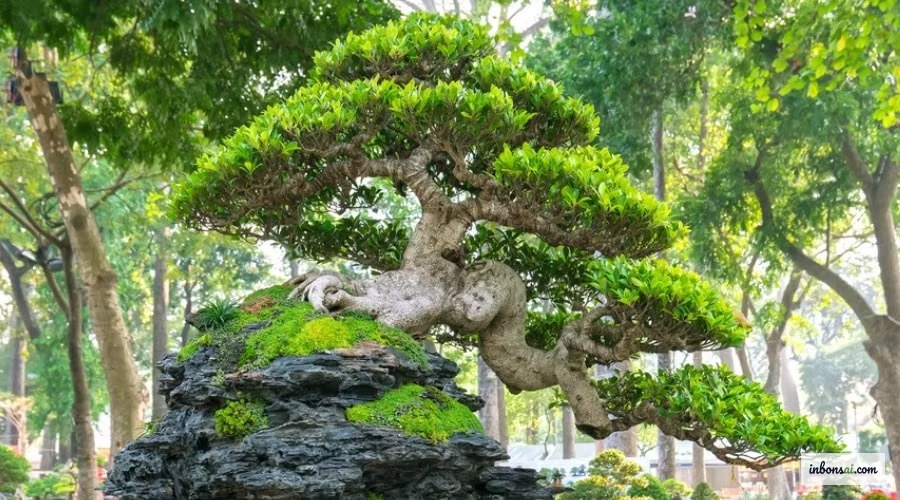
In nature, the cascade style captures the image of trees growing on steep rocky cliffs, where gravity and wind have forced branches to curve downward over years. The beauty of this style lies in its dramatic contrast: a strong, upright trunk base opposed by gracefully cascading foliage below.
Check out our detailed guide to semi-cascade bonsai to understand the differences between the two styles before choosing your direction.
One important detail: cascade bonsai pots must be taller than standard pots to give the cascading branches space to hang freely without touching the display surface. This directly affects pot selection, which we’ll cover in a later section.
Choosing the Right Tree for Cascade Style
Not every species is suitable for cascade styling. The top requirement is flexible branches and trunk that can bend without snapping, combined with vigorous growth to recover well after styling stress.
Most suitable species:
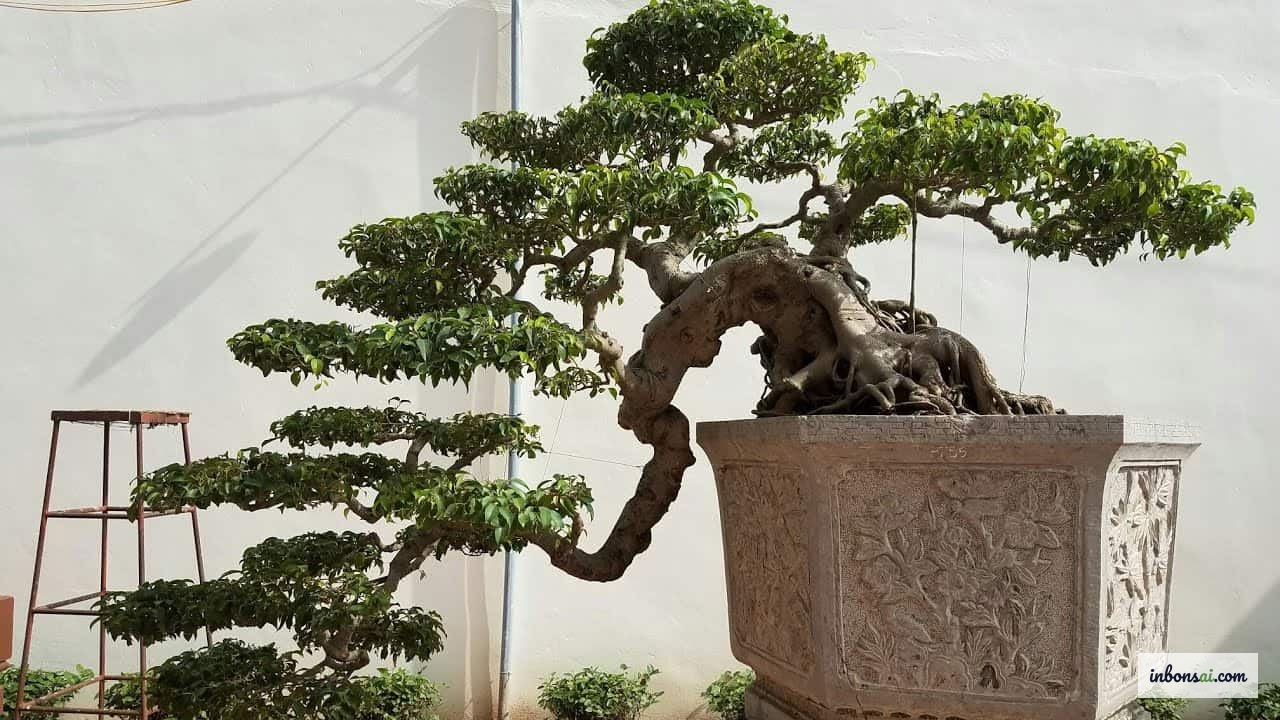
- Ficus (Banyan fig): Flexible, easy to wire, strong root system — the top choice for beginners
- Chinese Elm: Soft branches, dense foliage, adapts well to moderate light
- Juniper (Tùng): The most classic cascade species in Japanese bonsai; needs outdoor conditions
- Orange Jasmine (Nguyệt quế): Fragrant flowers, flexible branches, thrives in tropical Vietnamese climate
- Indian Oak (Lộc vừng): Naturally drooping red flowers make it perfect for cascade presentation
Ideal characteristics for cascade styling:
Look for trees with at least one long, flexible branch pointing outward — this will become the main cascade line. Trunk diameter of 1–3 cm is ideal: substantial enough to look established, yet still flexible for bending. Strong root development is non-negotiable, as the tree will experience significant stress during styling.
If you’re unfamiliar with suitable species, read our beginner’s guide to bonsai for an overview of common species and their characteristics.
Preparing the Tools and Materials
Having the right tools not only makes work more efficient but also protects the tree from unnecessary damage.
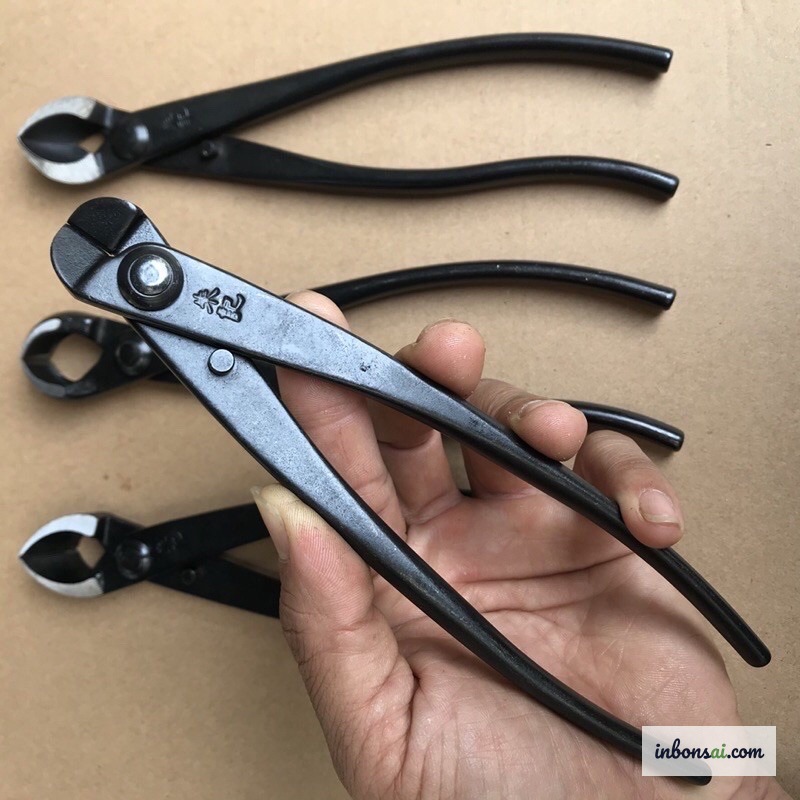
Essential tools:
- Aluminum bonsai wire (1–3mm): Use purpose-made aluminum wire; avoid copper wire as it’s too stiff and can injure the tree
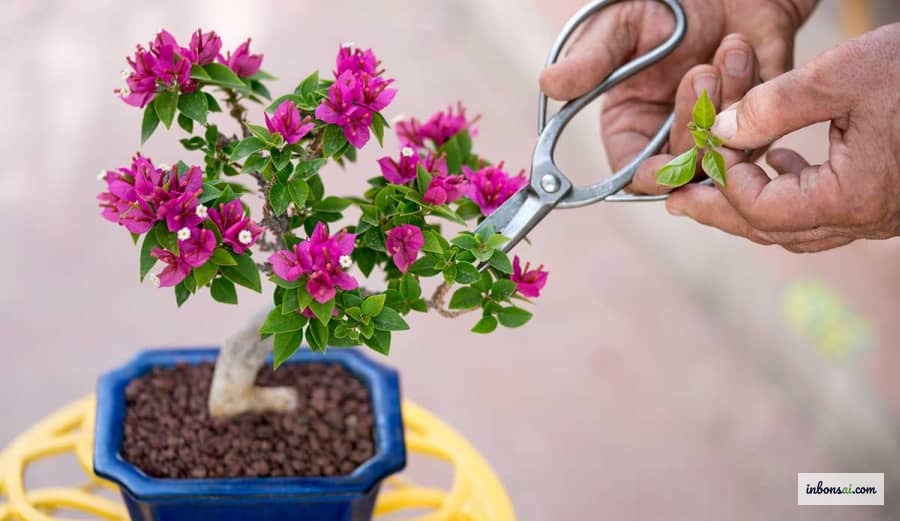
- Bonsai branch scissors: Narrow-tip type for trimming small branches
- Wire pliers: For bending and removing wire without damaging bark
- Anchoring wire: Soft steel to temporarily secure the main branch during bending
- Wire cutters: To remove wire in short sections without snapping branches
- Cut paste: Apply to large cut wounds to prevent infection
Additional materials:
Prepare thin fabric or small rubber pads to place between the wire and bark at the sharpest bending points — this distributes pressure and prevents wire cutting into the bark. Keep a misting bottle handy to maintain leaf moisture throughout the styling session.
Step-by-Step Cascade Wiring Technique
This is the most critical part of creating cascade bonsai. Work through each step patiently — never rush the process.
Step 1: Identify the “main cascade line”
Before wrapping any wire, observe the tree from multiple angles. Identify which branch will become the main cascade — typically the longest, most flexible branch that already tends to hang downward naturally. This branch needs to be long enough that when bent down, the tip extends at least 5–10 cm below the pot’s bottom.
Step 2: Wrap aluminum wire along the branch
Begin wrapping from the base of the branch toward the tip at 45 degrees to the branch axis. This is the standard angle that provides optimal holding force without slipping. Keep each coil evenly spaced — not too tight (causing constriction) and not too loose (insufficient hold).
For branches thicker than 2 cm, use two parallel wires instead of one thicker wire — this distributes force more evenly and is safer for the tree.
Step 3: Bend the branch downward
Once wired, use both hands to bend the branch downward slowly — never jerk or force it quickly. A soft “creak” is normal — that’s the wood fibers adjusting. If you hear a sharp crack or see bark splitting, stop immediately.
Don’t try to reach the final angle in one session. Bend to about 30–40% of the target position, wait 4–6 weeks for the tree to adapt, then adjust further.
Step 4: Temporarily anchor to the pot
To hold the branch in position while it sets, use soft wire to lightly tie from the mid-point of the branch down to the pot edge. This is only temporary support — remove this anchor wire after the tree has accepted the new direction (approximately 2–3 months).
Step 5: Prune secondary branches and shape the foliage
After the main cascade is positioned correctly, prune branches growing upward against the cascade direction and any branches blocking the visual flow. The goal is to create clear three-dimensional depth — viewed from the front, you should see layered foliage depth, not a flat wall of leaves.
See our basic bonsai pruning guide to master branch pruning principles before executing this step.
Choosing a Pot and Display Position for Cascade Style
Cascade style places unique demands on the pot — this is a detail many beginners overlook, leading to poor aesthetic results.
Pot selection criteria:
- Height: The pot should be at least 2/3 the length of the section cascading below the bottom. If branches cascade 20 cm below the bottom, the pot should be at least 13–15 cm tall
- Shape: Cylindrical, hexagonal, or drum-shaped pots provide better visual balance than shallow, wide pots
- Material: Unglazed local ceramic or Japanese pottery both work well; avoid thin plastic pots as they’re unstable
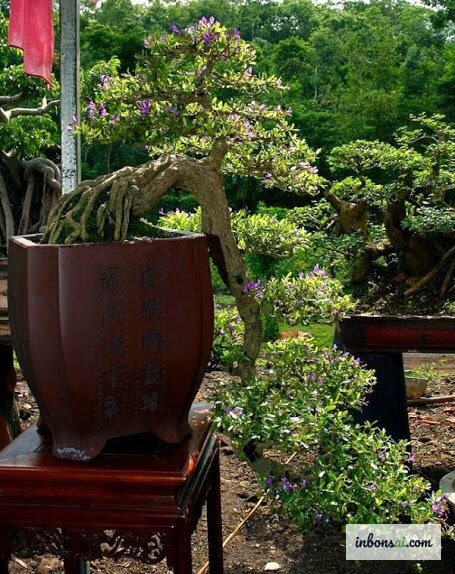
Tree placement within the pot:
Traditional cascade bonsai is planted offset toward one side of the pot, not centered. Specifically: the trunk is positioned near the edge on the opposite side from the cascade direction — creating a visual balance that makes the trunk appear to “anchor” into a cliff face while branches cascade freely below.
For display, place the pot on a tall stand (tokonoma-style) so the cascading branches hang freely below, allowing viewers to appreciate the full composition at eye level.
Caring for Your Cascade Bonsai After Styling
The post-styling period is when the tree is most vulnerable. Proper care at this stage determines whether your work succeeds or fails.
Watering: Because tall pots drain faster, cascade bonsai often need more frequent watering than other styles. Check soil moisture by pushing a finger 2–3 cm into the substrate — water as soon as the soil feels dry. In summer, twice-daily watering may be necessary.
Light: Place the tree where it receives 4–6 hours of natural light daily. Avoid intense direct afternoon sun in summer — this is especially important in the first 2–3 months post-styling when the tree is still recovering.
Monitoring the wire: Wire must be removed before it cuts into the bark — typically after 3–6 months depending on species and growth rate. Inspect wire every 2–3 weeks. When removing, cut wire in short sections rather than trying to unwind the full length — this prevents accidentally snapping branches.
Fertilizing: Delay fertilizing for at least 4–6 weeks after styling to avoid stimulating overly vigorous growth while the tree is still settling into its new form. After this period, use a balanced low-concentration organic NPK fertilizer to support recovery.
Common Mistakes When Creating Cascade Bonsai
Understanding common mistakes in advance helps you protect the tree and avoid wasted effort.
Mistake 1: Bending too fast and too forcefully The most common error by far. Branches need time to adapt to a new direction. Trying to achieve the full cascade angle in one session risks internal wood fractures even when the exterior looks undamaged. Divide bending into 2–3 sessions months apart.
Mistake 2: Leaving wire on too long Many hobbyists forget to monitor wire until it has already cut deep into the bark — leaving permanent scars and damaging the tree’s vascular system. Set recurring reminders to inspect wire.
Mistake 3: Choosing a pot that’s too shallow A shallow, flat pot causes cascading branches to immediately touch the display surface, ruining the entire aesthetic effect. Don’t reuse an ill-fitting pot out of frugality — investing in the correct pot from the start pays dividends.
Mistake 4: Neglecting upper canopy shaping Focusing entirely on the cascade line while ignoring the upper foliage creates an imbalanced tree. The upward-growing branches above need parallel pruning and styling to give the whole tree harmonious proportions.
Mistake 5: Not stabilizing the root system before styling If the tree isn’t firmly rooted in its pot, the pulling force of cascading branches will cause the tree to tilt or even uproot. Repot the tree and wait at least 2–3 months for roots to establish before beginning any styling.
Best Timing for Cascade Styling
Choosing the right timing is as important as technique. Correct timing helps the tree recover faster and reduces failure risk.
The ideal window is early spring (February–March in southern Vietnam, March–April in the north), when the tree enters its active growth phase. Sap flows freely, and recovery capacity is significantly higher than in winter or the dry season.
If you miss spring, early autumn is an acceptable alternative — temperatures cool down, reducing heat stress. Avoid styling in midsummer peak heat and cold winter months when trees are semi-dormant.
Conclusion
Cascade bonsai styling requires more patience and attention to detail than basic forms, but the result — a composition evoking the wild grandeur of cliff-hanging trees — is well worth the effort. Start with a flexible, forgiving species like Ficus or Chinese Elm, prepare all necessary tools, and above all, resist rushing any step of the bending process.
With this complete guide, you now have a solid foundation to practice cascade bonsai styling today. Start with a smaller, less valuable tree to build your skills before tackling higher-value specimens.
Related Posts
Cascade Bonsai Style: A Beginner's Complete Guide
Bonsai Root Over Rock: Complete Ishitsuki Guide
Bonsai Stem Cutting Propagation: High Success Guide

Bonsai Grafting Techniques for Beginners
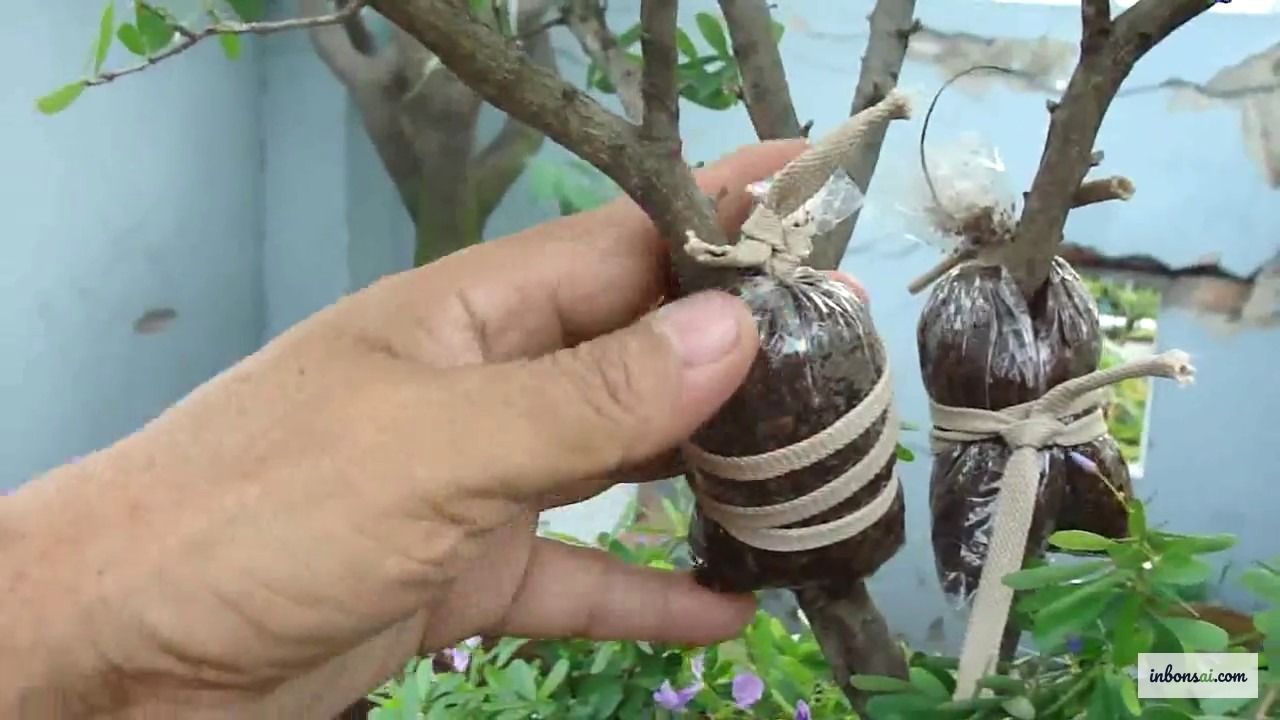
Air Layering Bonsai: Achieve a High Success Rate
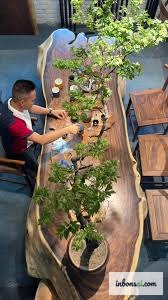
Muoi Hong Tea Table Bonsai: Styling Guide
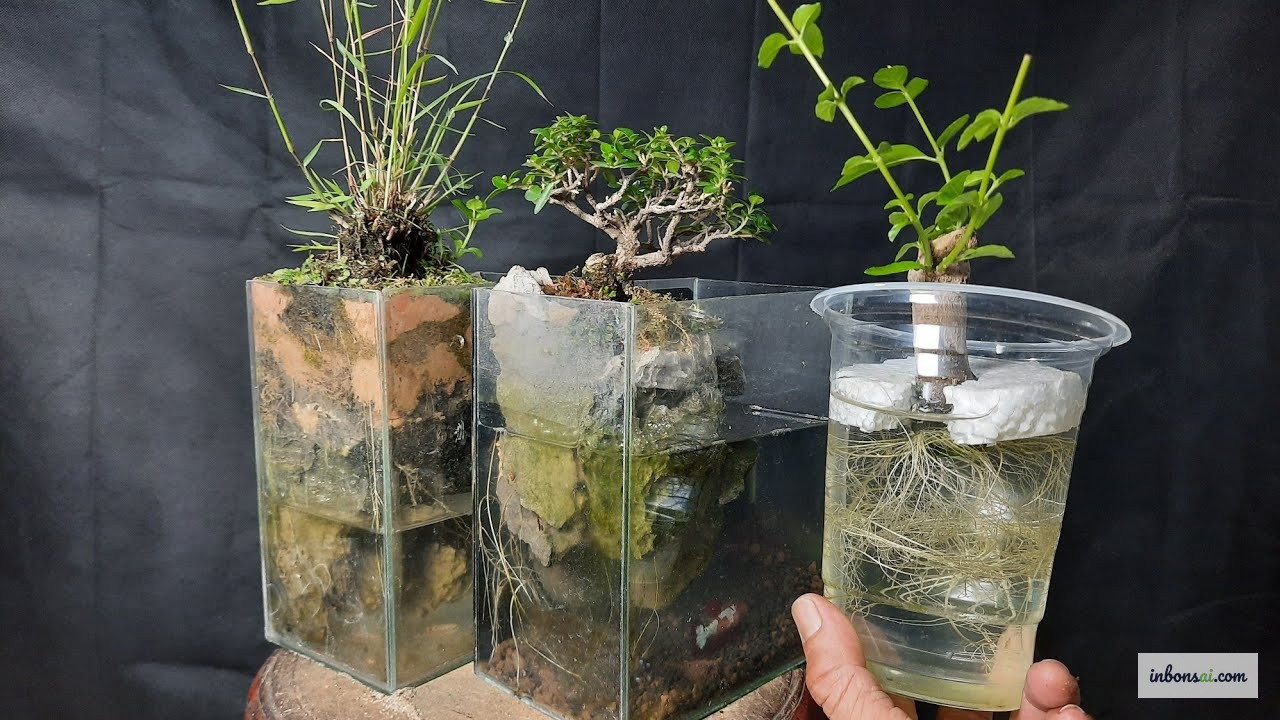
Aquatic Bonsai: How to Grow and Care for It at Home