How to Make Homemade Organic Fertilizer for Bonsai

InBonsai Team
April 10, 2026 · 9 min read
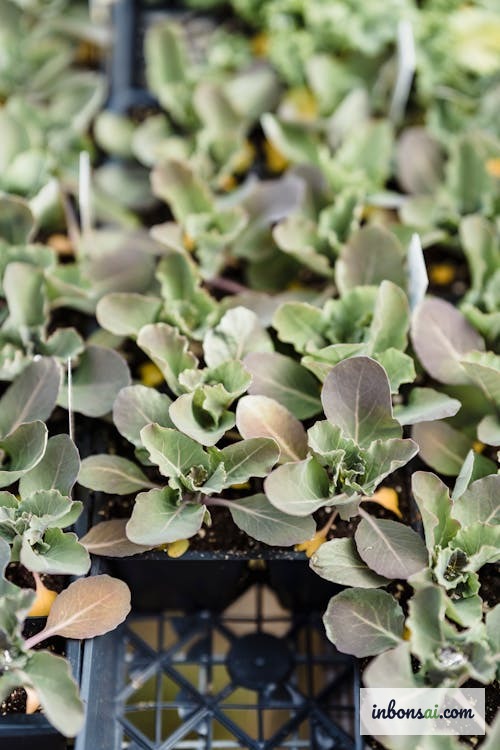
Are you spending money on chemical fertilizers every month but your bonsai still doesn’t look as vibrant as you’d like? Learning how to make homemade organic fertilizer for bonsai is a solution that’s both cost-effective and genuinely effective — one that many experienced bonsai artists already use. Homemade organic fertilizer not only provides complete nutrients but also improves pot soil structure, increases beneficial microorganisms, and helps bonsai roots absorb nutrients more efficiently. In this article, you’ll learn the 3 most popular homemade organic fertilizer methods: compost, bokashi, and vermicompost — along with how to apply each correctly to your bonsai.
Why Make Your Own Organic Fertilizer for Bonsai?
Chemical fertilizers provide nutrients quickly but have a serious drawback: after a few years of continuous use, bonsai pot soil becomes compacted, pH becomes unbalanced, and beneficial microorganisms are destroyed. This is why many bonsai trees, despite regular fertilizing, still develop poorly.
Homemade organic fertilizer solves this comprehensively. Beyond providing balanced N-P-K (nitrogen, phosphorus, potassium), organic fertilizer also adds calcium, magnesium, zinc, and dozens of other trace elements that chemical fertilizers lack. More importantly, organic matter nourishes the soil’s microbial ecosystem — these bacteria and beneficial fungi break down organic matter into forms that plant roots can absorb directly.
Additionally, the cost of homemade composting is nearly zero since the raw materials are mainly kitchen scraps: vegetable peels, coffee grounds, eggshells, dry leaves. One batch of compost taking 3-4 months can feed 15-20 medium-sized bonsai pots for an entire year.
What Materials Do You Need to Start Composting?
The success of organic composting depends on correctly balancing green materials (nitrogen-rich) and brown materials (carbon-rich). The ideal ratio is 1 part green to 2-3 parts brown by volume.
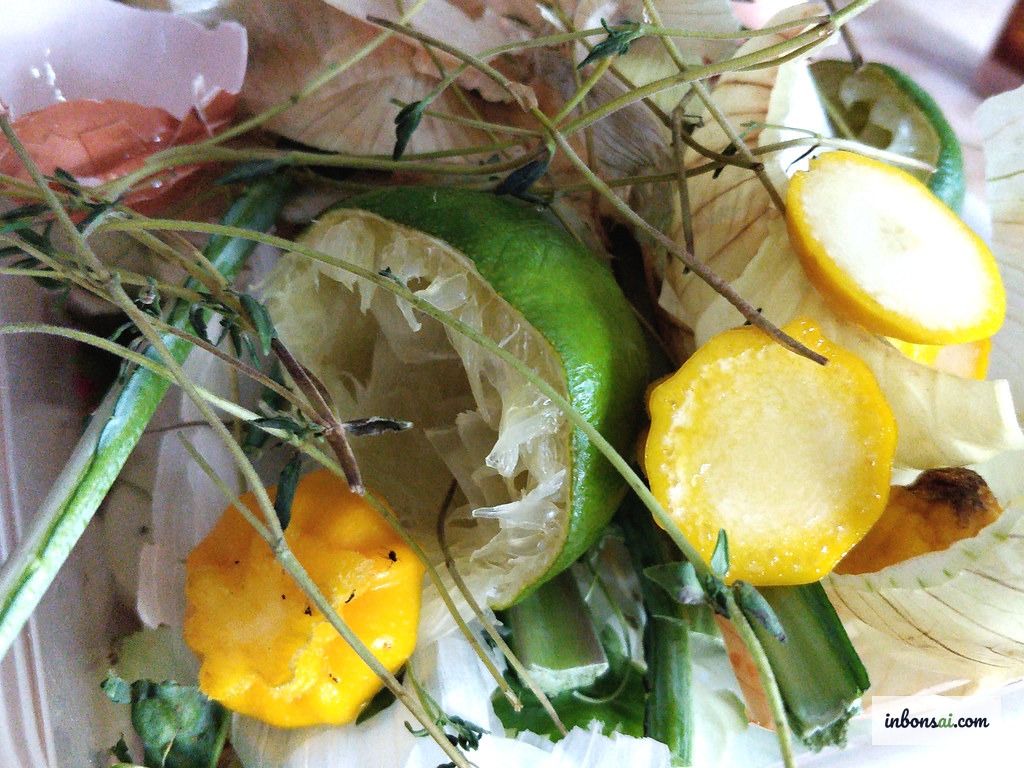
Green materials (nitrogen-rich — N):
- Vegetable and fruit peels (pumpkin, carrot, onion)
- Used coffee grounds and tea bags
- Fresh-cut grass, fresh green plant leaves
- Pond mud (if available)
Brown materials (carbon-rich — C):
- Dry leaves, finely shredded dry branches
- Old newspapers, cardboard torn into small pieces
- Rice husks, dry sawdust (chemical-free)
- Dry straw
What NOT to put in your compost:
- Meat, fish, animal fat (causes bad odor, attracts insects)
- Large amounts of citrus peels (essential oils inhibit microorganisms)
- Soil contaminated with pesticides
- Dog/cat feces (contains pathogens)
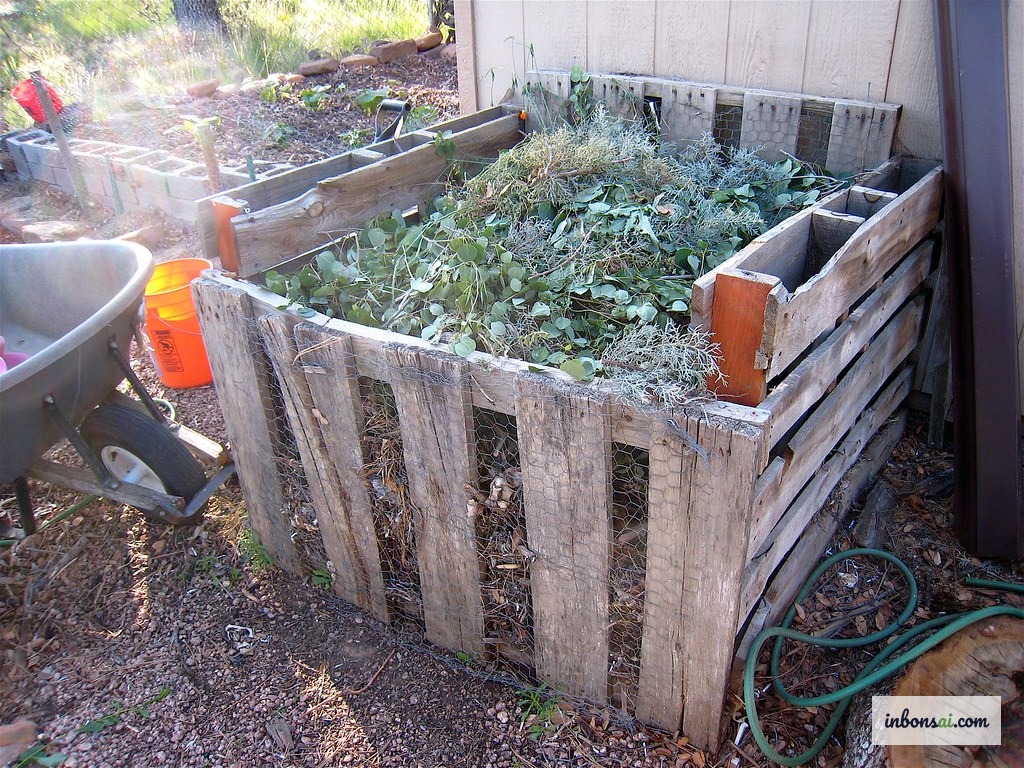
You’ll need a compost bin with a lid, at least 20-30 liters in volume. You can use an old foam box, plastic container, or build your own from pallet wood.
How to Make Simple Compost at Home
Composting is the most popular method because it doesn’t require purchasing any additional products. Decomposition happens naturally through aerobic microorganisms (requiring oxygen) over 60-90 days.
Steps for making bonsai compost:
Step 1 — Prepare the bin: Drill 8-10 ventilation holes in the sides and bottom (1cm diameter). Place the bin somewhere cool and shaded, away from direct sunlight and flooding rain.
Step 2 — Line the bottom: Spread a 5cm layer of dry leaves or rice husks at the bottom for drainage and airflow.
Step 3 — Layer alternately: Alternate 1 layer of green material (3-4cm) with 1 layer of brown material (6-8cm). Sprinkle a small amount of garden soil or dry cow manure between layers to introduce microorganisms.
Step 4 — Maintain moisture: Lightly spray water on each layer — the compost should be as moist as a wrung-out cloth, not waterlogged. Check every 3-4 days.
Step 5 — Turn regularly: Every 7-10 days, use a stick or small shovel to turn the entire pile to provide oxygen. This is the most important step — if skipped, the compost will rot instead of decomposing properly.
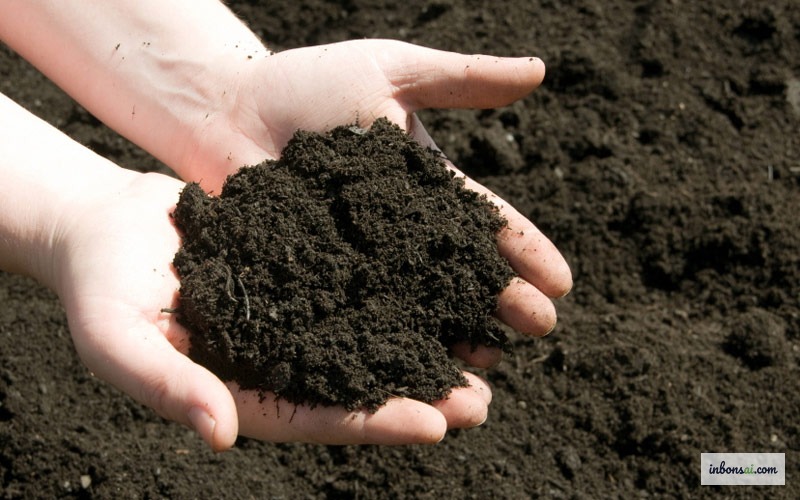
After 60-90 days, finished compost is dark brown, loose and crumbly, has a pleasant earthy smell, and you can no longer identify the original materials.
How to Make Bokashi Fertilizer in Just 2 Weeks
If you live in an apartment or a small home, bokashi is the ideal method. Bokashi is an anaerobic fermentation technique (no oxygen required) originating from Japan, completed in just 2 weeks.
What you need:
- A two-layer bokashi bin with a drain tap (available at garden stores or online)
- Bokashi bran (containing EM — Effective Microorganisms), about 50-100g per 5kg of kitchen waste
Bokashi process:
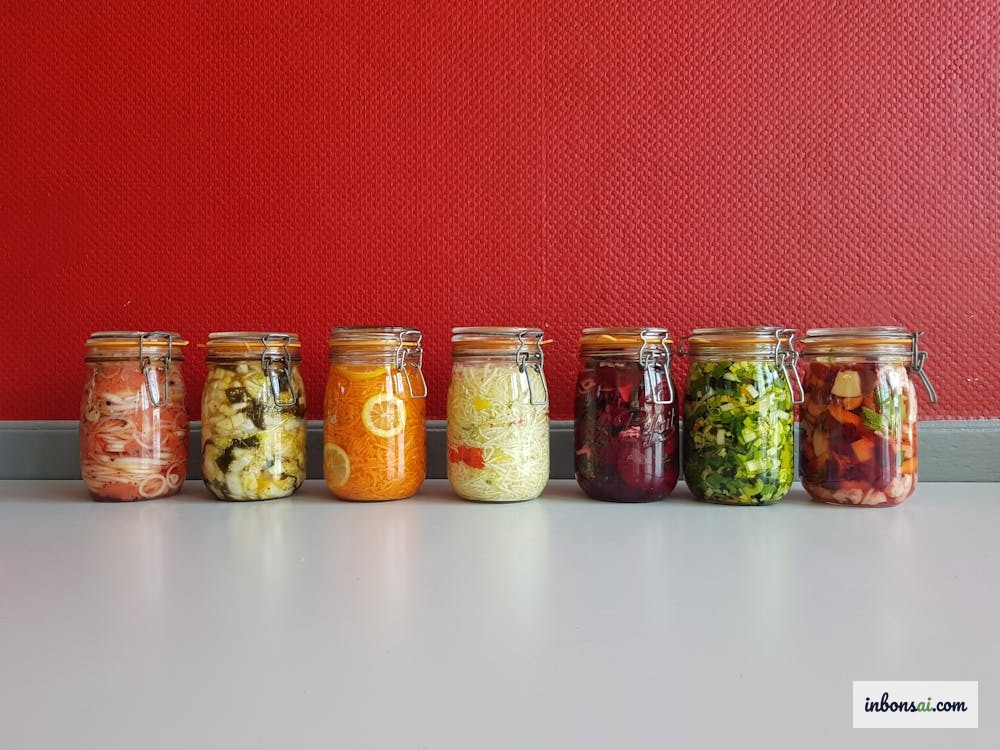
Each day, add kitchen waste to the bin, press firmly to expel air, sprinkle a thin layer of bokashi bran (about 1-2 tablespoons per kg of waste), and seal the lid tightly. After 2 weeks, the contents will have a mild sour smell like pickled vegetables — this is a sign of successful fermentation.
Since bokashi hasn’t fully decomposed, you need to mix it with soil and let it mature for another 2-4 weeks in a larger container before using it on bonsai. The liquid drained from the bokashi bin tap (diluted 1:100 with water) is an extremely effective foliar fertilizer — apply directly to bonsai every 2 weeks.
Not only that, bokashi can process meat and fish — something ordinary composting cannot handle.
How to Set Up a Worm Farm for Vermicompost
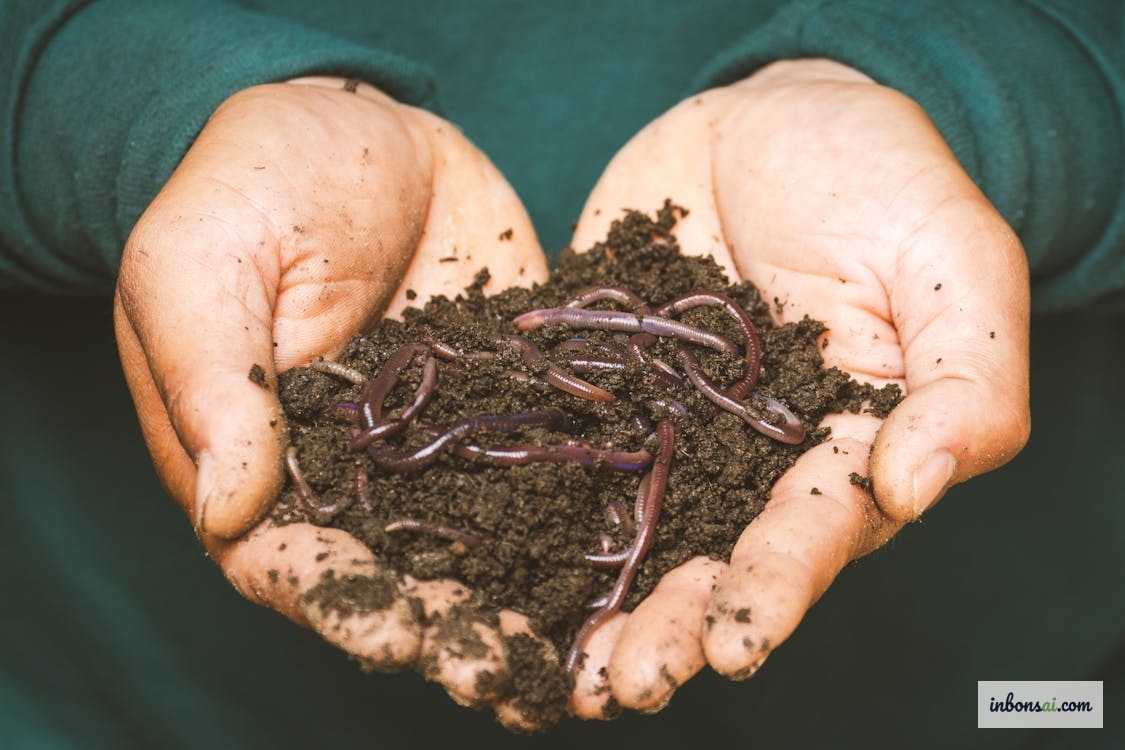
Vermicompost (worm castings) is considered the highest quality organic fertilizer for bonsai due to its high active microbial content and perfect nutritional balance. Worm farming requires little effort and can be set up right on a balcony.
Setting up your worm bin:
Use a foam box or plastic container (about 40-50 liters), drill drainage holes in the bottom. Line the bottom with a 10cm layer of moist coco coir or humus. Add 0.5-1kg of composting worms (available at agricultural stores, approximately 80,000-120,000 VND per kg). Start feeding lightly 2-3 days after adding the worms.
Feeding your worms: Vegetable peels, coffee grounds, plain leftover rice (no spicy seasoning), wet newspaper. Each time you feed, bury the food under the old material. Don’t add too much at once — the feeding amount should be about 50% of the worms’ weight per day.
Harvesting vermicompost: After 60-90 days, the bottom layer turns into dark brown worm castings — fine-grained and odorless. Push the worm castings to one side, place fresh food in the other half to attract worms to migrate — after 2-3 days you can harvest pure vermicompost.
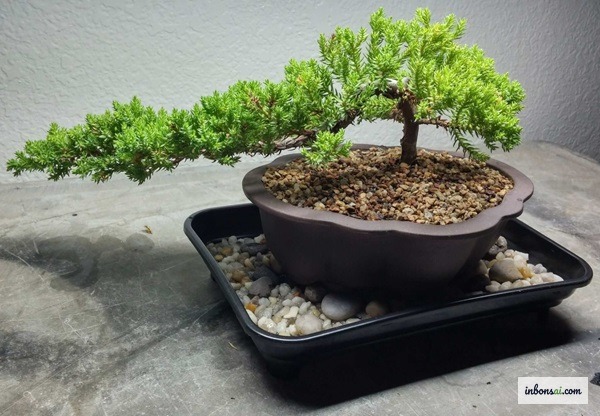
How to Apply Homemade Organic Fertilizer Correctly to Bonsai
No matter how good your homemade organic fertilizer is, it needs to be applied at the right quantity and timing. Unlike chemical fertilizers that dissolve immediately in water, organic fertilizer works slowly and lasts longer — this is both an advantage and a reason to use it appropriately.
Dosage and application:
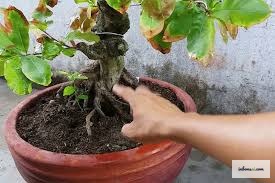
- Compost / vermicompost: Mix 10-20% (by volume) into pot soil when repotting. Or spread a thin 0.5-1cm layer on the pot surface every 2-3 months, water lightly to let nutrients seep in.
- Matured bokashi: Use only 5-10% when repotting — don’t spread directly as it’s still acidic.
- Bokashi water: Dilute 1:100, apply every 2 weeks instead of a regular watering.
Best timing: Early spring (February-April) when the tree begins vigorous growth, and early autumn (August-September) to accumulate nutrients before winter. Avoid fertilizing in midsummer (heat stress) and midwinter (dormancy, poor absorption). Refer to the bonsai spring fertilizing guide for a detailed monthly schedule.
Important note: For bonsai that are sick, stressed after repotting, or after heavy pruning — don’t fertilize for at least 4-6 weeks. The tree needs to recover before processing supplemental nutrition.
Signs Your Compost Is Ready and How to Store It
Knowing when compost is fully finished is crucial to avoid applying unfinished compost — which can harm bonsai roots as continued decomposition inside the pot generates heat and acid.
Signs compost/vermicompost is fully mature:
- Uniformly dark brown color, no more green or red patches
- Pleasant moist earth smell, no longer any rotten or sharp sour odor
- Loose and crumbly texture, fine-grained — original materials no longer recognizable
- Temperature in the pile has dropped to ambient temperature (no longer warm)
Storing organic fertilizer: Place in fabric bags or plastic containers with small ventilation holes, store in a cool shaded area away from direct sunlight. Organic fertilizer can be stored 6-12 months without significant quality loss.
The key is to always combine homemade organic fertilizer with appropriate pot soil. If pot soil doesn’t drain well, even the best fertilizer won’t perform effectively. Read more about choosing the right bonsai soil to complete your tree’s nutrition system.
Summary: Which Method Should You Choose?
Each composting method has its own advantages suited to different living conditions:
| Method | Time | Space Needed | Fertilizer Quality | Best For |
|---|---|---|---|---|
| Compost | 60-90 days | Medium | Good | Houses with yard or large balcony |
| Bokashi | 2-4 weeks | Small (10L bin) | Good (after curing) | Apartments, small homes |
| Vermicompost | 60-90 days | Small (40L bin) | Excellent | All living situations |
If you’re just starting out and want the best results, combine both: set up a worm farm for periodic vermicompost, while using bokashi from kitchen scraps for weekly liquid fertilizer. This is the effective duo that many Vietnamese bonsai artists are already using.
So instead of continuing to spend money on chemical fertilizers, start today with simple materials from your kitchen. Combined with knowledge of proper bonsai fertilizing technique, you’ll see your bonsai growing greener, with healthier roots and stronger trunk and branches.
Related Posts
How to Make Homemade Organic Fertilizer for Bonsai
Worm Castings for Bonsai: How to Fertilize Correctly
How to Choose Bonsai Soil for Every Tree Species
How to Save a Dying Bonsai: Overwatered or Wilting
Bonsai Repotting Guide: Step-by-Step for Beginners
How to Identify and Treat Bonsai Diseases Effectively
How to Fertilize Bonsai: Complete Technique Guide