Bonsai Repotting Guide: Step-by-Step for Beginners

InBonsai Team
March 24, 2026 · 9 min read
Bonsai repotting is one of the most searched topics among new bonsai enthusiasts — especially those worried about damaging their trees. Repotting is not a risky procedure if you understand the process, choose the right time, and prepare the right materials. This guide walks you through every step: recognizing when repotting is needed, gathering the tools, executing the repot safely, and caring for your tree afterward so it recovers and thrives.
Why Does Bonsai Need Regular Repotting?
Many people assume bonsai stays in a small pot forever without needing to be moved. In reality, after some time the root system fills the pot completely and starts circling — restricting the tree’s ability to absorb water and nutrients. The soil also breaks down over time, losing the good drainage structure it once had.
Signs your bonsai needs repotting:
- Roots protruding from drainage holes at the bottom of the pot
- Dense surface roots coiling around each other or pushing up above the soil
- Water runs straight through without soaking in — a sign the soil has compacted
- Unusually slow growth despite regular fertilizing
- Pale or undersized leaves compared to the tree’s normal appearance
Regular repotting not only frees up space for the roots, but also gives you the opportunity to prune old and diseased roots and provide a fresh nutrient-rich soil mix. It is just as important as branch pruning or wiring.
Best Time to Repot Bonsai

Timing significantly affects how well your tree recovers from repotting. Choose the right season and the tree will push new shoots within weeks. Choose the wrong time and the tree may struggle for months.
Early spring (February–April) is the ideal repotting window for most bonsai species. This is when the tree is emerging from dormancy, sap is beginning to flow, and new buds are preparing to open. Roots are at their most vigorous and recover fastest after pruning.
Species-specific timing:
- Mai vang, Fukien tea: Repot just after flowering, around February–March
- Ficus, Banyan: March–April as temperatures warm
- Podocarpus, Murraya: February–March; avoid repotting in peak summer heat
- Ficus microcarpa, Combretum: Early spring or the start of the rainy season (May–June)
Avoid repotting in mid-summer (June–August) when heat is intense and the tree is in active growth. Never repot while the tree is in bloom.
Repotting frequency: young trees (1–3 years old) need repotting every 1–2 years; mature trees (over 5 years) can go 3–5 years between repots.
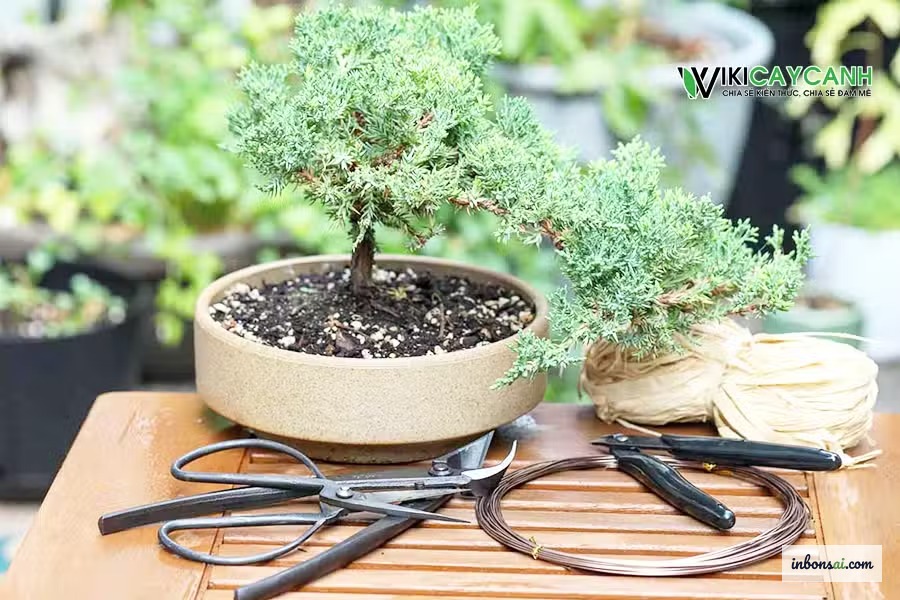
Tools and Materials to Prepare
Preparing everything in advance keeps the process smooth and minimizes the time roots spend exposed to air. You will need:
Tools:
- Root pruning scissors or sharp bonsai shears
- Small soil rake (3–5 tines) to loosen soil around roots
- Root hook or chopstick for guiding roots
- Stiff brush to clean the old pot
- Tray or mat to keep your workspace tidy
Materials:
- New pot (cleaned and dry)
- Mesh screen to cover drainage holes
- Small aluminum wire to secure the screen and anchor the tree
- Fresh bonsai soil mix — see the guide on bonsai soil mix ratios for akadama, pumice, and perlite for the right substrate
- Fine mist spray bottle
If you are still building your toolkit, check out the article on 10 essential bonsai tools to find out what is truly necessary for beginners.
Step-by-Step Bonsai Repotting Technique
This is the core of the repotting process. Work calmly and carefully through each step.
Step 1: Water the tree 1–2 days before repotting Slightly moist soil is much easier to remove than dry, compacted soil. The roots are also in their best condition to handle the disruption.
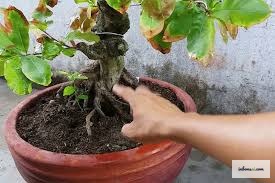
Step 2: Remove the tree from the pot Gently tilt the pot and use your hand or a wooden stick through the drainage hole to push the root ball up and out. If the tree is stuck, run a thin blade around the inner wall of the pot to separate the root ball. Never pull the trunk — this tears the anchor roots.
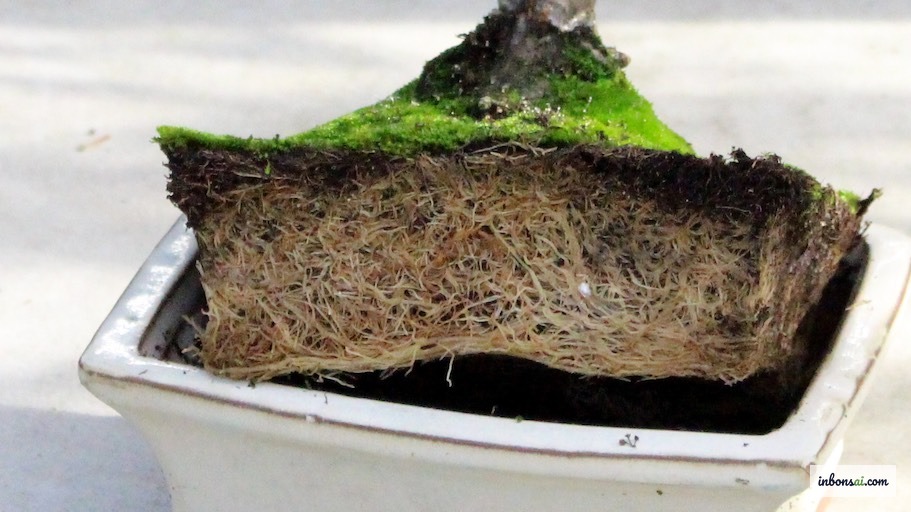
Step 3: Loosen the soil and expose the roots Use the soil rake and root hook to gently work away the soil clinging to the root ball. Aim to expose roughly the outer third of the root system. For trees with very dense, compact root balls, soaking the roots in clean water for 10–15 minutes lets the soil dissolve naturally.
Step 4: Prune the roots This is the most important step. Remove:
- Tap roots (thick downward-growing roots) — they take up space without aesthetic value
- Diseased or rotting roots (brown or black coloration)
- Circling roots — left in place, these will eventually strangle the root system
Keep the fine, healthy feeder roots that radiate evenly outward (white or cream-colored). Remove no more than one-third of the total root mass — removing more will cause severe shock.
Step 5: Prepare the new pot Cut the mesh screen to fit the drainage holes. Thread aluminum wire up through the holes, bending it flat against the bottom. Add a mounded layer of bonsai substrate to the center of the pot to cradle the root base at the right height.
Step 6: Position the tree Set the root base onto the soil mound and adjust the angle and front facing of the tree. Use the pre-threaded wire to anchor the base firmly through the drainage holes — this is critical, as a wobbly base prevents new roots from establishing contact with the soil.
Step 7: Add soil and settle Gradually add fresh bonsai mix around the roots, using a chopstick to work the soil into all the gaps and eliminate air pockets. Fill to about 1–2 cm below the pot rim to leave room for watering.
Step 8: First watering Water thoroughly until water flows freely from the drainage holes. This first watering settles the soil, removes remaining air pockets, and activates the roots’ contact with the new substrate.
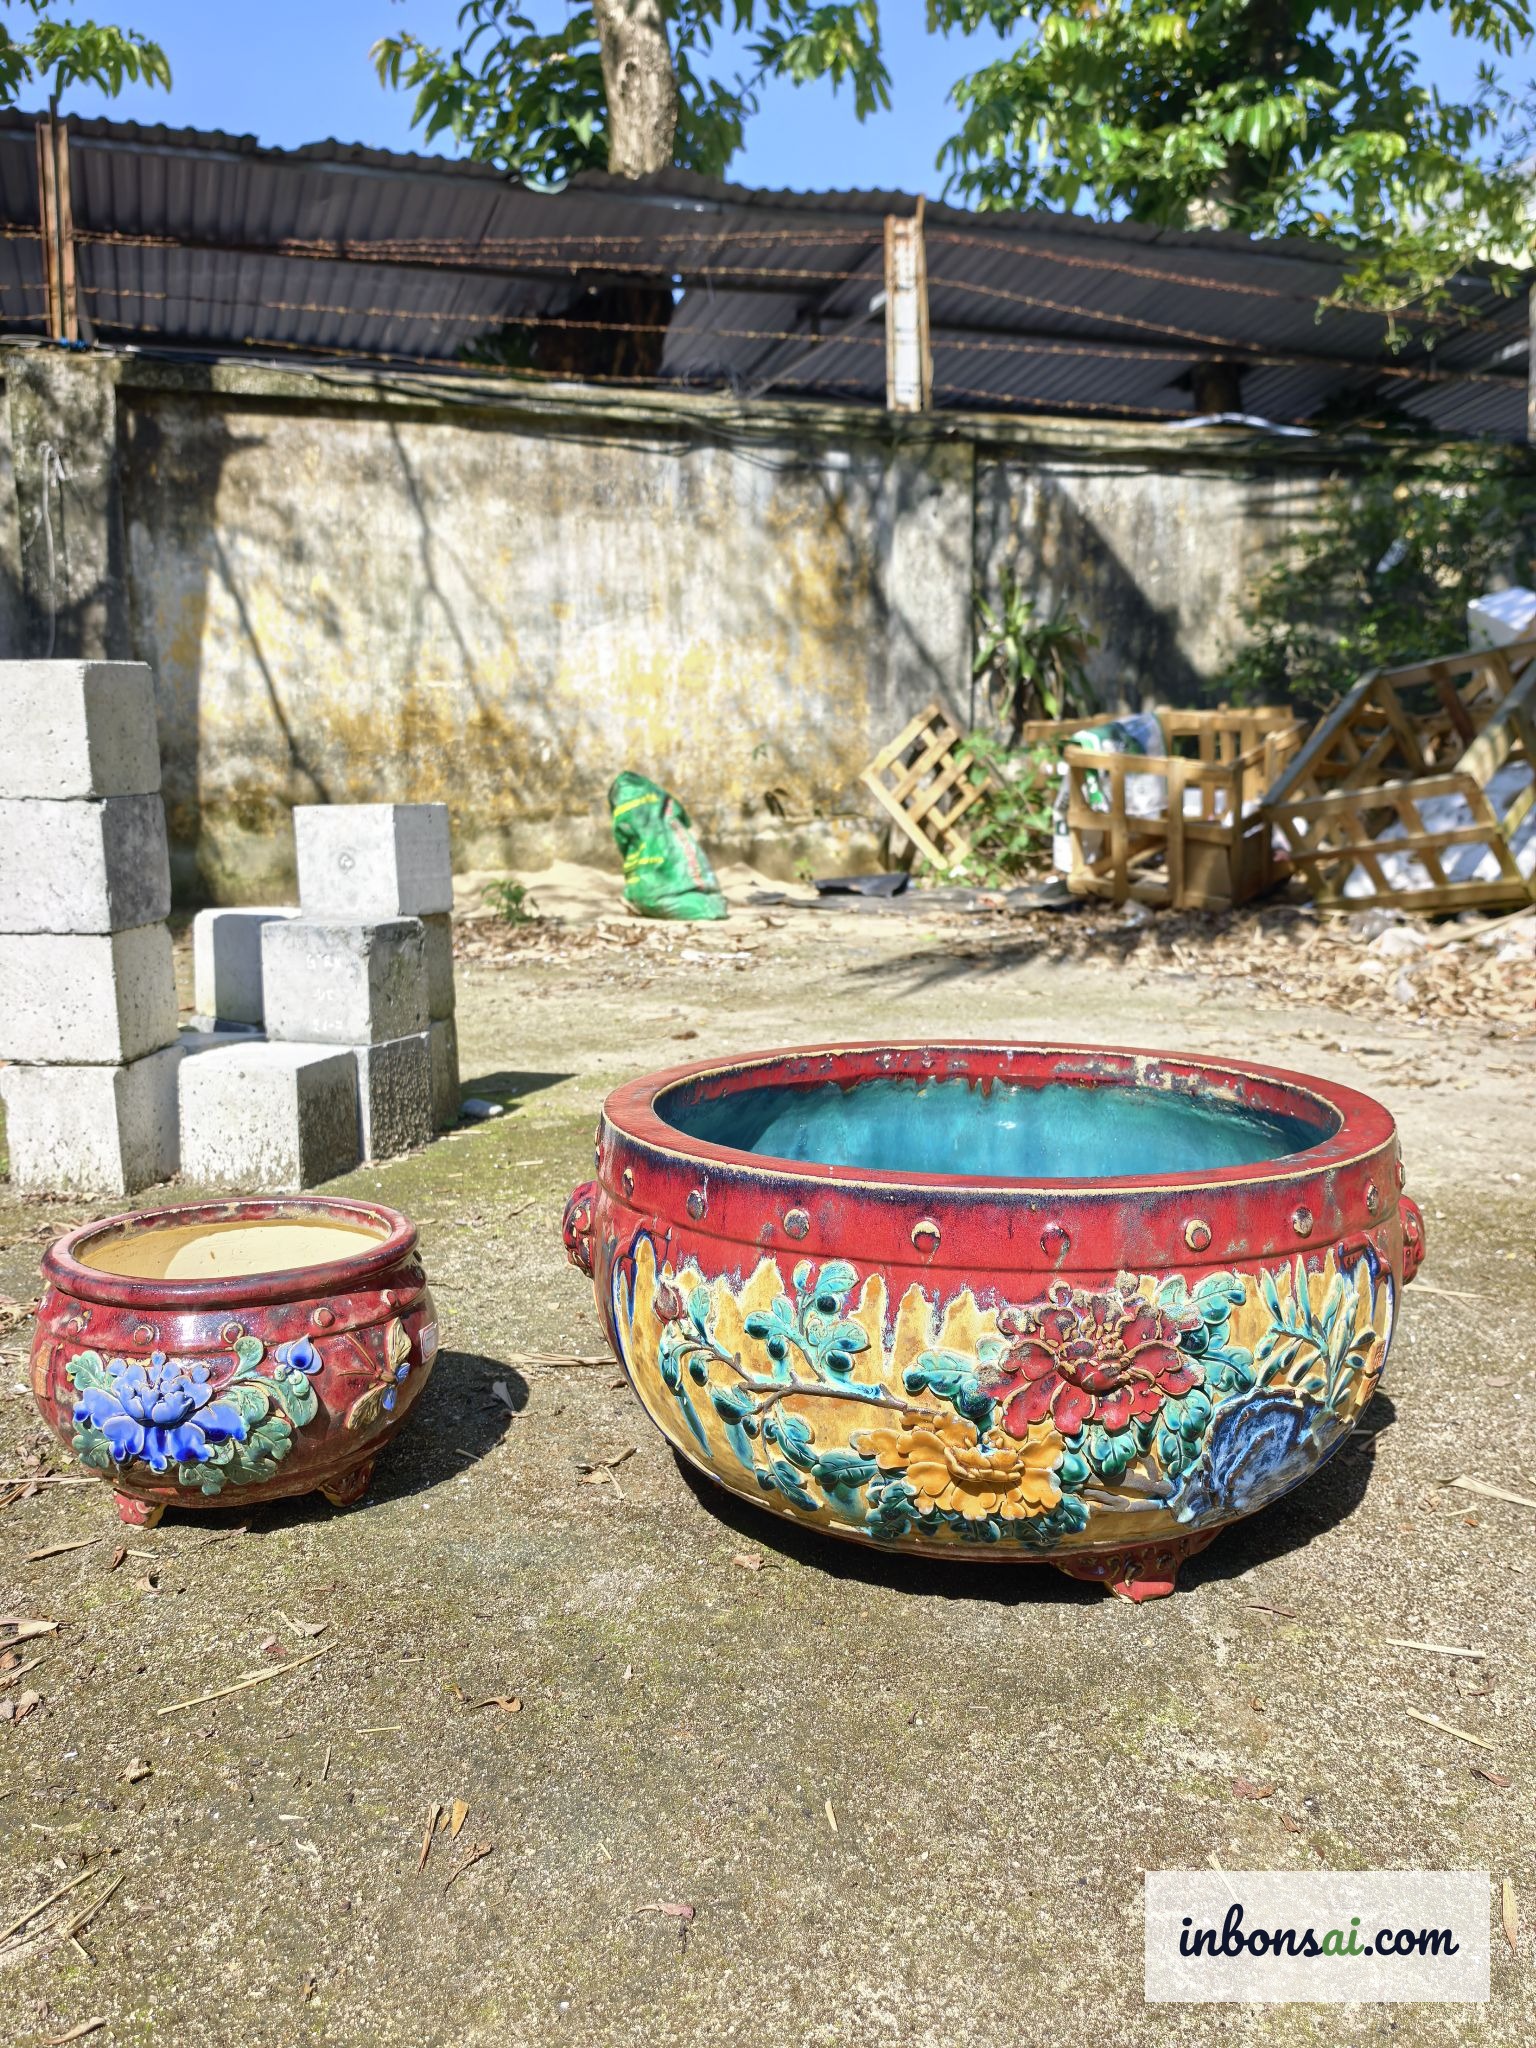
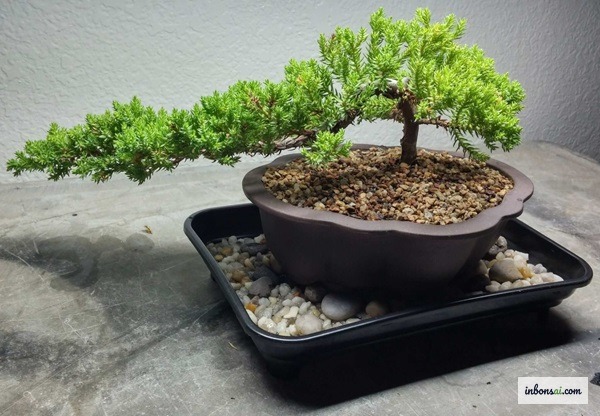
How to Choose the Right New Pot
Choosing the pot is not just about aesthetics — pot size and material directly affect the health of your bonsai.
Size: As a general rule, the new pot should be about 10–20% larger than the old one. Avoid going too large, as excess soil retains moisture for too long and risks root rot. Pot width is typically about two-thirds of the tree’s height (measured from soil surface to apex).
Depth: Deep pots suit trees with vigorous root growth (Ficus, Loquat). Shallow, wide pots (display trays) are ideal for finished trees with established form.
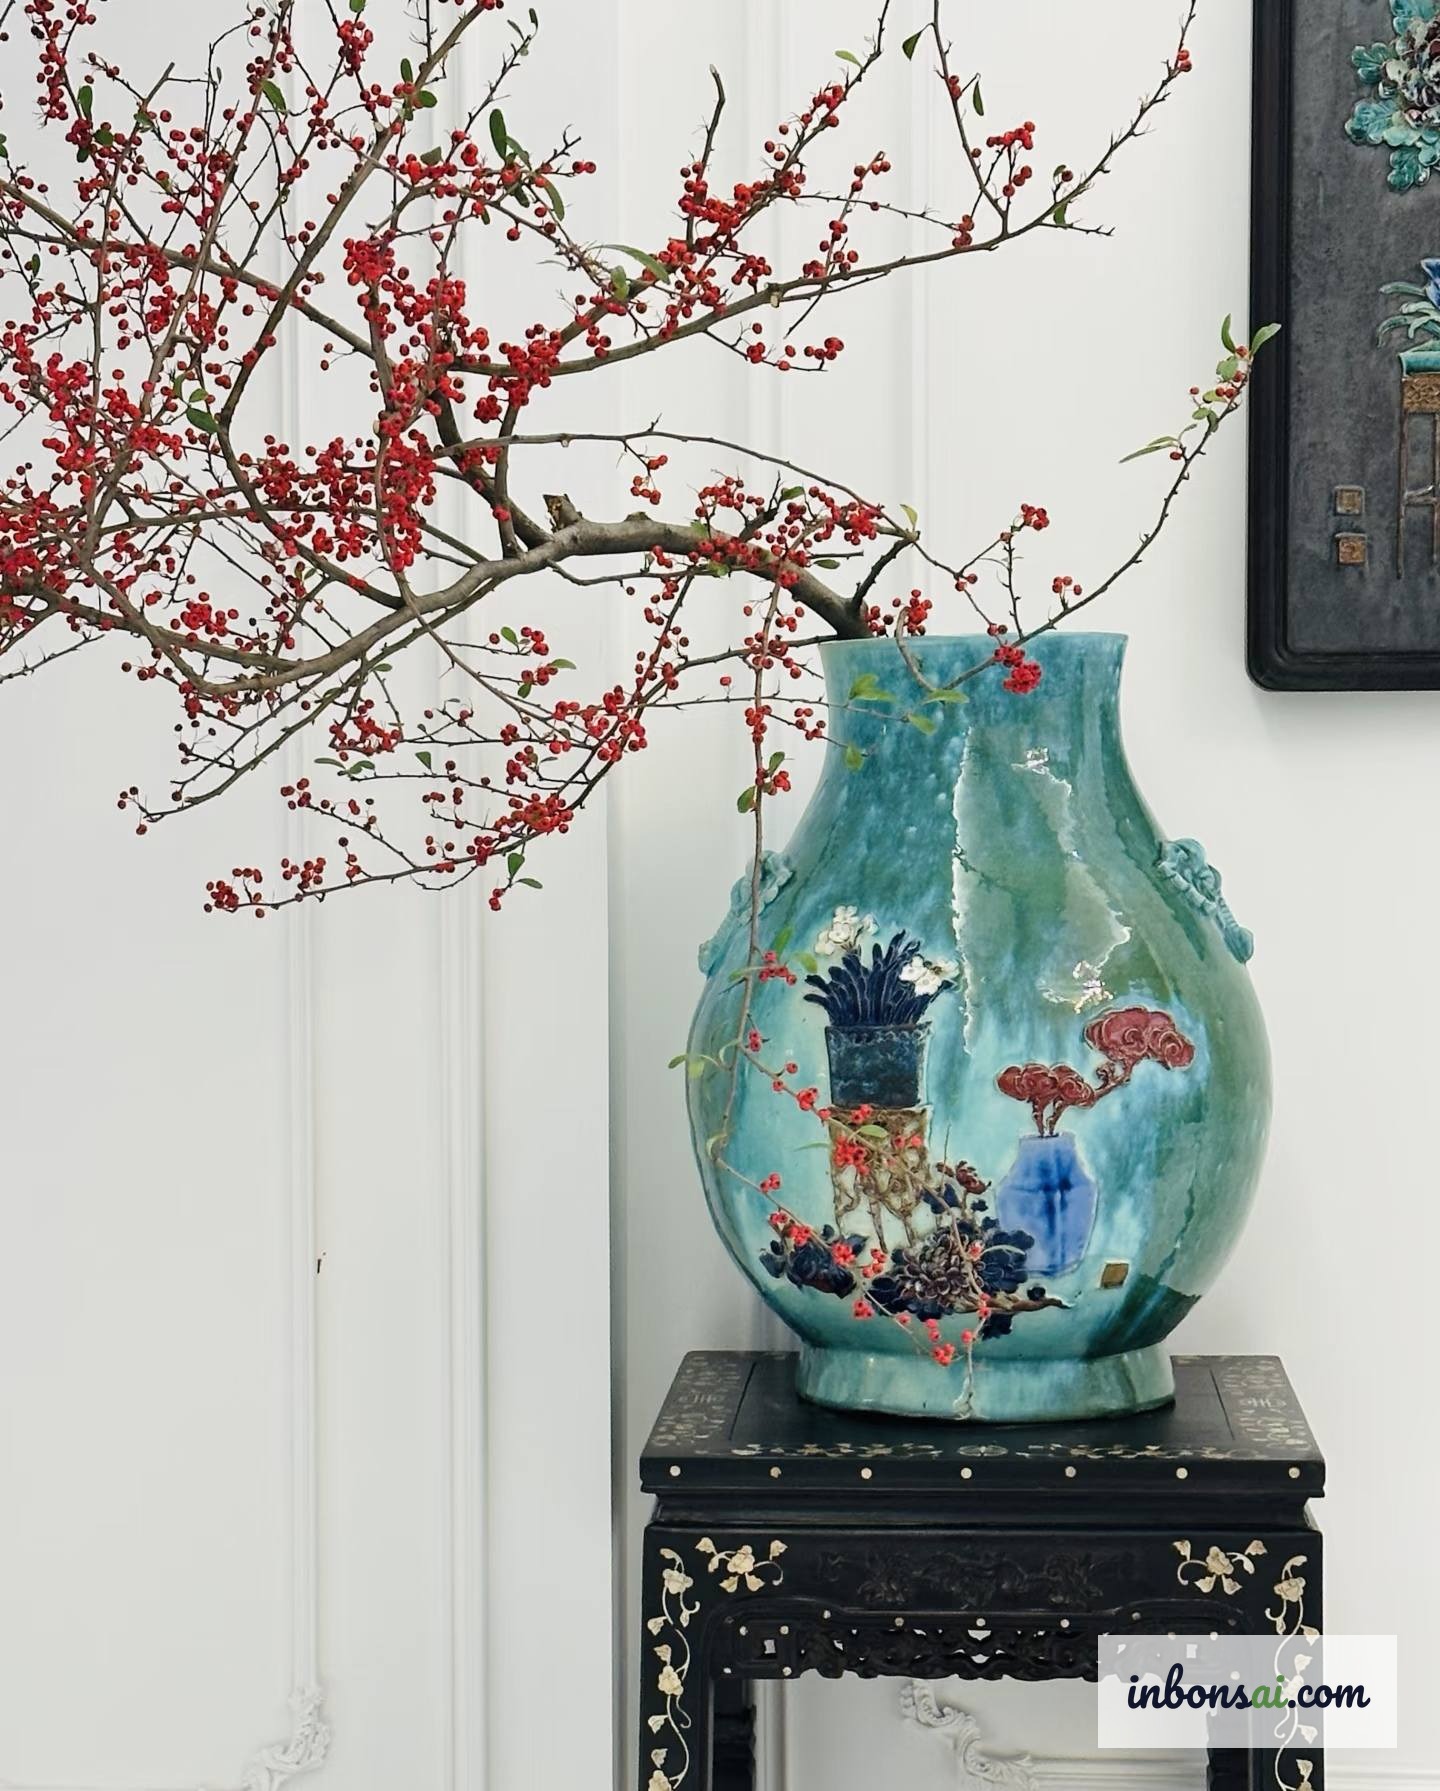
Material:
- Unglazed terracotta: Breathes well, allows root respiration — ideal for drought-tolerant species like juniper and pine
- Glazed ceramic: Retains moisture longer, suitable for moisture-loving species like Ficus microcarpa
- Plastic: Lightweight, inexpensive, moisture-retentive — good during the training phase before moving to an artistic pot
Drainage holes: Non-negotiable. A pot without drainage will cause waterlogging and root rot. A minimum of two drainage holes at the base is recommended.
Color should complement the bark tone and seasonal flowers. Unglazed terracotta suits most species; dark blue or grey glazed pots pair well with trees with fine foliage and graceful silhouettes.
Bonsai Aftercare Following Repotting
The period immediately after repotting is when the tree is most vulnerable. Freshly pruned roots need time to regenerate fine feeder roots before they can efficiently absorb water and nutrients.
First 2–4 weeks:
- Shade protection: Keep the tree out of direct sunlight in a spot with bright indirect light. The pruned root system cannot yet supply enough water to maintain the full canopy under strong sun.
- Mist the foliage: Lightly mist the leaves 1–2 times per day to reduce transpiration while the roots are still recovering.
- Water carefully: Keep the soil moist but never waterlogged. Water when the top layer begins to dry out — not on the same schedule as before repotting.
- No fertilizer: Wait at least 4–6 weeks before fertilizing. Freshly cut roots are highly sensitive to fertilizer salts and will suffer burn if fed too soon.
- No pruning: Avoid all other interventions during this period.
From week 5 onward: When you see the tree pushing strong new growth, that is your signal that the roots have recovered well. Gradually reintroduce direct sunlight and begin light fertilizing. Refer to the guide on bonsai mini care at home for a complete ongoing care schedule once the tree has stabilized.
Common Repotting Mistakes to Avoid
Understanding the mistakes beginners make will save you time and protect your tree.
Mistake 1: Repotting at the wrong time Repotting in mid-summer heat or while the tree is flowering is the most common error. Always prioritize early spring unless there is a pressing reason to repot at another time.
Mistake 2: Removing too many roots More root removal does not mean more space for growth — removing over one-third of the root mass causes severe shock and can take months to recover from, or be fatal.
Mistake 3: Not anchoring the tree A tree that shifts in its pot will continuously break the fragile new roots trying to establish. Always secure the base with wire through the drainage holes.
Mistake 4: Using regular garden soil Garden soil compacts inside a sealed pot within weeks, blocking drainage and suffocating roots. Use a bonsai-specific substrate with good drainage properties.
Mistake 5: Fertilizing immediately after repotting Young roots are easily burned by fertilizer. Wait at least 4–6 weeks and start with a diluted dose.
Mistake 6: Overwatering After repotting, the root system cannot absorb large amounts of water. Water moderately, let the soil breathe, and always check soil moisture by pressing a finger into the substrate before watering again.
Repotting bonsai correctly is a fundamental skill every bonsai grower needs to master. With careful preparation — right timing, proper tools, and sound technique — it is entirely achievable for beginners. Simply observe your tree patiently in the weeks after repotting and you will see it pushing vigorous new growth, healthier and stronger than before.
Related Posts
Bonsai Repotting Guide: Step-by-Step for Beginners

How to Make Homemade Organic Fertilizer for Bonsai

Worm Castings for Bonsai: How to Fertilize Correctly
How to Choose Bonsai Soil for Every Tree Species
How to Save a Dying Bonsai: Overwatered or Wilting
How to Identify and Treat Bonsai Diseases Effectively
How to Fertilize Bonsai: Complete Technique Guide