Linh Nam Bonsai Trunk Chop & Branch Keeping Technique

InBonsai Team
March 23, 2026 · 8 min read
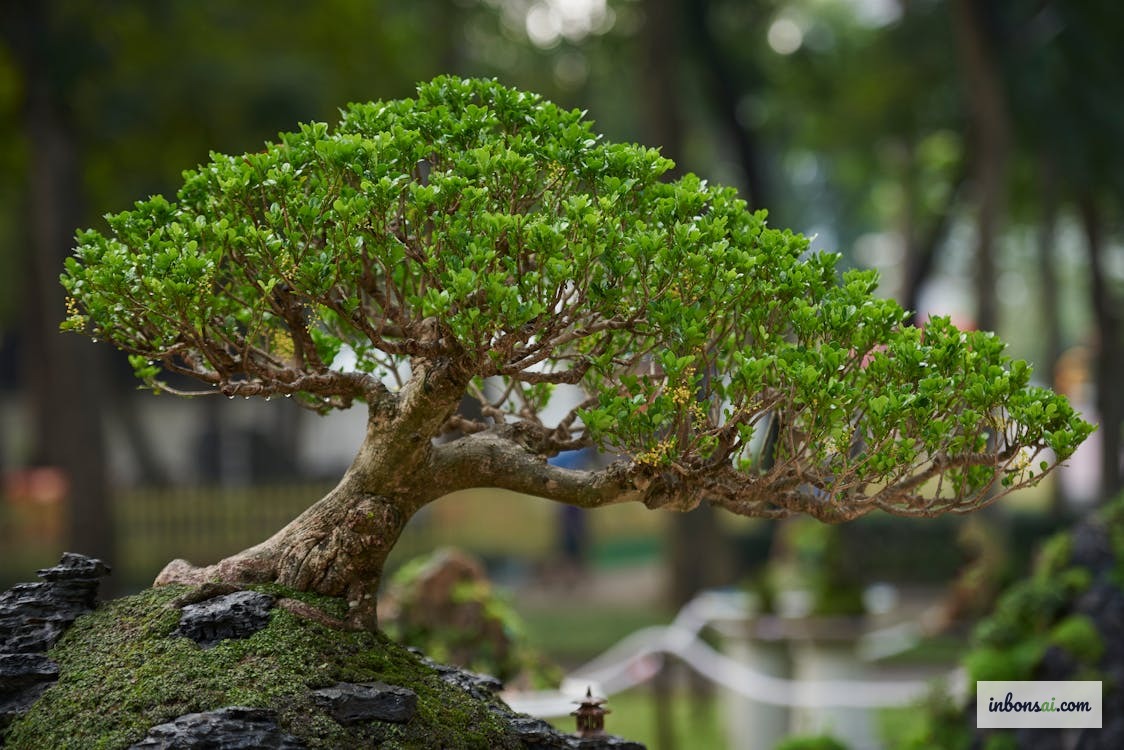
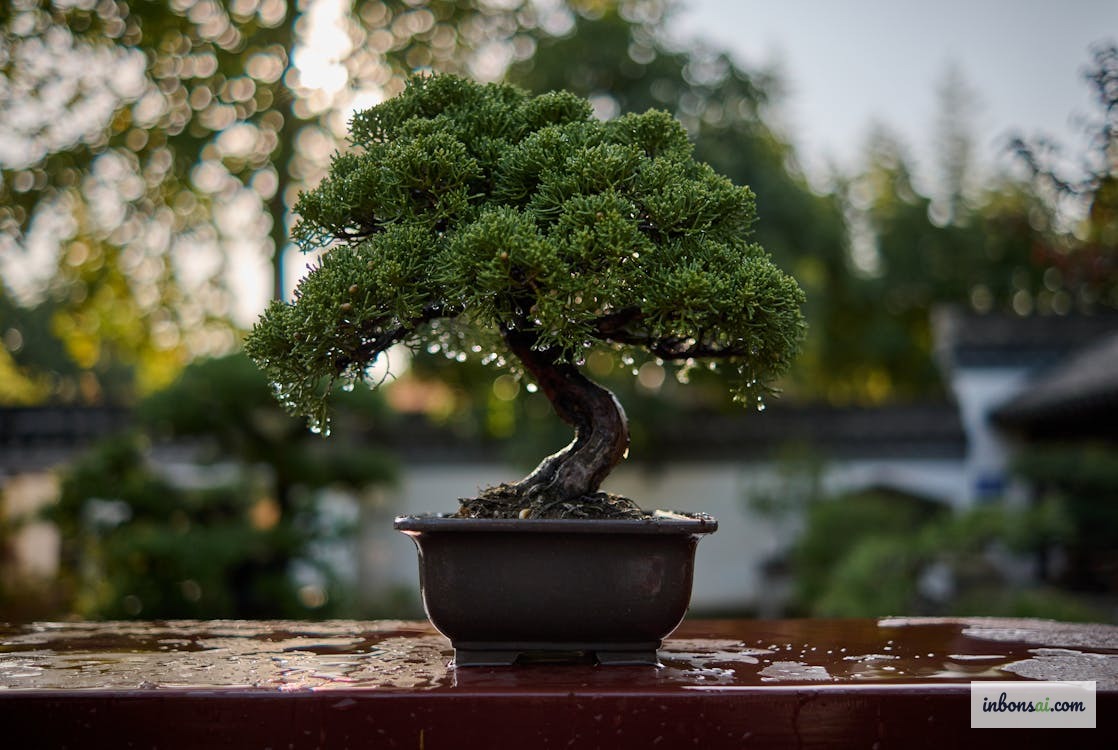
In Linh Nam bonsai, few techniques carry the school’s signature as clearly as the trunk chop and branch keeping method. This approach shapes the trunk by cutting off the apex, nurturing a side branch to take over as the new leader, then repeating the process — cycle after cycle — to produce natural zigzag bends and the rugged character of an ancient tree. If you want a thorough understanding of this Linh Nam trunk chop technique and how to execute it correctly, this guide covers everything you need.
What Is the Trunk Chop and Branch Keeping Technique?
The trunk chop and branch keeping technique — also called “chop and grow” — is the defining method in Linh Nam bonsai for developing trunk form. Rather than wiring or waiting for natural growth, the artist actively intervenes in the growth cycle: allow the tree to reach a target height, then chop off the top while retaining one healthy side branch to continue growing as the new trunk leader.
Through repeated chop-and-grow cycles, the trunk develops increasingly thick sections from base to apex — what bonsai terminology calls taper. Each cut site heals over time into an uneven, knobbly joint that evokes the look of an ancient tree shaped by decades of hardship.
You can read What Is Linh Nam Bonsai? for context on the aesthetic philosophy behind this style before diving into practice.
Why Does Linh Nam Favor This Approach?
The Linh Nam school originated in the Lingnan region (southern China — present-day Guangdong, Guangxi, and Vietnam), where nature displayed ancient trees repeatedly battered and regrown after storms, resulting in gnarled, powerful forms. Linh Nam artists do not aim to replicate a perfectly shaped tree — they want to capture the indomitable vitality of nature.
The trunk chop technique fits that philosophy for several reasons:
- Faster trunk development: Compared to wiring, chop-and-grow builds trunk mass and taper more efficiently, especially with fast-growing tropical species.
- Natural scar joints: Healed chop sites produce irregular knuckles over time, perfectly expressing Linh Nam’s “impermanent nature” aesthetic.
- Directional control without wire: By choosing different side branches with each chop, the artist steers trunk direction without tying wire.
Importantly, this technique is not improvised — it demands a clear vision of the finished design and a consistent chop-grow plan maintained across many years.
Core Principles Before You Begin
Three principles are non-negotiable:
Principle 1: Each trunk section must taper toward the apex
This is rule number one. Every new section grown after a chop must be roughly one-third narrower in diameter than the section below. Chopping too early (when the new branch hasn’t thickened sufficiently) or too late (when it has grown as wide as the old trunk) ruins the taper — the tree loses its natural proportions.
Principle 2: Alternate chop directions to create a zigzag
With each chop, select a branch pointing in the opposite or perpendicular direction to the previous one. This creates the characteristic Linh Nam zigzag trunk rather than a monotonous straight line. If the first redirect goes left, the next should go right or forward/back.
Principle 3: Cut at the correct angle
The ideal cut angle is approximately 45°, angled slightly backward in the direction of the kept branch’s growth. This allows water runoff from the wound, speeds healing, and produces a naturally swelling scar at the joint.
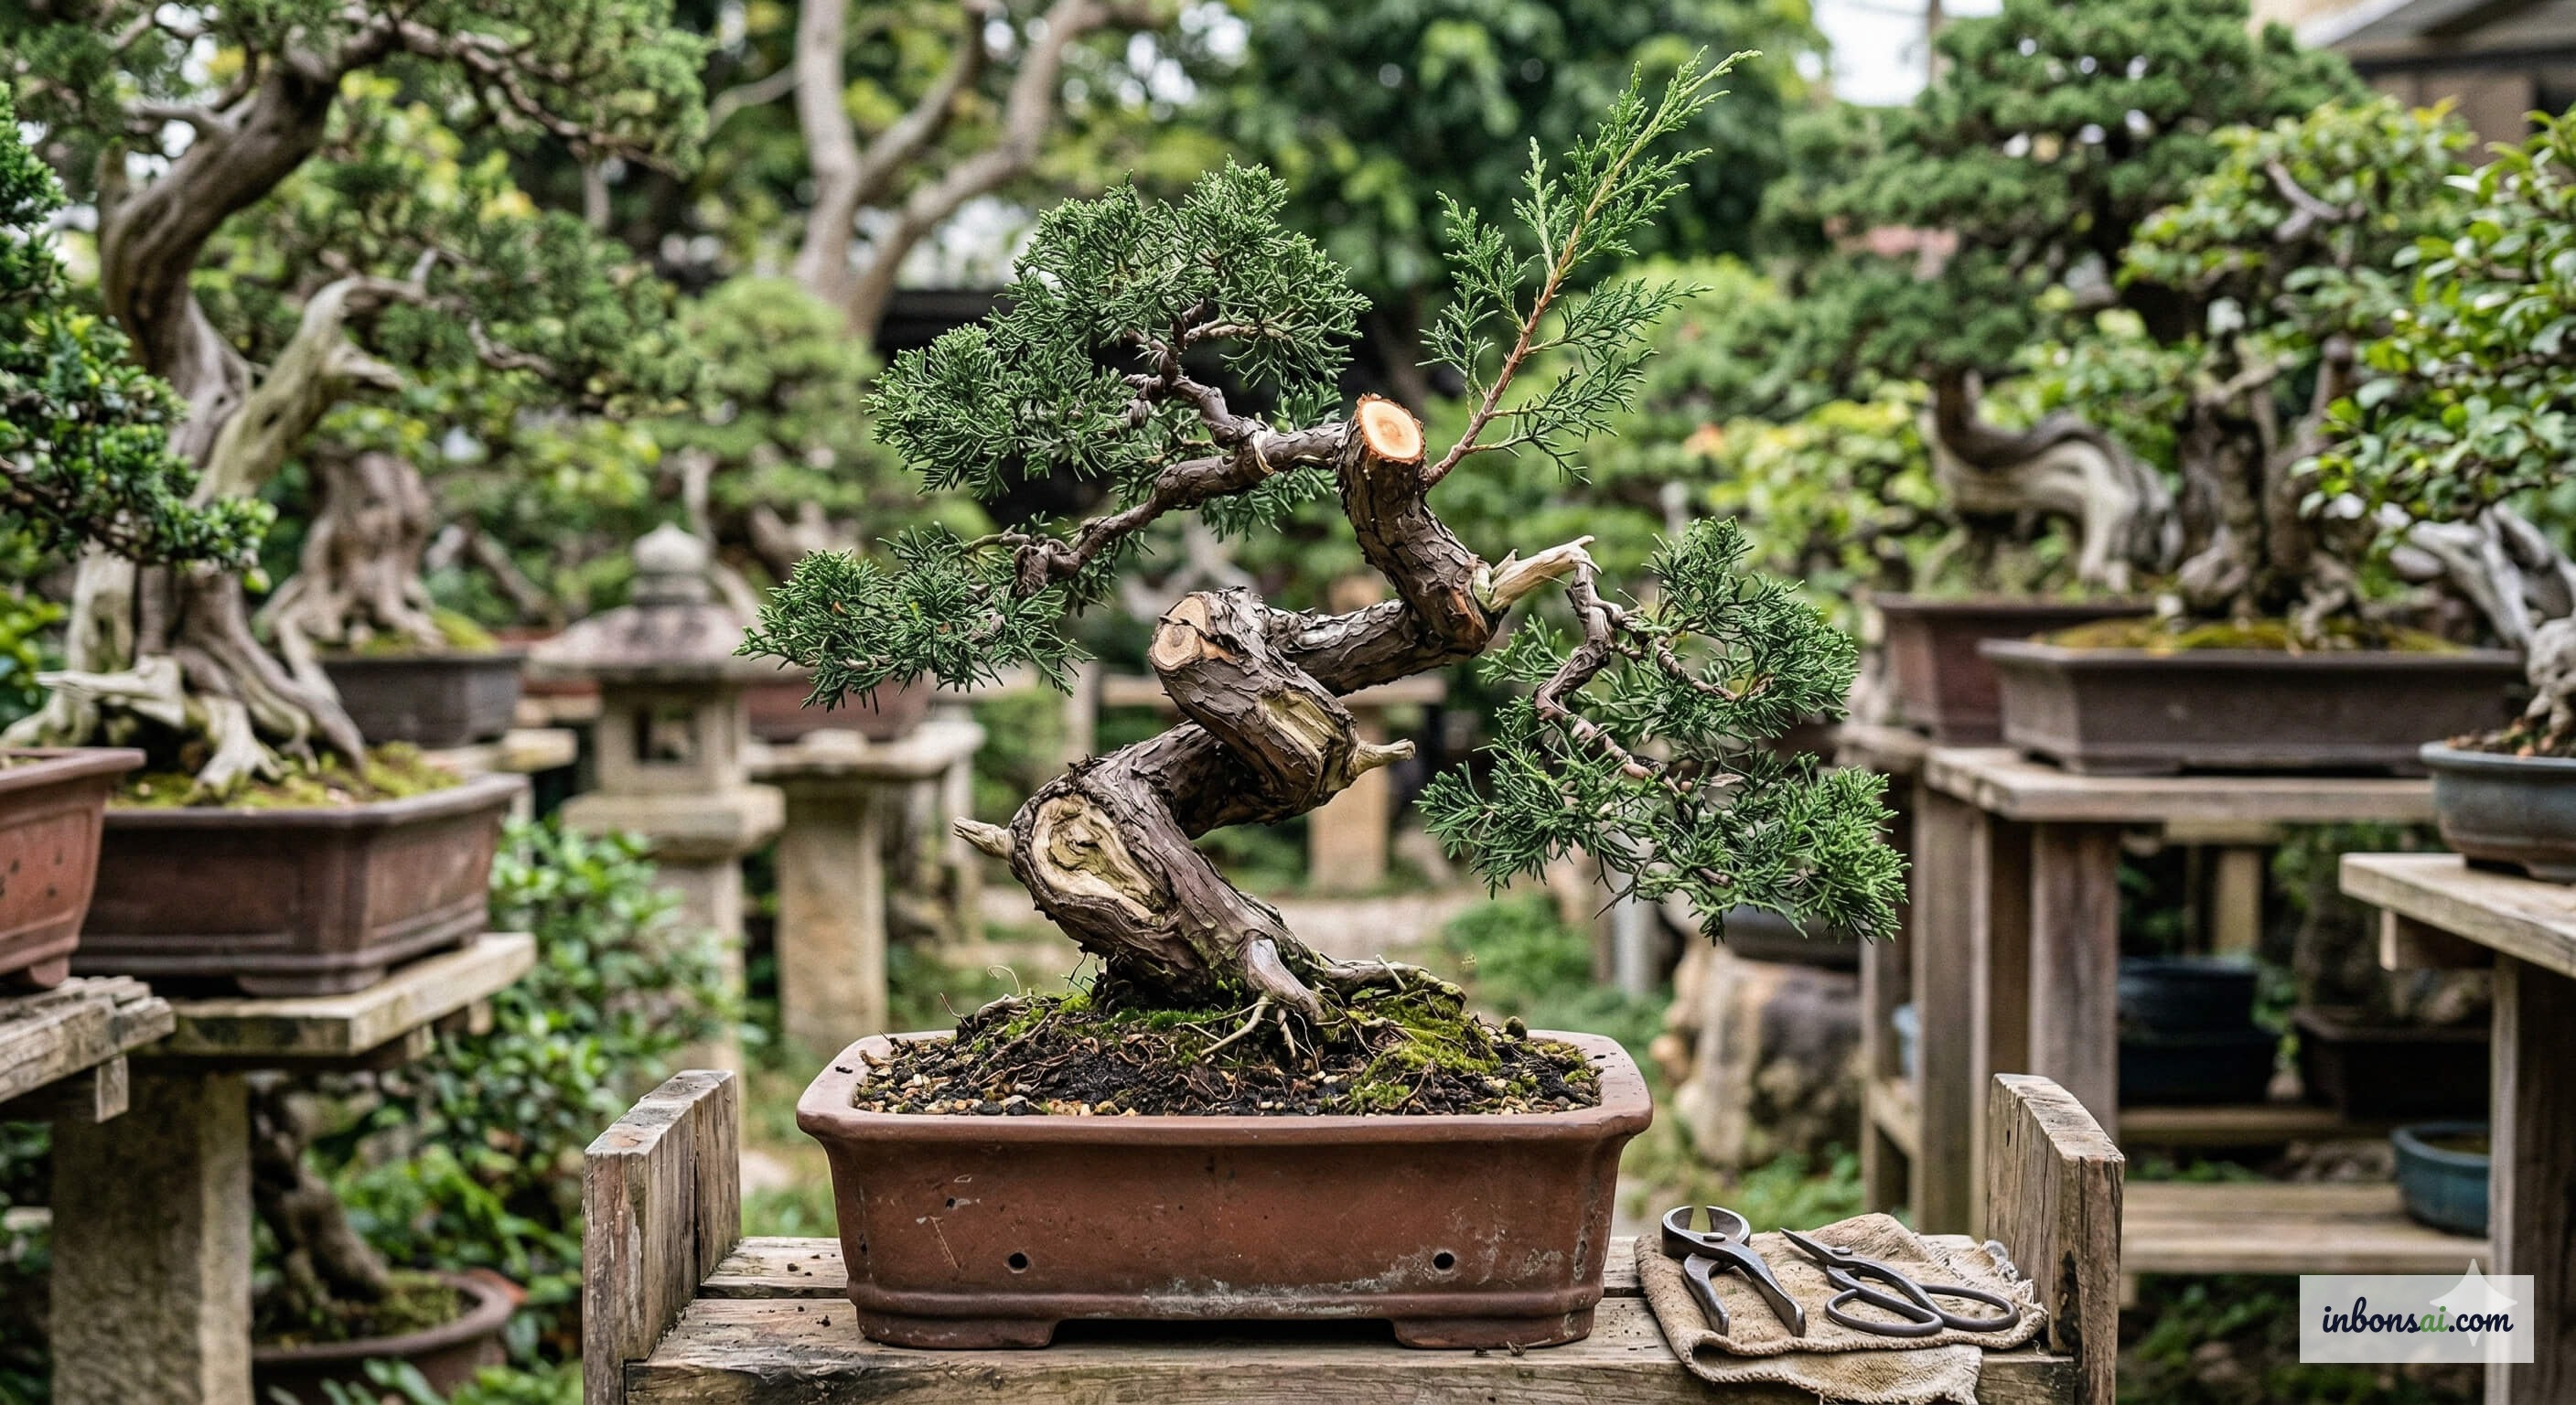
Step-by-Step Process
Here is the detailed workflow for one complete chop-and-grow cycle:
Step 1 — Plan the design: Determine the final height of the finished tree. Divide that into the number of trunk sections needed — typically 5–8 for a medium-sized bonsai. Sketch the intended trunk path on paper before making any cuts.
Step 2 — Grow out in the ground or a large container: Plant in open ground or a large nursery pot to allow unrestricted root development. Fertilize with high-nitrogen formula (e.g., NPK 30-10-10) to maximize upward growth and trunk fattening.
Step 3 — Identify the chop point: When the trunk reaches the desired diameter for this section (typically 2–3 times the target finished diameter at that point), stop nitrogen fertilizer for 2 weeks to harden the wood before cutting.
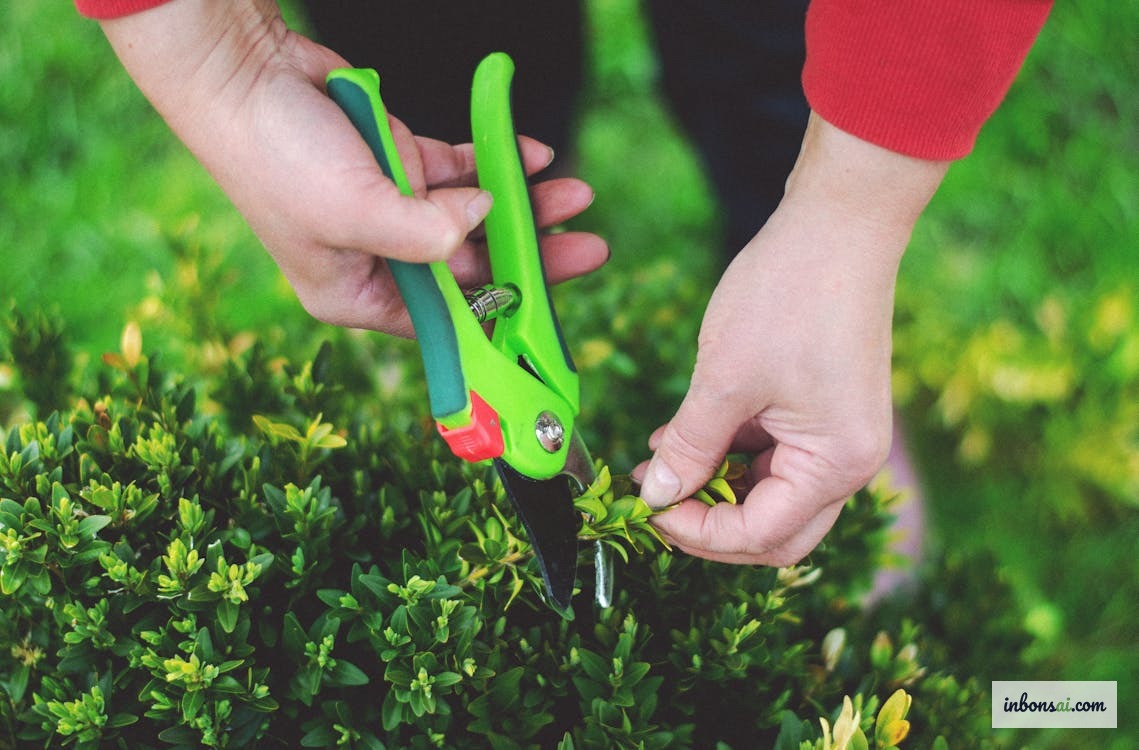
Step 4 — Make the chop: Using a sharp bonsai saw, cut cleanly across the trunk at the chosen point, leaving a healthy side branch just below the cut. Apply wound sealant immediately to prevent infection and moisture loss.
Step 5 — Grow out the replacement branch: The retained branch becomes the new trunk leader. Resume the step 2 feeding regime. In the weeks following a chop, the tree channels energy into the remaining branch — ideal timing for rapid growth.
Step 6 — Repeat: Once the new leader has thickened sufficiently, execute the next chop. Each cycle typically takes 1–3 years depending on species and growing conditions.
When to Chop
Timing the chop correctly greatly influences recovery speed and scar quality. In Vietnam’s climate, March–April (spring — onset of the rainy season) is optimal because:
- Trees are in active growth with strong sap flow
- Temperatures are moderate, reducing post-chop stress
- Spring rains stabilize soil moisture to support recovery
September–October (after the heaviest rains) is also good for a second annual chop. Avoid chopping in December–January (dry cold) or July–August (peak drought heat) when recovery is slow and wound infection risk is highest.
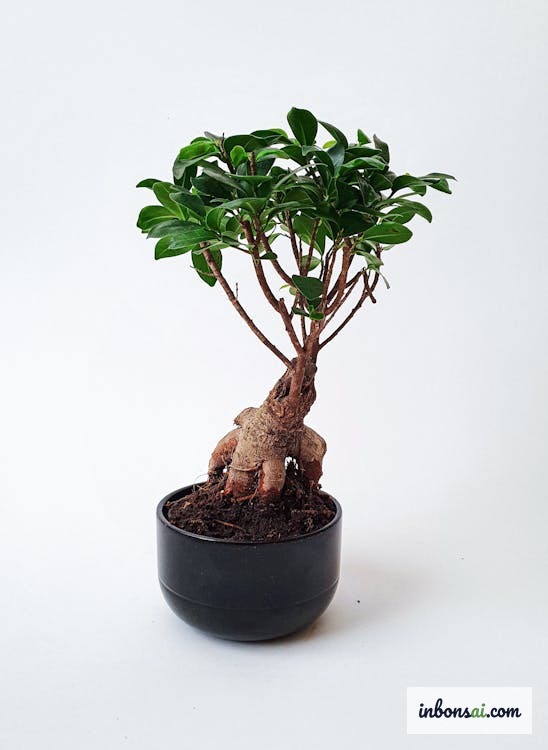
Some artists therefore complete 2 chop cycles per year on fast-growing tropical species such as Ficus microcarpa and Ficus retusa — significantly shortening the overall development timeline.
Common Mistakes to Avoid
The following errors are common among beginners learning this technique:
Mistake 1 — Chopping before the trunk is thick enough: Results in uniform-width sections with no taper — the tree looks like joined pipes, not an ancient tree. Be patient; let the trunk fatten before each chop.
Mistake 2 — Skipping wound sealant: An open wound left unsealed invites fungal infection and heals badly, leaving a hollow cavity instead of a smooth rounded scar.
Mistake 3 — Leaving only one branch: While the technique calls for selecting one main replacement leader, keep 1–2 lower backup branches as insurance. If the primary leader is damaged, you have a fallback.
Mistake 4 — No pre-planned trunk path: Chopping without a clear sketch leads to sections pointing in random directions. After 2–3 cycles, the design feels incoherent. Plan the full trunk path before you make the first cut.
See also Linh Nam Bonsai Trunk Shaping Methods for an overview of the major trunk styles before deciding on your design direction.
Timeline and Realistic Expectations
A common question: “How long does it take to finish a bonsai using this technique?” The honest answer is 5–15 years, depending on the target size and the number of trunk sections required.
However, this is not passive waiting. Each year shows clear progress: the trunk thickens, scars heal, the overall silhouette emerges. For fast species like Ficus microcarpa or Ficus retusa, each chop-and-grow cycle can be completed in 12–18 months when the tree is grown in open ground with proper fertilization.
Linh Nam artists often say: “As the tree matures, so does the soul of the person who tends it.”
Expert Tips from Linh Nam Masters

A few tips rarely mentioned in introductory guides:
Tip 1 — Use open ground for the first cycle: The first chop-and-grow cycle (building the base section) should be done with the tree planted directly in garden soil, not a container. Unrestricted roots allow 3–5× faster growth compared to a pot.
Tip 2 — Wait for the ideal replacement bud: Don’t chop the moment the trunk is thick enough. Wait until a well-positioned branch emerges in exactly the direction and location you want, then chop. Waiting an extra 2–3 months for a better branch is almost always worth it.
Tip 3 — Keep a design journal: Photograph the tree every 3 months and log the chop date, species, weather conditions, and fertilizers used. After a few years this data becomes invaluable for estimating development timelines on future projects.
Finally, for complementary guidance on building the branch structure once your trunk is established, read Branch Development Methods for Linh Nam Bonsai.
The Linh Nam trunk chop technique is a journey requiring patience, strategic thinking, and genuine love for the art. Every cut is an artistic decision; every kept branch is a choice about the future of the work. Start with one small tree, apply each principle carefully — and in time you will understand why this is the very soul of Linh Nam bonsai.