How to Propagate Water Jasmine Bonsai: Cuttings & Air Layering
InBonsai Team
April 16, 2026 · 10 min read
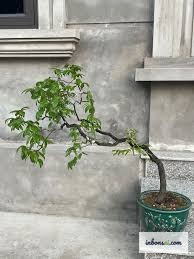
Water jasmine bonsai (Syzygium myrtifolium) is one of Vietnam’s most sought-after ornamental plants — but prices keep rising and wild-collected specimens are increasingly scarce. Rather than relying on the market, many enthusiasts are now propagating water jasmine at home through stem cuttings and air layering. Both methods save money and help reduce pressure on wild populations.
This guide walks you through every step of propagating water jasmine through stem cuttings and air layering — from tool preparation to caring for newly rooted plants.
Why Propagate Water Jasmine at Home?
Growing your own cuttings from a healthy parent plant offers clear advantages over buying from a nursery or market:
Significant cost savings: A cutting taken from your own parent plant costs nothing. By contrast, a wild-collected water jasmine can fetch hundreds of thousands to several million Vietnamese dong depending on size and root character.
Healthier, more adaptable plants: Propagated plants are accustomed to pot culture from the start, giving them a much higher survival rate than freshly dug wild specimens that often struggle with transplant shock.
Supporting conservation: Water jasmine is being over-harvested from its natural rocky limestone habitats. Propagating artificially reduces demand for wild trees — a responsible choice for the hobby community.
The joy of creation: Nothing compares to nurturing a bonsai from a tiny cutting through years of careful shaping. A self-propagated tree carries far more personal meaning than one purchased ready-made.
If you already have a healthy parent plant, propagation also gives you backup material, gifts for fellow enthusiasts, or extra trees to practise shaping techniques on.
Tools and Materials You’ll Need
Before you start, gather the following to maximise your success rate:
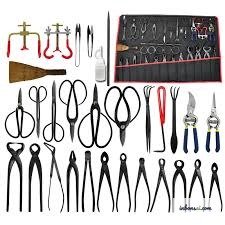
Essential tools:
- Sharp pruning shears or grafting knife — sterilised with 70% isopropyl alcohol
- Small propagation trays or clear plastic cups
- Misting spray bottle
- Plastic bags or cut plastic bottles to create a mini greenhouse
- Ties or rubber bands (for air layering)
Propagation media (choose one):
- Moist coco coir — good moisture retention, well-aerated, most popular
- Sphagnum moss — ideal for air layering, exceptional moisture retention
- Clean sand + coco coir (1:1) — good drainage, low disease risk
- Pure perlite — excellent for stem cuttings, easy root inspection
Rooting hormone (optional but recommended):
- IBA powder or gel (Indole-3-butyric acid)
- Pure honey works as a natural antibacterial alternative
- Fermented rice water is a traditional folk remedy for stimulating roots
The most critical factor is tool hygiene — fungi and bacteria from dirty tools are the leading cause of cutting failure. Wipe blades with alcohol before and after every cut.
Step-by-Step Stem Cutting Technique

Stem cuttings are the most accessible propagation method for water jasmine. With correct technique and good conditions, success rates reach 70–85%.
Selecting the Right Cutting
Not all stems root equally well. Look for:
- Semi-hardwood stems — partially lignified, not floppy-soft but not fully woody
- 8–12 cm long with at least 2–3 leaf nodes
- No signs of pests or disease, no spots or deformities
- Preferably a straight stem growing from the main trunk
Step-by-Step Process
-
Make the cut: Use sharp shears to cut at a 45-degree angle just below a leaf node (about 5 mm). The angled cut increases the surface area for rooting and allows water to drain.
-
Strip lower leaves: Keep the top 2–3 leaves; remove all leaves from the lower portion that will be inserted into the medium. If remaining leaves are large, cut them in half to reduce moisture loss.
-
Apply rooting hormone: Dip the cut end into IBA powder (or dab with gel), then tap off excess. If using honey, coat the tip with a thin layer.
-
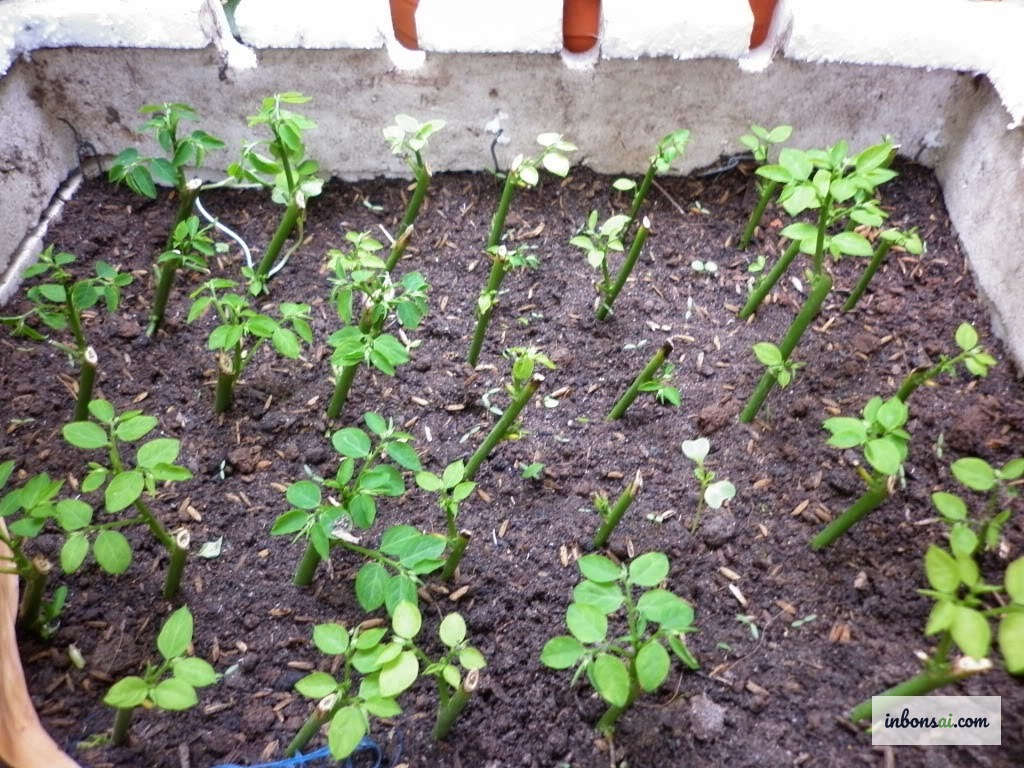
Insert into medium: Pre-make a hole in the moist medium with a stick, then gently insert the cutting (inserting directly would scrape off the hormone). Bury about one-third of the cutting length.
-
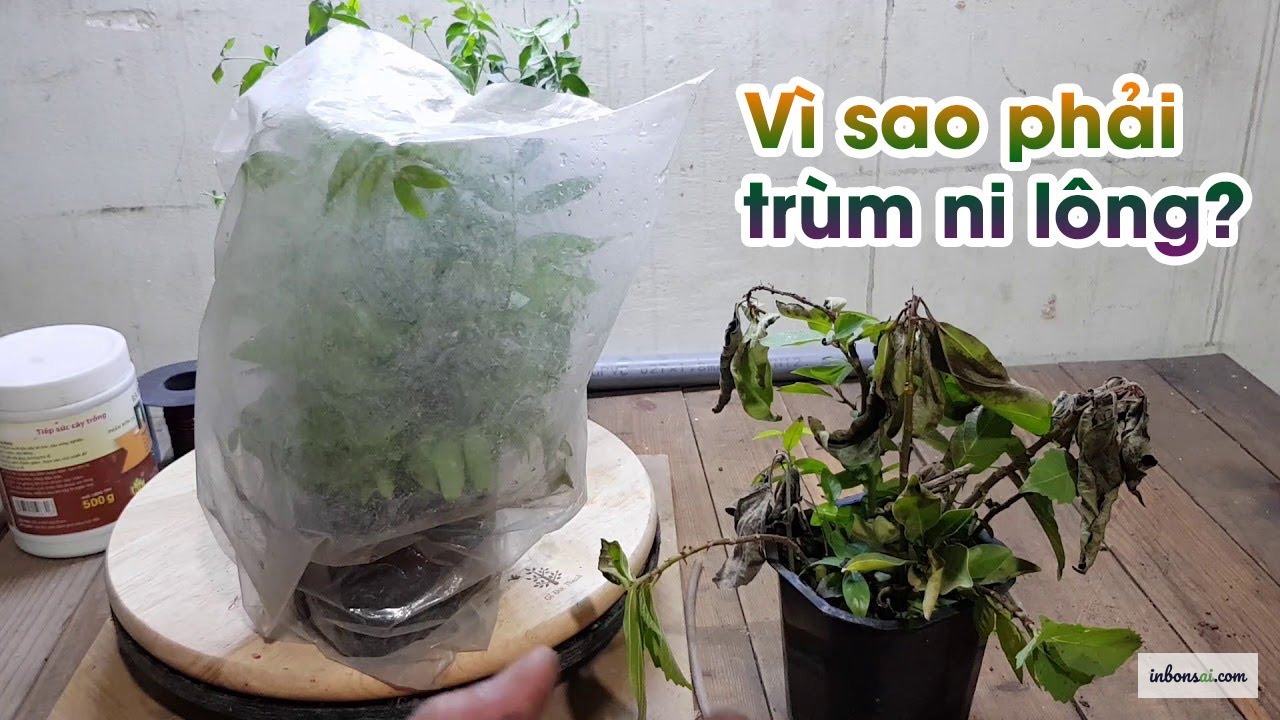
Create a humid environment: Cover with a plastic bag or inverted plastic bottle to form a mini greenhouse. Maintain high humidity without waterlogging — the cutting needs moisture, not standing water.
-
Provide indirect light: Avoid direct sun while roots haven’t yet formed — without roots to absorb water, the cutting wilts quickly in strong sunlight.
After 3–5 weeks, gently tug the cutting. If you feel resistance, roots have formed. You can also look through a clear cup base to inspect new roots.
Air Layering: Creating Instantly Impressive Roots
Air layering is a more advanced technique that produces a plant with a thick base and beautiful root structure right from the start — no need to wait years for the trunk to thicken. It’s ideal when you want to propagate an attractive branch without damaging the parent tree.
How to Air Layer Water Jasmine
-
Select the branch: Choose a branch 1–3 cm in diameter, healthy, with good bonsai potential. Semi-hardwood gives better results than soft new growth.
-
Ring-bark the branch: Using a sharp knife, make two circular cuts through the bark 3–5 cm apart (about 1.5× the branch diameter). Cleanly remove all bark between the two cuts down to bare wood. This is the most critical step — the cambium layer must be completely removed or the branch will simply heal over rather than produce roots.
-
Apply moist sphagnum moss: Soak sphagnum moss in water, then wring it until just damp. Pack a generous handful around the ring-barked area to form a moist ball about 6–8 cm across.
-
Wrap with plastic film: Wrap the moss ball tightly in clear plastic film and secure both ends firmly with ties. Keep direct sunlight off the wrap to prevent overheating and mould.
-
Check after 4–8 weeks: When white roots have penetrated the moss and are visible through the plastic — with at least 5–7 roots measuring 3–5 cm long — the branch is ready to sever.
-
Sever and pot: Cut just below the moss ball (keep the moss and roots intact — do not pull them apart). Plant the entire moss ball in well-draining bonsai soil. Water gently and shade for 2–3 weeks while the plant acclimatises.
For a deeper understanding of the technique, see our guide on air layering bonsai for high success rates.
Best Time of Year to Propagate
Timing directly affects success rates. Water jasmine is a tropical species that thrives in warm, humid conditions.
Best time for stem cuttings: March–May (early summer in the South) and April–June in the North when temperatures have warmed. The tree is in active growth, producing vigorous new shoots and root formation is rapid.
Best time for air layering: April–July — coinciding with the start of the rainy season, when natural humidity supports root development. Avoid air layering in the dry season or in cold winter months (northern regions from November–February), as low temperatures suppress cell division and extend rooting time dramatically.
Ideal conditions: 25–32°C and air humidity above 70%. In northern Vietnam, supplement ambient humidity with misting or a water-filled tray placed nearby.
Caring for Newly Propagated Plants

The period immediately after propagation is when most failures occur. New roots are fragile — they need careful protection before the plant can handle normal conditions.
Weeks 1–2 After Separating
Keep in shade and away from direct sun. Water lightly — the medium should be just barely moist, not saturated. Slight wilting during the first 3–5 days is normal as the young root system cannot yet compensate for leaf transpiration.
Weeks 3–4
Begin introducing gentle morning sun (7–9 am). If the plant isn’t wilting and is producing new leaves, roots are stabilising. Start light feeding at half the recommended dilution using balanced NPK or diluted liquid organic fertiliser.
Month 2 Onwards
Once the plant is putting out regular new growth, transition to full adult care. See our detailed guide on caring for water jasmine bonsai for the complete routine on watering, fertilising, and light management.
Important note: Cutting-grown plants have finer, less-branched root systems than wild specimens. Do not repot in the first year — let the plant consolidate its roots before introducing repotting stress.
Common Mistakes When Propagating Water Jasmine
Learning from common pitfalls saves time and heartbreak:
Using immature cuttings: Cuttings that are still soft and floppy tend to rot before they can root. Wait until the stem has begun to lignify (turn slightly woody).
Medium too wet or too dry: Either extreme causes failure. Overwatered medium causes stem rot; too-dry medium causes wilting and death. The ideal feel: moist but not dripping when squeezed.
Unsterilised tools: Fungal and bacterial infection from dirty tools is the most common reason cuttings fail. Always alcohol-wipe your blade.
Direct sunlight during rooting: Without roots to take up water, cuttings desiccate rapidly in strong sun. Indirect bright light is essential for the first 4–5 weeks.
Severing the air layer too soon: Many people lose patience and cut before sufficient roots have formed. Wait for at least 5–7 white roots reaching 3 cm before severing — give it another week or two after the first roots appear.
Incomplete ring-barking: Leaving any cambium tissue allows the branch to heal over instead of producing roots. Scrape until you see clean white wood.
For more general guidance, our article on stem cutting bonsai technique with high survival rates covers helpful troubleshooting tips.
From Young Plant to Beautiful Bonsai
After successful propagation, the journey of turning a young plant into a true bonsai work of art truly begins. Cutting-grown water jasmine typically needs 2–4 years to reach a size suitable for serious styling; air-layered plants can start 1–2 years earlier thanks to their thicker base.
Years 1–2: Let the plant grow freely to build a strong root system and trunk. Only remove misplaced or excessively long branches — no formal styling yet.
Years 2–3: Once the trunk has reached the desired diameter, begin wiring primary branches with aluminium wire to set their direction. Young water jasmine branches are quite flexible — wire for 3–4 months then remove, checking periodically to prevent wire from biting into the bark.
Years 3–4: With the branch structure established, move to refinement — thinning secondary branches, developing the canopy, and transferring to an appropriate bonsai pot. By this point, your self-propagated water jasmine will have started to develop a genuine bonsai character.
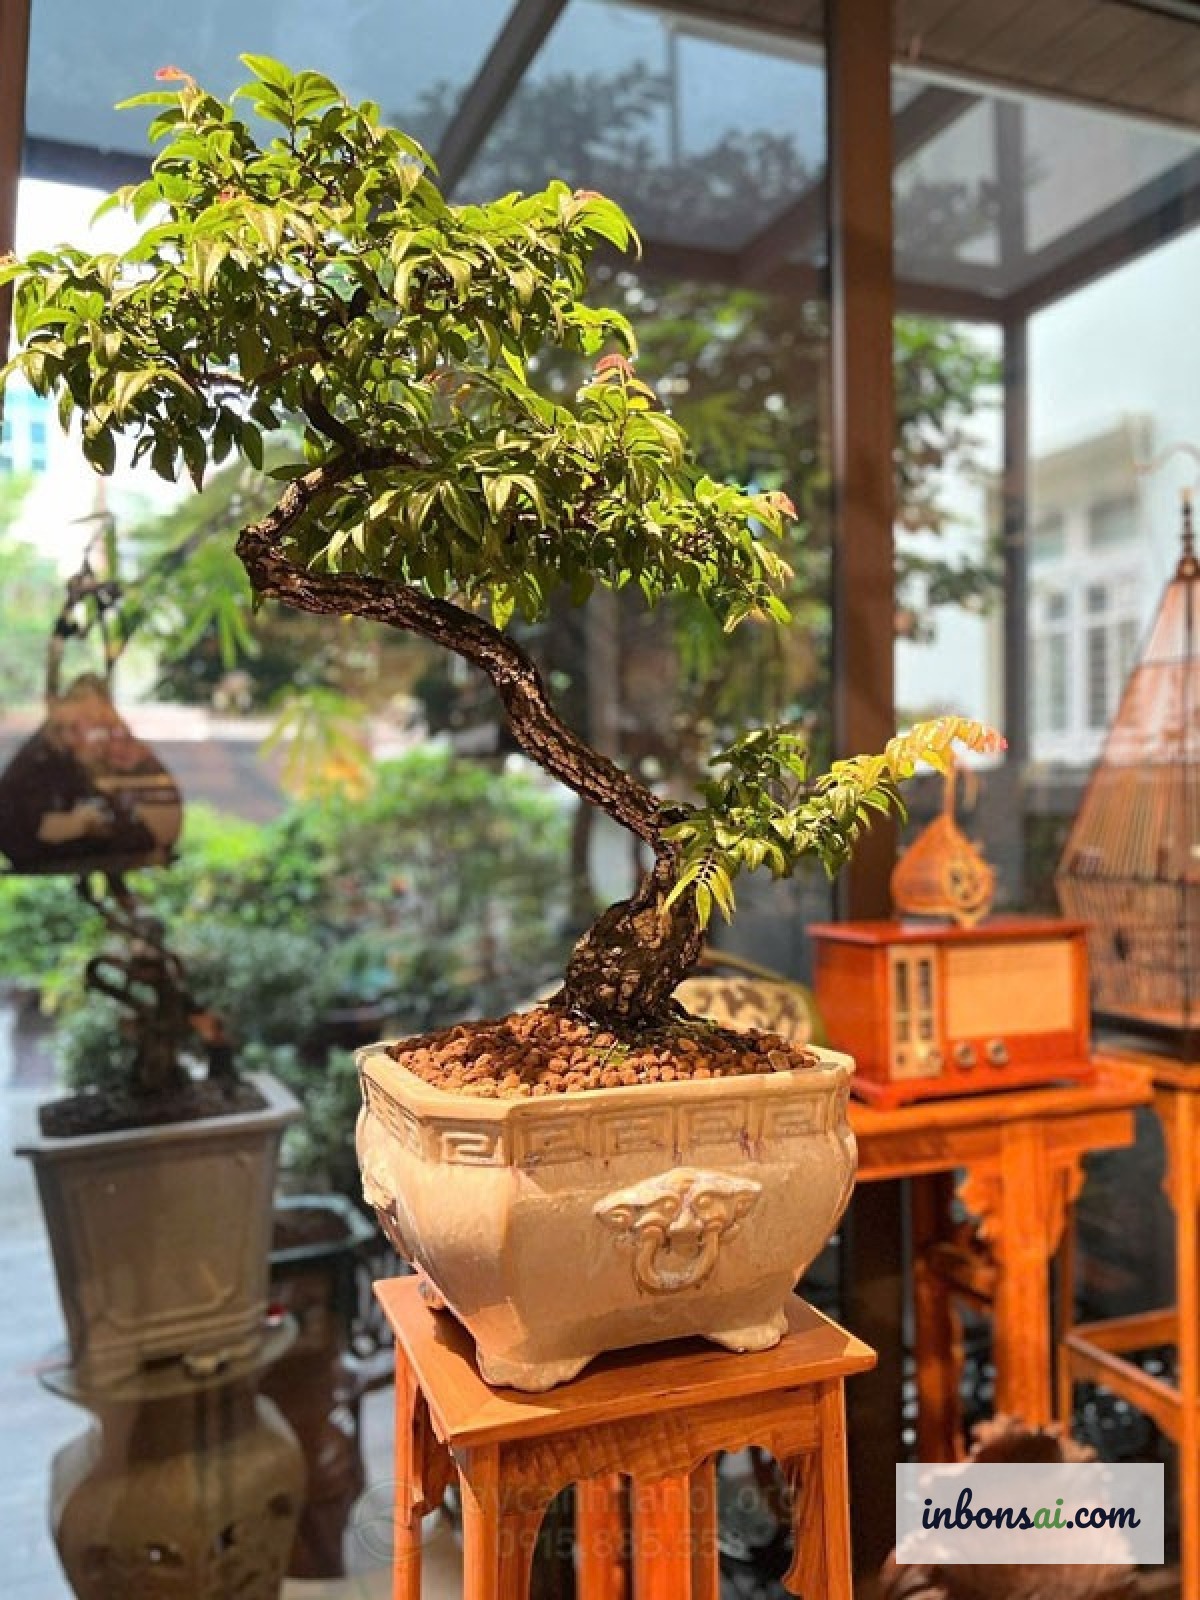
Fascinatingly, artificially propagated water jasmine can achieve beauty rivalling wild-collected specimens after a few years of patient shaping — particularly when grown root-over-rock to recreate its natural rocky-cliff aesthetic.
Propagating water jasmine through stem cuttings or air layering is entirely achievable with the right preparation and timing. Start with a few cuttings from a healthy parent plant and within a few weeks you’ll have new plants full of potential — not only saving money but opening up a truly personal bonsai journey that is yours from the very beginning.
Related Posts
How to Propagate Water Jasmine Bonsai: Cuttings & Air Layering
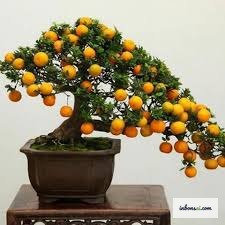
Kumquat Bonsai for Tet: Complete Growing & Care Guide
Pomegranate Bonsai Yellow Leaves: Causes & Treatment Guide
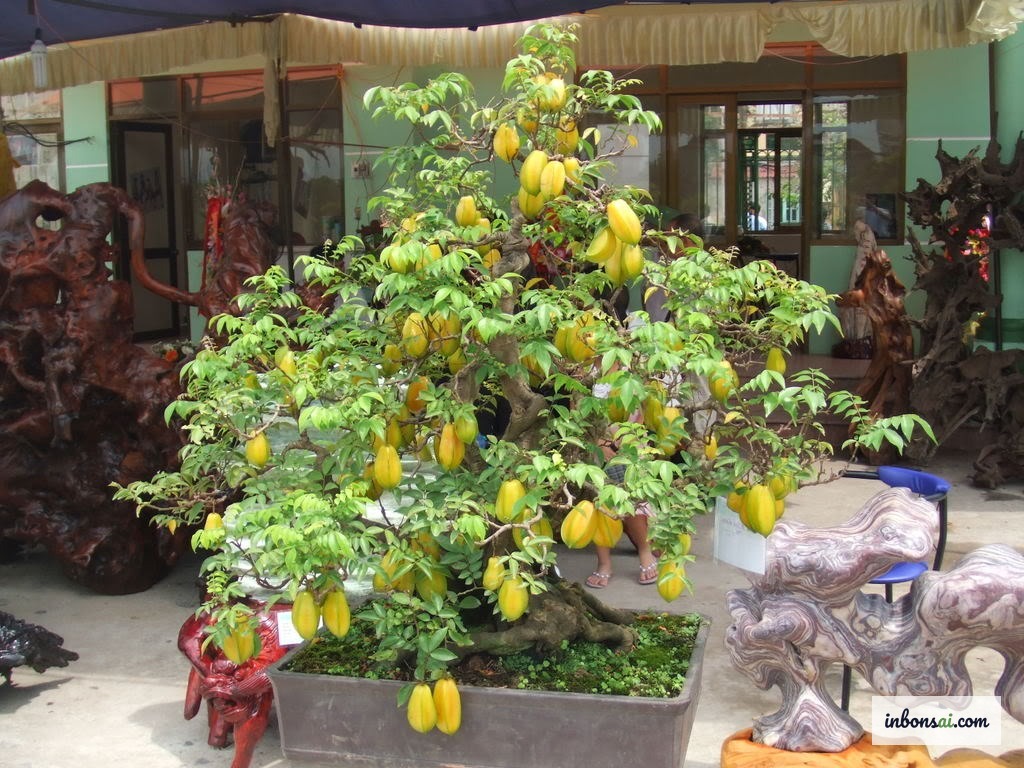
Starfruit Bonsai Mini: Feng Shui Meaning and Care Guide
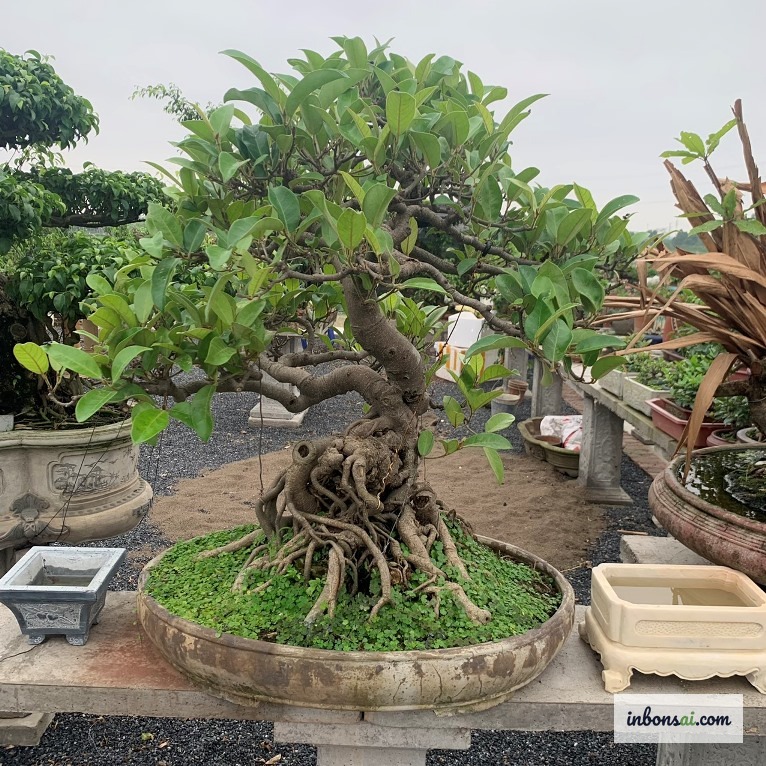
Banyan Bonsai Feng Shui: What Ages Does It Suit?
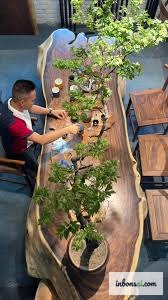
Muoi Hong Tea Table Bonsai: Styling Guide
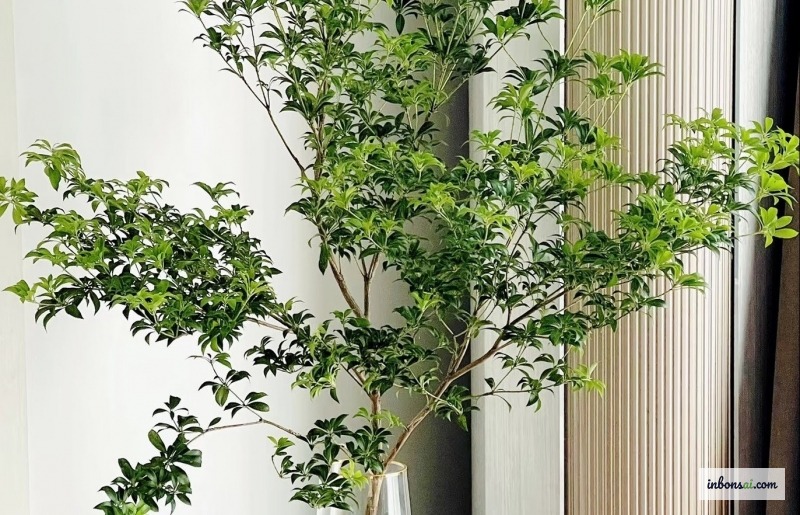
Syzygium Myrtifolium Bonsai: Complete Care Guide