Bonsai Care in Rainy Season: Preventing Root Rot
InBonsai Team
April 1, 2026 · 10 min read
The rainy season — stretching from May to November in southern Vietnam and June to October in the north — is the most hazardous period for bonsai, especially when it comes to waterlogging and root rot. Proper bonsai care during the rainy season not only helps your trees survive months of heavy rain but also preserves the healthy root system that underpins long-term vigor. This guide covers everything from recognizing early warning signs and managing moisture, to improving your growing medium and emergency treatment when rot has already set in.
Why the Rainy Season Is So Dangerous for Bonsai
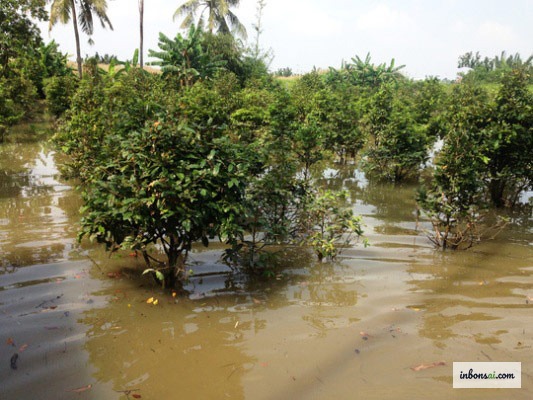
Bonsai grow in shallow pots with a small volume of soil — this defining feature of the art form is also what makes trees especially vulnerable during wet weather. When rain falls continuously for days, the substrate stays permanently saturated and the air pockets roots depend on for oxygen and nutrient uptake disappear completely.
Roots require oxygen to carry out cellular respiration and absorb water and minerals. In waterlogged soil, oxygen is entirely displaced by water, and fine feeder roots begin dying within 24–48 hours. Worse, the anaerobic, moisture-rich environment is ideal for fungal pathogens like Phytophthora, Pythium, and Fusarium to proliferate rapidly.
The insidious part of root rot is that above-ground symptoms often don’t appear for one to two weeks after the damage begins. By the time leaves start yellowing or wilting, 30–50% of the root system may already be destroyed. This is why proactive prevention during the rainy season matters far more than reactive treatment after disease takes hold.
Signs Your Bonsai Has Waterlogged or Rotting Roots
Catching root rot early significantly improves your chances of saving the tree. Watch for these symptoms in order of severity:
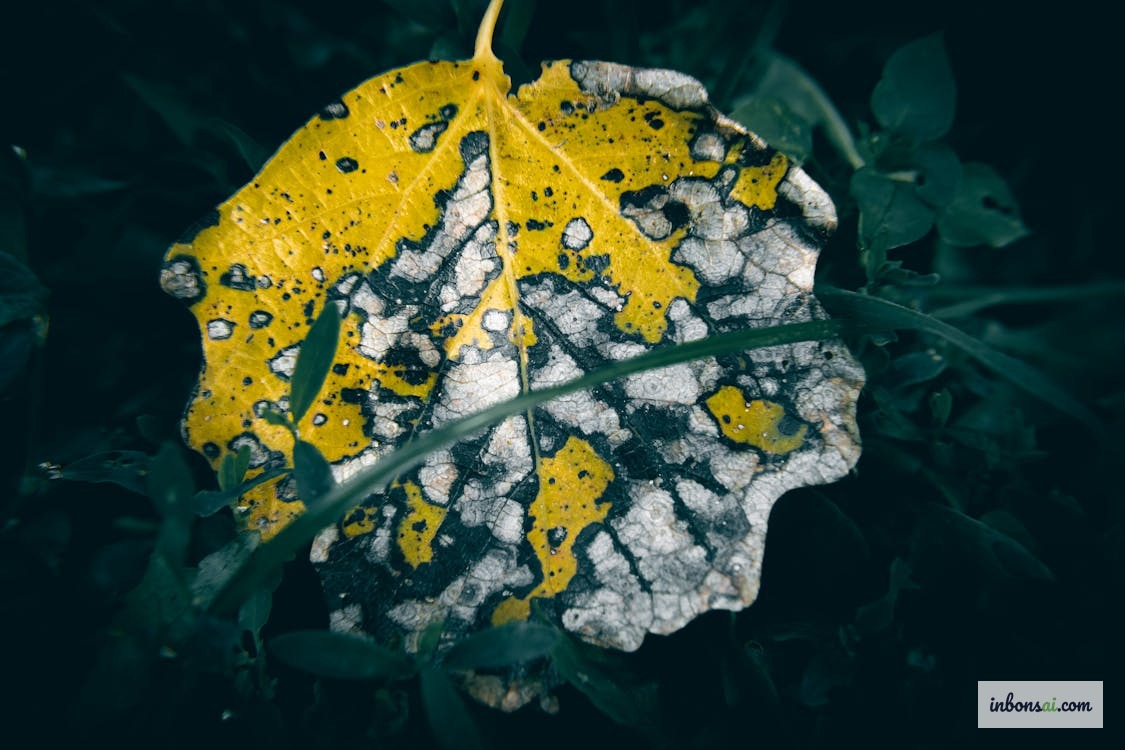
Early stage (1–2 weeks): Older leaves at the base or on lower branches turn pale yellow. New growth may wilt slightly in the afternoon even when the soil feels moist. This stage is easily confused with nutrient deficiency since the visual symptoms are nearly identical.
Middle stage (2–4 weeks): Wilting becomes obvious and does not recover after watering. Multiple branches lose vitality. Pressing a finger into the soil reveals it is cold and saturated even without recent watering. A faint sour or musty odor from the pot is a reliable warning sign.
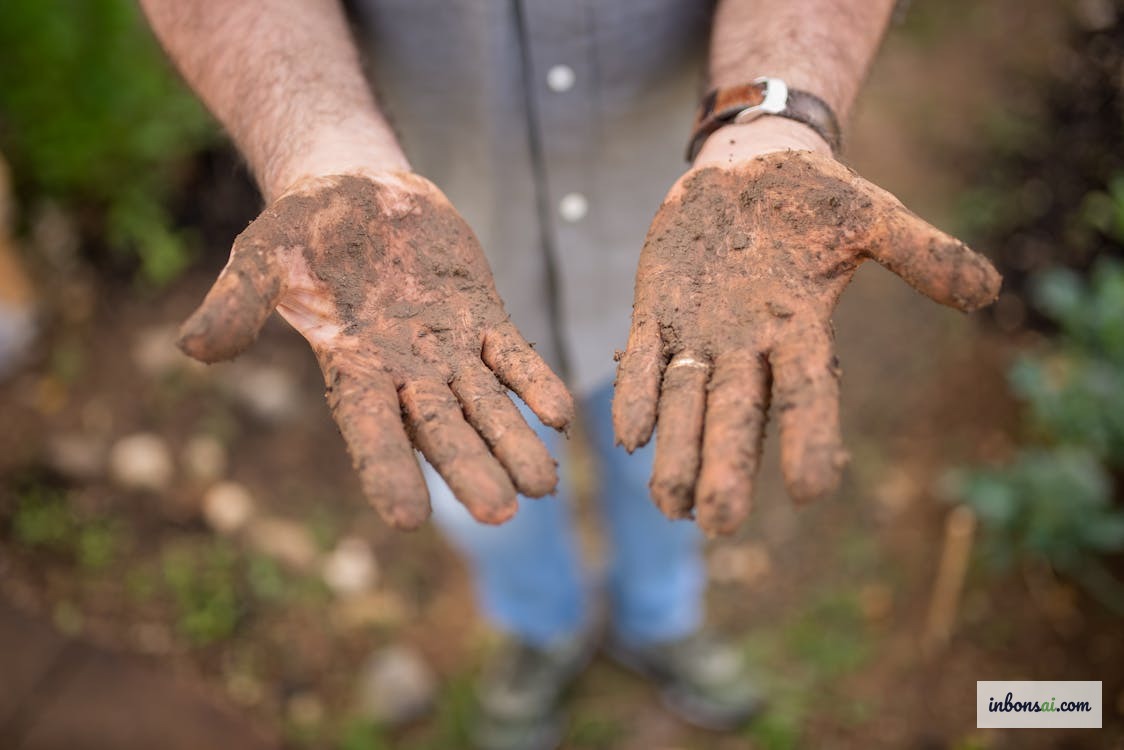
Advanced stage (>4 weeks): Branches die back in sections, leaves drop in large numbers. Examining the roots directly reveals brown-black, soft, slimy tissue that breaks apart easily — healthy roots, by contrast, are ivory-white and firm.
You can also do a quick check by lifting the pot: if it feels much heavier than expected when the surface soil appears dry, the lower substrate is still waterlogged and draining poorly.
How to Control Moisture and Improve Drainage
Good drainage is your first line of defense against root rot. Before the rainy season begins, check and address the following:
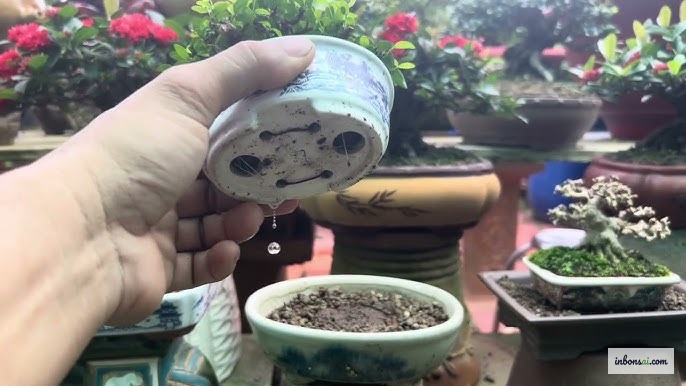
Drainage holes: Use a thin skewer to test whether drainage holes at the bottom of the pot are blocked by compacted roots or soil debris. If blocked, gently clear them with a bamboo stick. For older pots, you may need to drill additional holes using a masonry or ceramic bit.
Drainage mesh: Place a piece of fine plastic mesh or landscape fabric over each drainage hole before planting to prevent soil from washing out while allowing water to flow freely.
Pot feet and risers: Raise pots at least 3–5 cm above the surface they sit on using pot feet, wooden blocks, or purpose-made risers. This ensures water drains out completely instead of being drawn back up by capillary action from a wet surface below.
Slight pot tilt: If possible, place a small stone under one edge of the pot to create a 5–10° tilt. This simple trick accelerates drainage and ensures the substrate never becomes fully saturated.
For a deeper understanding of how substrate composition affects drainage, read our guide on bonsai soil mix ratios: akadama, pumice, and perlite.
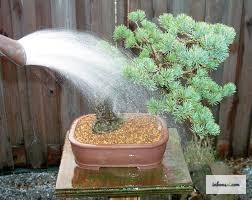
Watering Technique During Prolonged Rain
The most common mistake during the rainy season is continuing to water on a fixed schedule without checking actual soil moisture. The golden rule: water when the soil needs it, not when the calendar says so.
How to check moisture correctly: Insert a bamboo skewer or your finger 2–3 cm into the soil. If it comes out damp with soil particles clinging to it, hold off watering. Only water when the skewer comes out completely dry or the surface soil looks lighter in color and feels loose.
During continuous rain: If your bonsai sits outdoors and it rains persistently for two to three days in a row, move the tree under shelter or simply stop supplemental watering entirely for that period. Rainwater is already providing more than enough — and often too much.
Water in the morning: If you do need to water, do so in the early morning (6–8 am) so the soil has a full day to exchange gases and partially dry. Watering in the evening combined with cool overnight temperatures keeps the substrate wet for too long and encourages fungal growth.
For more detailed watering guidance by species and season, see bonsai watering techniques done right.
Choosing and Improving Your Bonsai Substrate
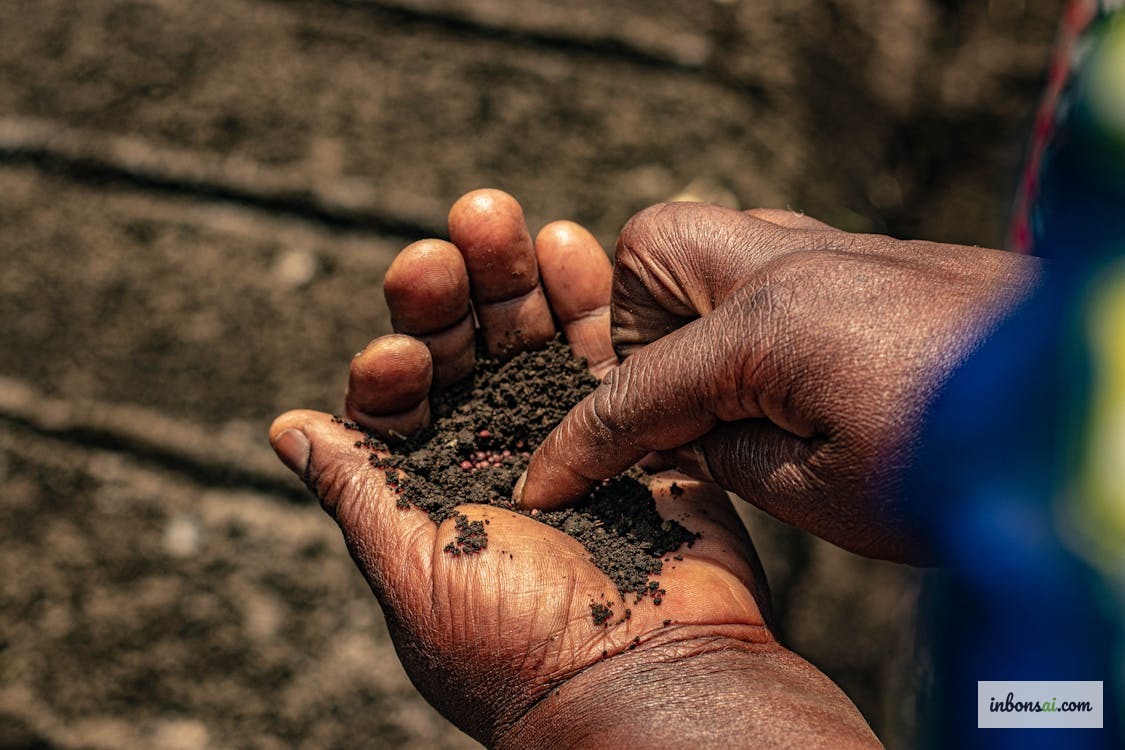
Your growing medium is the single most important factor in moisture management. Standard garden soil or clay-heavy potting mix retains water far too long to be suitable for bonsai — especially in a high-rainfall climate. The ideal substrate drains quickly yet retains just enough moisture between waterings.
Rainy-season substrate formula for tropical bonsai species:
- Akadama (fired Japanese clay): 40%
- Pumice (volcanic stone): 30%
- Perlite or coarse sand: 20%
- Coir fiber or biochar: 10%
This mix increases the pumice and perlite proportion compared to a standard formula, improving drainage speed by approximately 30–40% under heavy rain conditions.
If you can’t replace the substrate right now: Improve drainage temporarily by gently loosening the top layer of soil with a thin stick (avoiding the root zone) to create air channels. You can also add a thin top-dressing (0.5–1 cm) of a coarse sand and biochar blend to improve surface drainage.
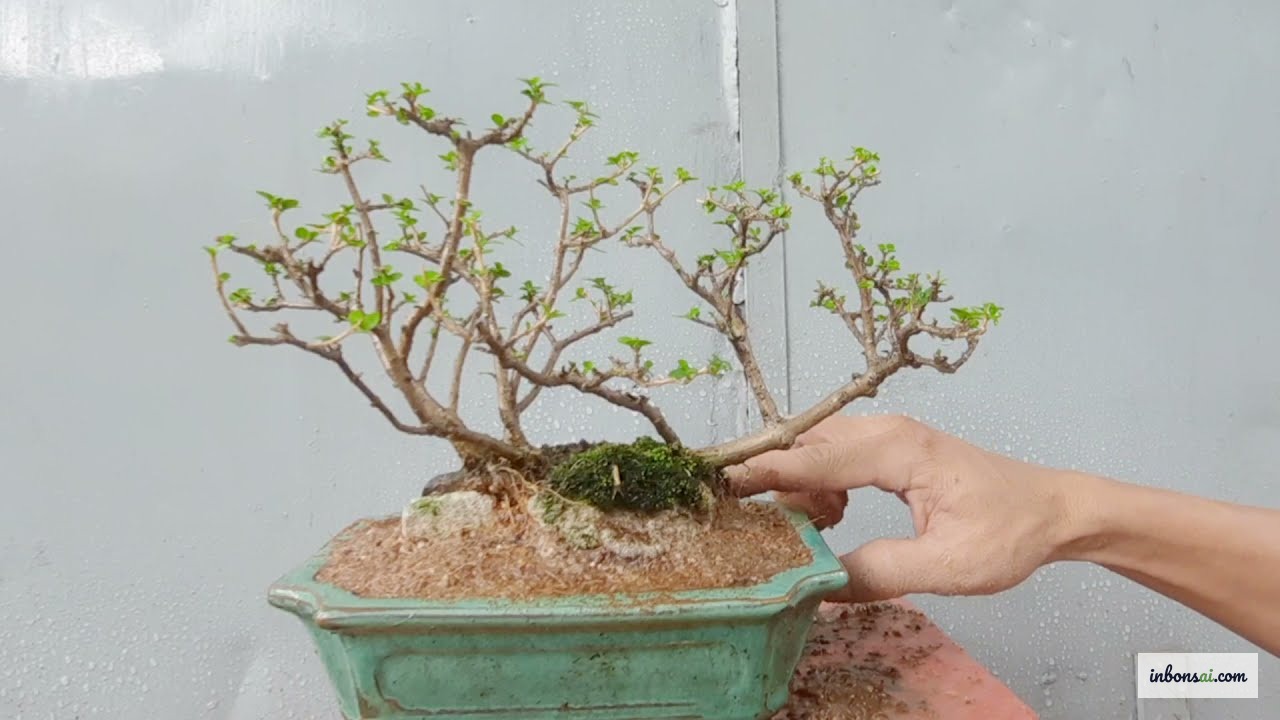
Best timing for substrate replacement: Do not repot during active rainy season — the double stress of root disturbance plus excess moisture can be fatal. Plan substrate replacement for late in the dry season (March–April) before rain begins, or at the very end of the rainy season (October–November).
Fertilizing During the Rainy Season
Rain washes nutrients from the pot faster than in dry weather, but simultaneously, a stressed root system cannot absorb fertilizer efficiently. These two forces require a careful middle approach.
Reduce fertilizer volume: During peak rainy season (more than three rainy days per week), cut your usual dose to 50%. The tree is focused on survival, not active growth.
Prioritize foliar feeding: Liquid fertilizer sprayed directly onto leaves is absorbed through stomata independently of root function — making it the preferred option when you suspect root stress. Dilute to 50% of the recommended concentration and apply on a dry morning.
Avoid high-nitrogen fertilizers: Nitrogen-rich products stimulate rapid soft growth that weakens the root system in waterlogged conditions. Switch to a balanced NPK or a potassium-rich formula to strengthen cell walls and improve the tree’s natural disease resistance.
Slow-release organic pellets: Place organic fertilizer pellets on the soil surface — they dissolve gradually and aren’t immediately washed away by rain. Keep pellets at least 3–4 cm from the trunk to avoid root burn.
Repositioning and Sheltering Bonsai During Rain
Location is a key factor in rainy-season management. Not every bonsai needs to move indoors — the goal is controlling how much rain directly enters the pot.
Light-transmitting shelter: Positioning bonsai under a transparent or semi-transparent roof (polycarbonate sheet, greenhouse panels, or a covered patio) is the ideal solution. The tree receives diffused light but is shielded from direct rainfall.
50–70% shade cloth: If you don’t have covered space, stretching shade cloth overhead simultaneously reduces direct rainfall into pots and filters harsh sunlight on mixed sunny-rainy days.
Absolutely avoid low-lying spots: Never place bonsai where rainwater collects and pools — corners of patios, areas near walls, or any sloped paving that channels runoff. Water pooling under the pot and wicking back up through the drainage holes is a leading hidden cause of root rot.
Space between pots: Ensure at least 10–15 cm of clearance between pots to allow air circulation, reduce ambient humidity around foliage, and prevent fungal diseases from spreading between trees.
Emergency Treatment When Root Rot Has Already Started
If your bonsai is already showing signs of root rot, acting within 24–48 hours is critical. Here is the emergency protocol:
Step 1 — Stop watering and move to ventilated shade: Place the tree somewhere dry with gentle airflow and indirect light. Avoid dark locations or placing it directly in front of an air conditioner vent.
Step 2 — Inspect the roots: Carefully remove the tree from its pot by tilting and supporting the base. Use a gentle stream of water to wash away soil and expose the roots clearly. Rotted roots are brown-black, soft, slimy, and break easily — cut all of them away with sterilized scissors or pruning shears.
Step 3 — Treat the cut surfaces: After removing all rotted tissue, submerge the root ball in a diluted fungicide solution (Mancozeb or Metalaxyl mixed according to label instructions) for 20–30 minutes to eliminate fungal spores from the remaining healthy roots.
Step 4 — Repot in fresh substrate: Replace all old soil (which is contaminated with fungal spores) with fresh, fast-draining substrate. Do not water for 2–3 days after repotting, allowing cut root ends to callus and dry naturally.
Step 5 — Recovery care: Keep the tree in bright indirect light with good airflow for 2–3 weeks. Mist the foliage lightly in the morning instead of watering at the root zone. Add vitamin B1 (thiamine) or a dilute rooting hormone (IBA at low concentration) to stimulate new root regeneration.
For more detailed recovery steps tailored to different levels of damage, see our full guide to rescuing a waterlogged bonsai.
Weekly Rainy-Season Care Schedule
| Frequency | Task |
|---|---|
| Daily | Check soil moisture, observe leaves and new growth |
| 2–3 times/week | Inspect drainage holes, remove weeds sprouting from airborne spores |
| Weekly | Lightly loosen soil surface, apply foliar fertilizer if needed |
| Twice monthly | Add slow-release organic pellets, inspect for pests more thoroughly |
| Monthly | Check roots through drainage hole, overall health assessment |
Rainy-season bonsai care demands more consistent attention and observation than any other time of year. But with a solid understanding of drainage management, moisture control, and early disease recognition, you can guide your trees through long wet months safely — and even use the naturally humid conditions to your advantage by encouraging healthy new root development.
Related Posts
Bonsai Care in Rainy Season: Preventing Root Rot
How to Water Bonsai in Dry Season: Complete Care Guide
How to Prevent Bonsai Pests and Diseases in Hot Weather

Bonsai Autumn Care: Pruning and Fertilizing Guide
Bonsai Summer Care: Protect Your Tree from Heat