How to Grow Natural Moss on Your Bonsai Pot
InBonsai Team
April 21, 2026 · 9 min read
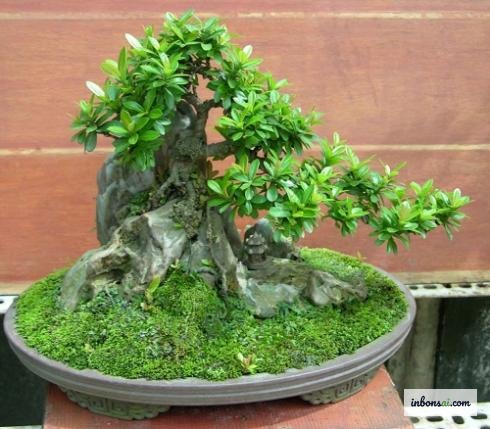
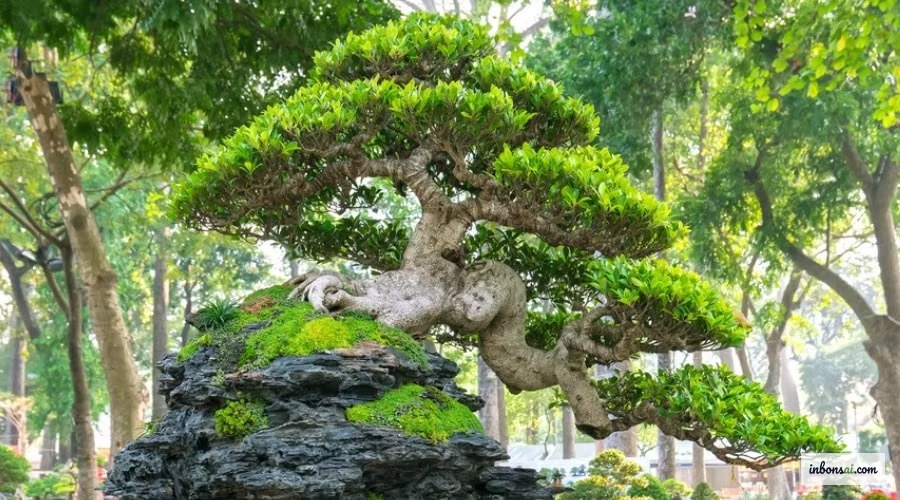
A bonsai pot blanketed in lush green moss radiates a sense of timelessness that no artificial decoration can replicate. Learning how to grow natural moss on bonsai pots is not particularly difficult, but it requires patience, the right technique, and an understanding of moss biology. This guide walks you through every step — from selecting the right moss species and collecting it correctly, to planting and maintaining a thriving green carpet that elevates your bonsai into a living work of art.
What Is Bonsai Moss and Why Does It Matter?
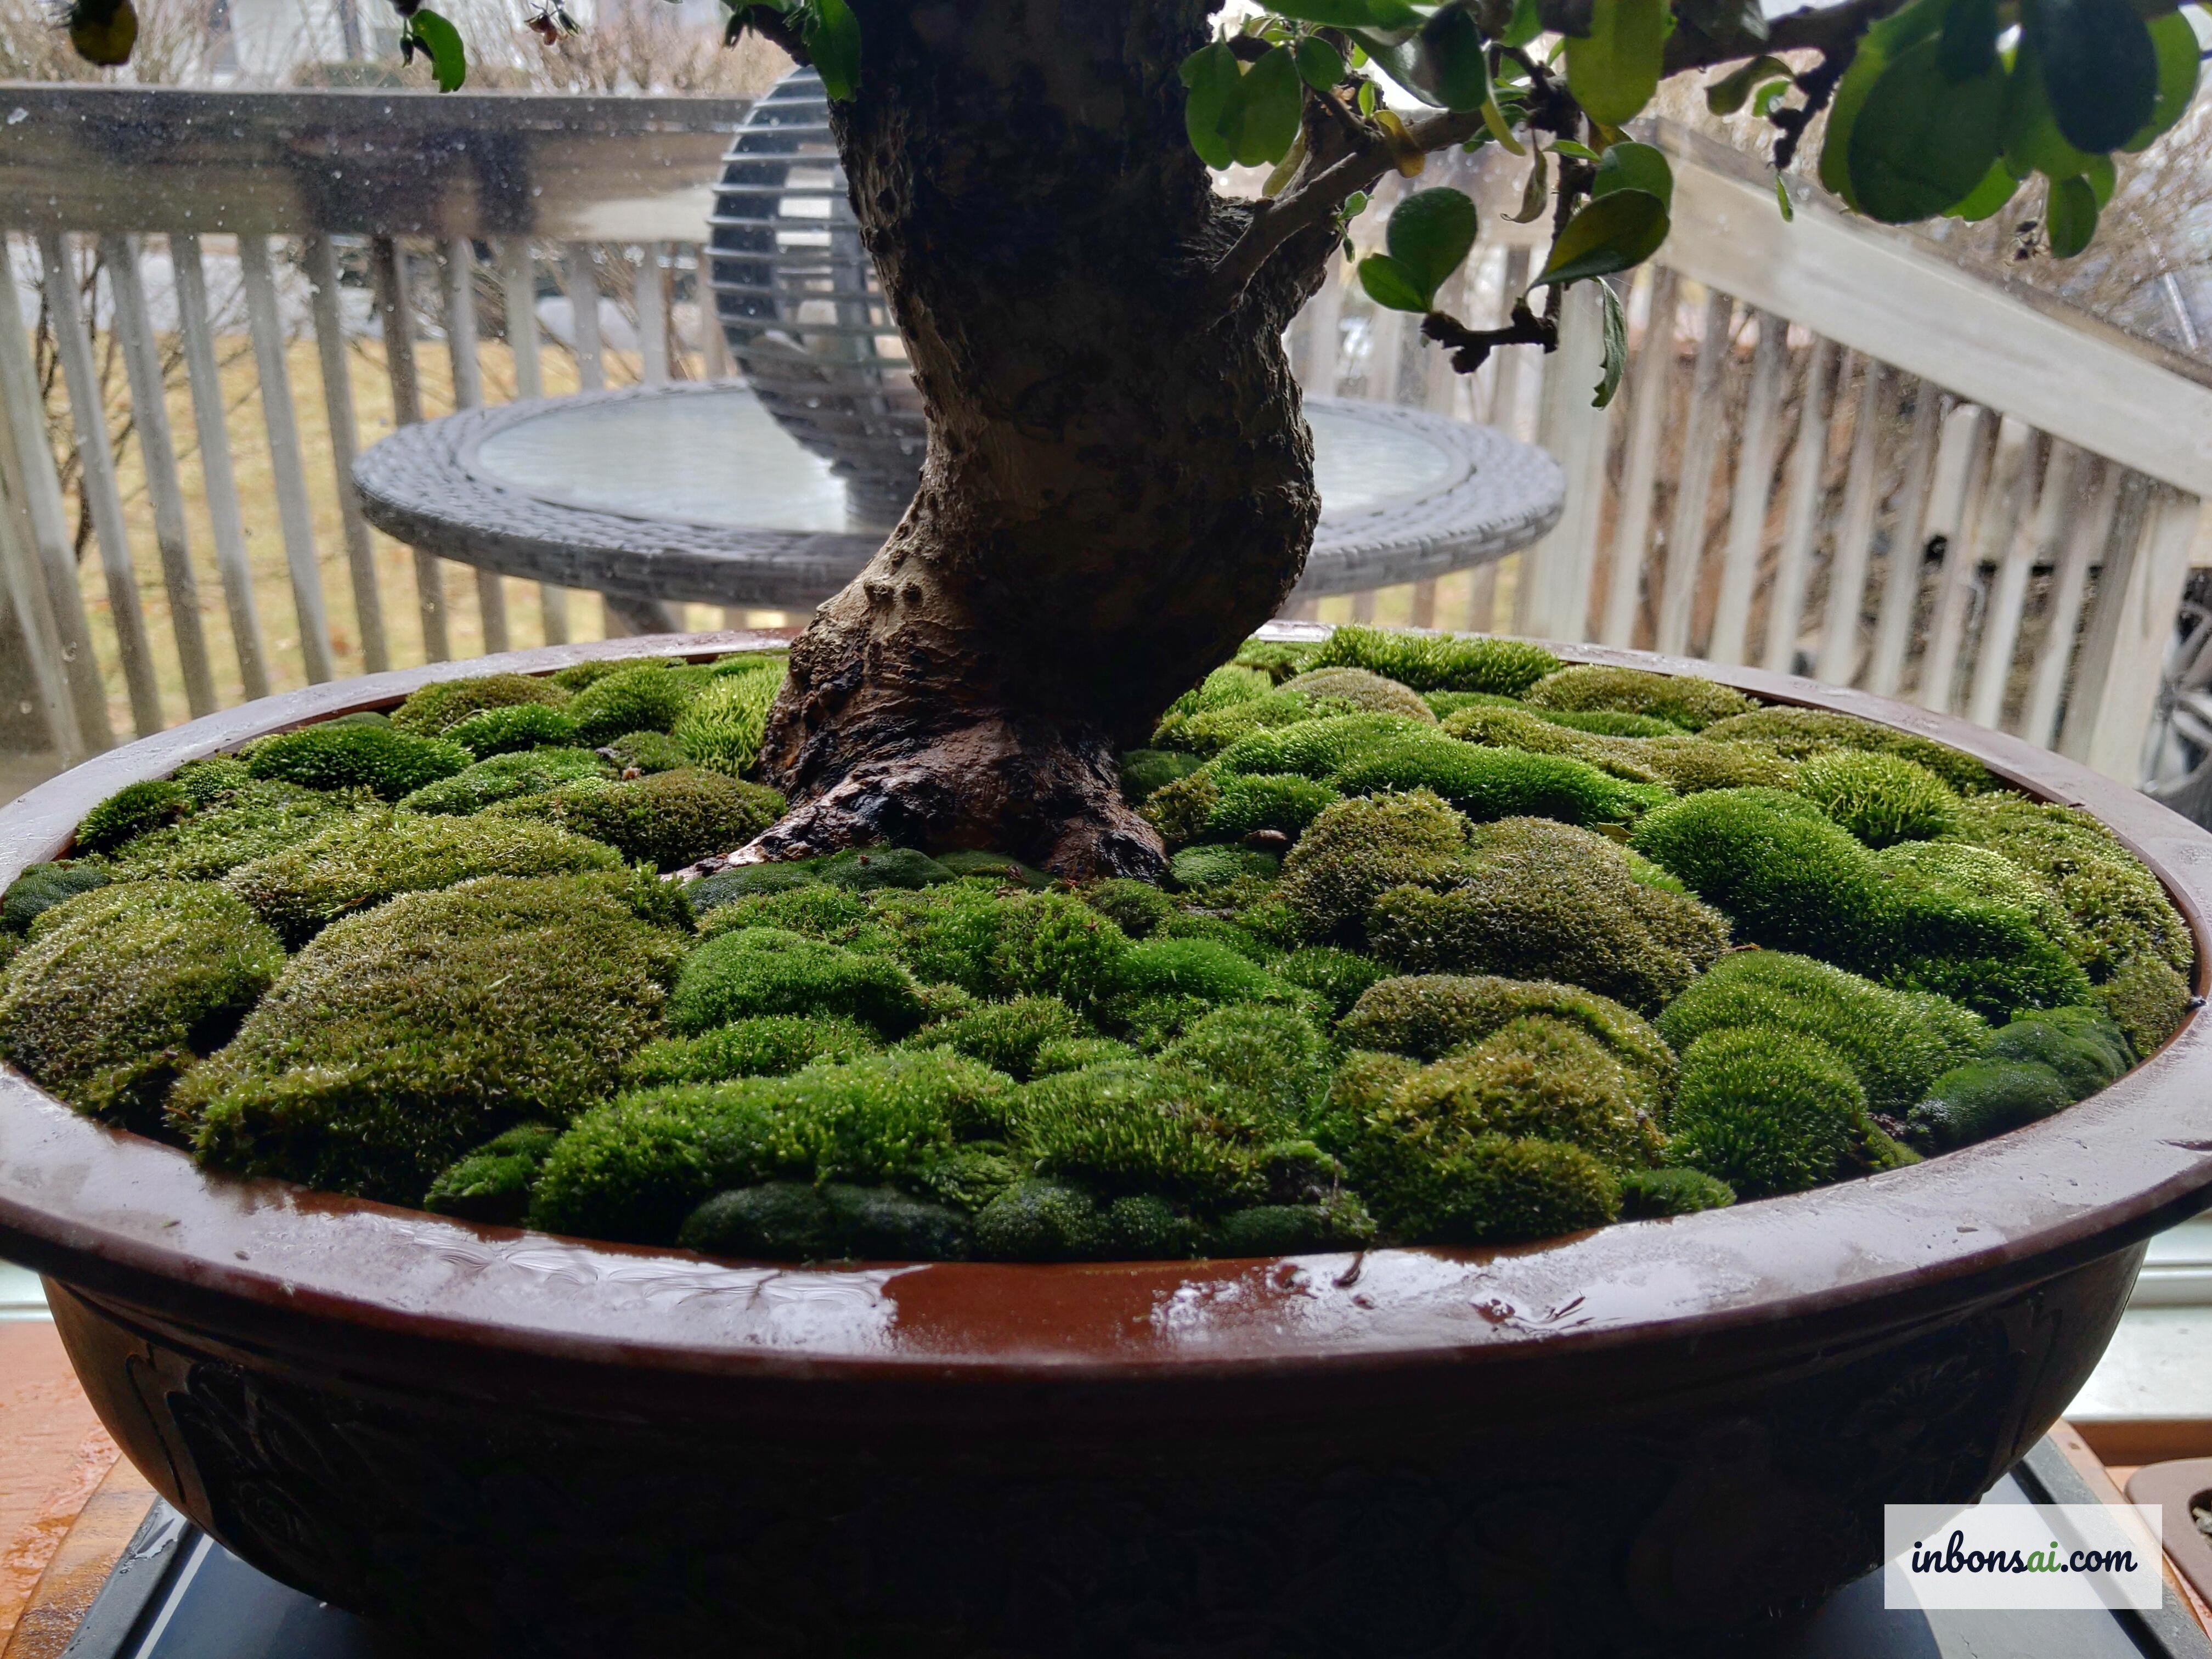
Bonsai moss — called “koke” (苔) in Japanese — is the living layer of moss that grows on the soil surface, pot walls, and base of the tree. In traditional Japanese bonsai art, moss is far more than decoration: it is considered a sign of age, vitality, and harmony with nature. A bonsai with well-established moss signals that the tree has been lovingly tended in an appropriate environment over many years.
Beyond aesthetics, moss provides real practical benefits. It helps retain surface moisture, reducing evaporation during hot weather. A healthy moss layer also prevents soil erosion during watering, and creates a beneficial microbial environment that supports healthy root development.
Moss also functions as an ecological indicator. Vibrant green moss signals that humidity, light, and temperature are at ideal levels. Yellowing or white-mold moss is an early warning that the bonsai is struggling with overwatering or poor air circulation.
Best Moss Types for Bonsai Pots
Not every moss species suits bonsai. Some grow too aggressively and compete with the tree for nutrients; others require constant moisture that is impractical in a pot setting. Here are the most popular choices:
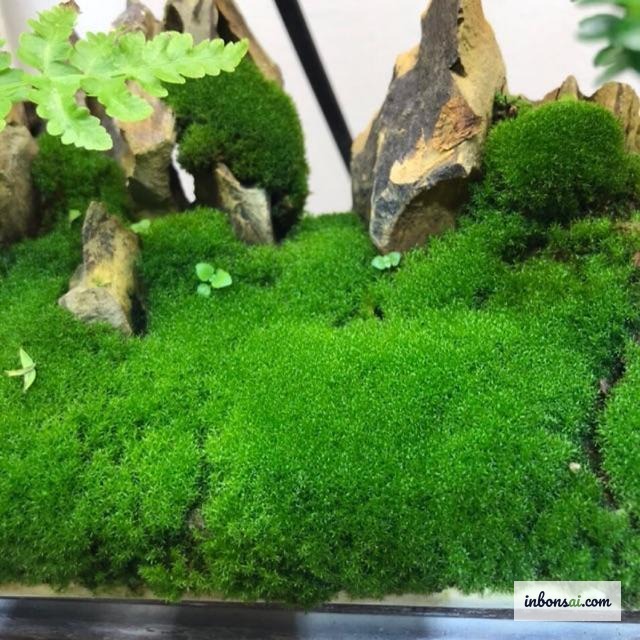
Cushion moss (Leucobryum glaucum): Forms soft, rounded mounds of bright green. This is the top choice for bonsai — easy to establish, tolerant of moderate humidity, and slow-growing enough not to invade the root zone. Particularly well-suited for indoor bonsai or trees kept in partial shade.
Sheet moss (Hypnum or Thuidium): Flat, thin layers that hug the soil or rock surface closely. Common in traditional Japanese bonsai because it creates a smooth, even surface. Prefers light shade and moist but well-draining soil.
Reindeer moss / lichen (Cladonia): Unusual, branching texture that resembles miniature trees. Found naturally on forest floors or decaying logs. Rare but striking when used in naturalistic bonsai compositions.
Wall screw-moss (Tortula muralis): Fine, thin moss that naturally colonizes old brick walls and garden stones. More drought-tolerant than other types, making it a good option for bonsai placed in morning sun or breezy spots.
How to Collect Natural Moss Correctly
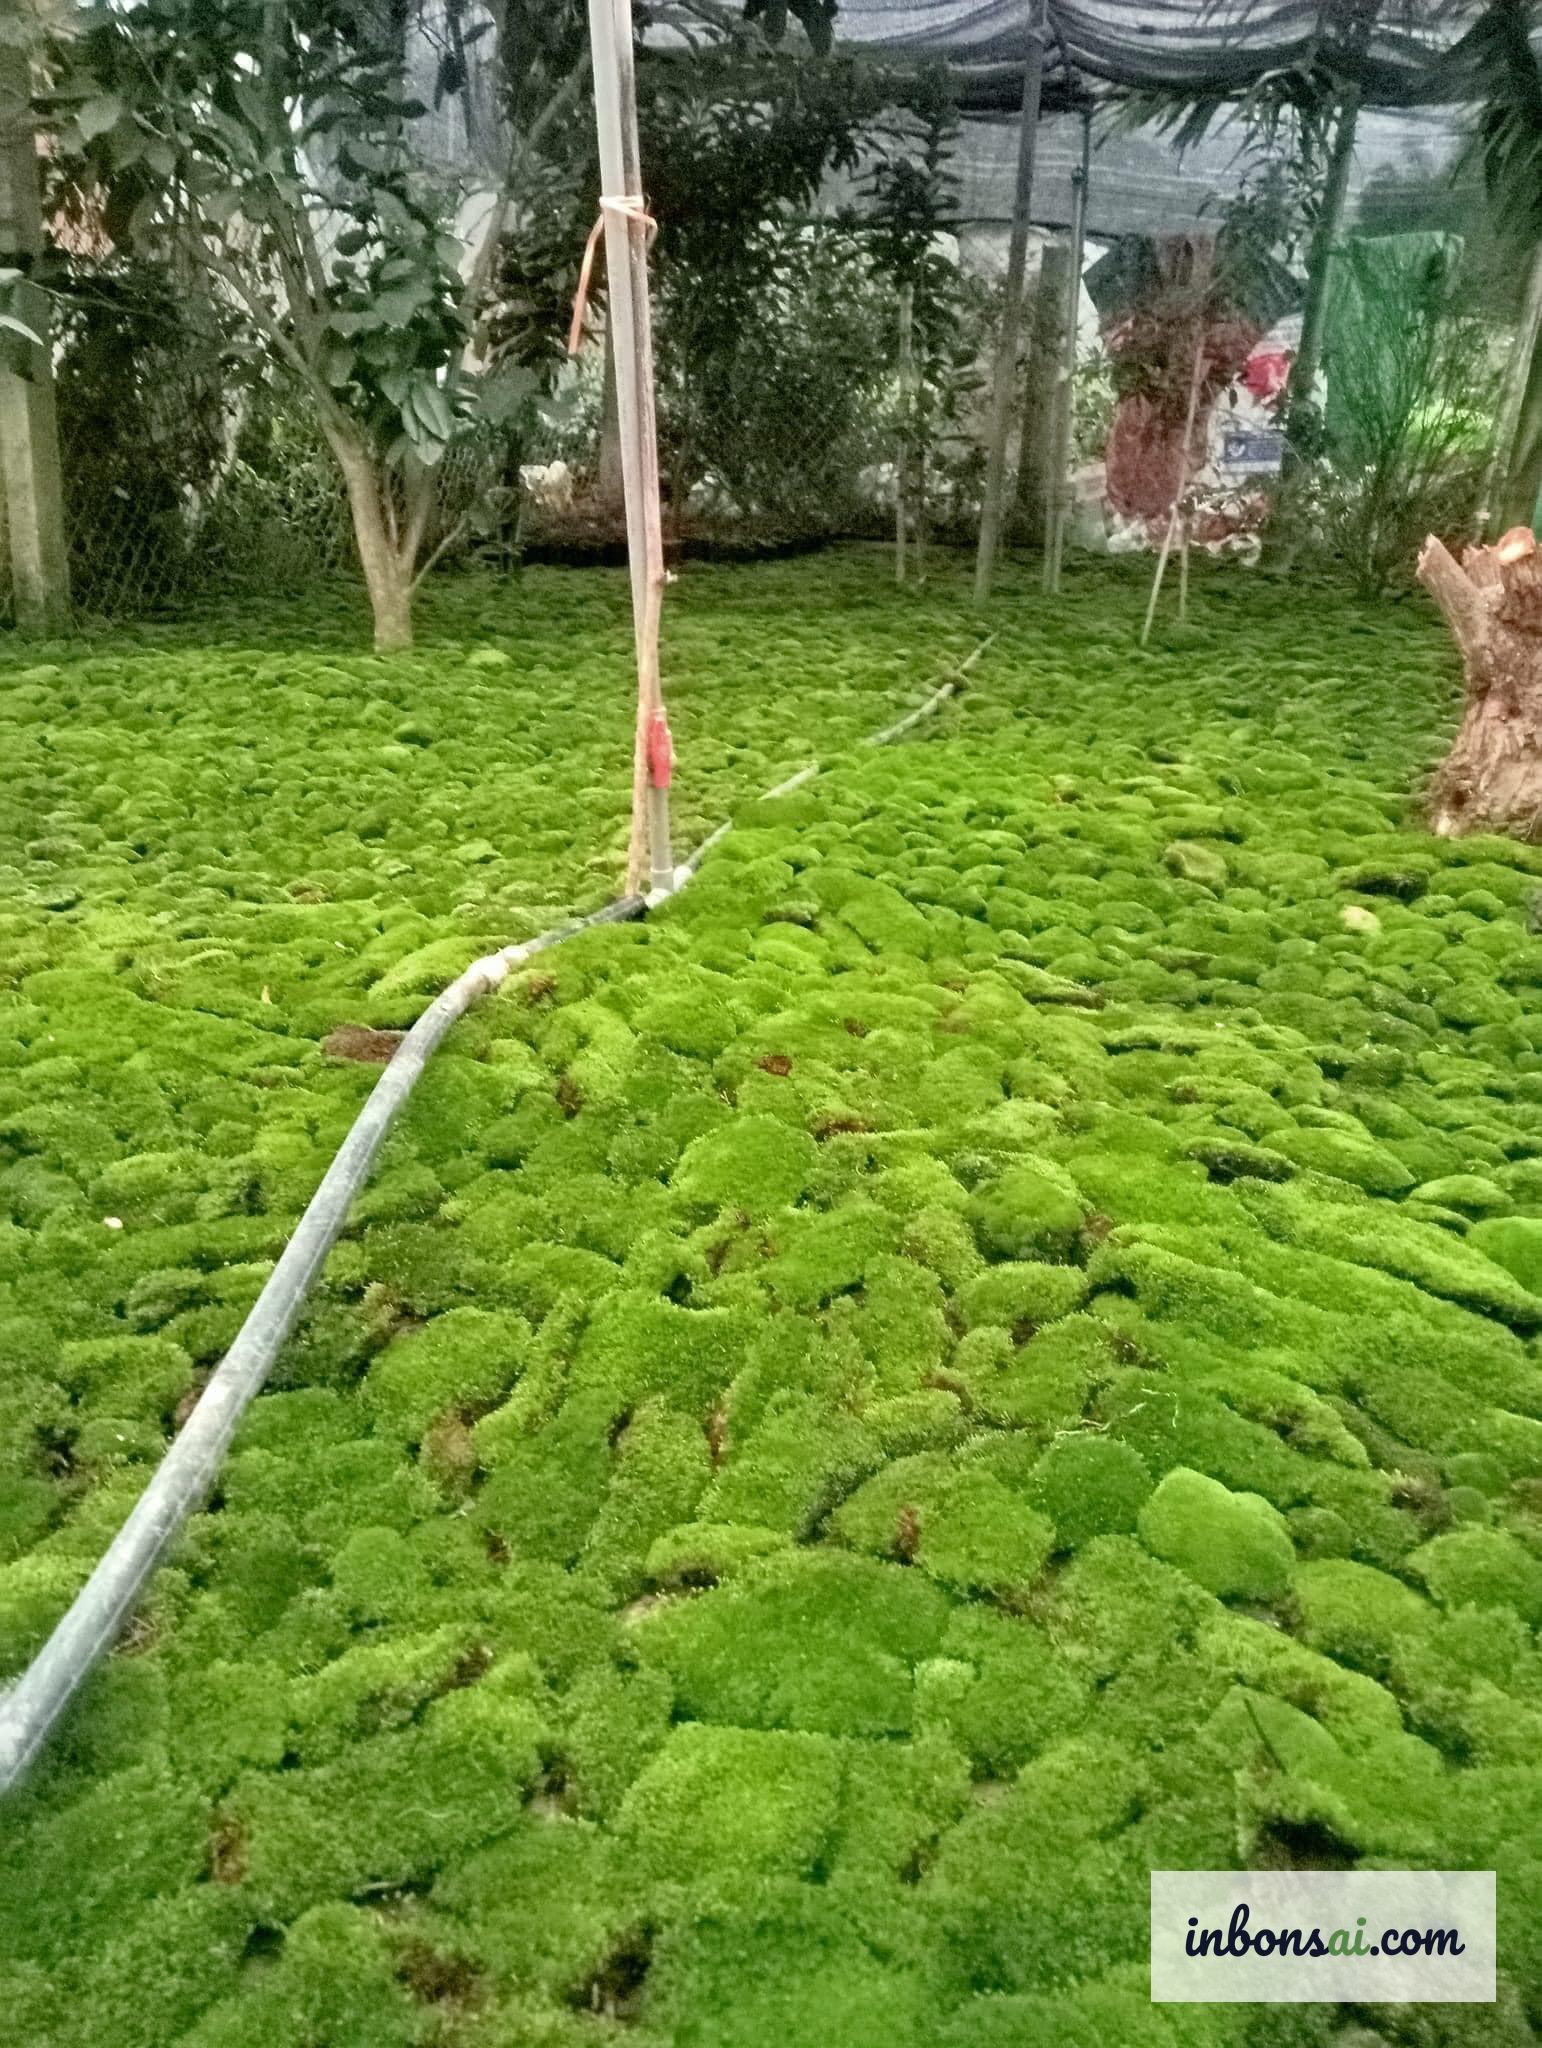
Collecting moss from nature is the most cost-effective and reliable method. Wild moss has already been selected by its environment and typically adapts better than store-bought alternatives.
Start by finding moss in locations that match the conditions of your bonsai. If your bonsai lives in shade, collect from shaded areas; if it gets morning light, look for moss at the edge of shadows or on east-facing walls. Garden edges, woodland borders, and the base of old trees are ideal collection spots.
To collect, use a small knife or garden spoon to gently lift each patch of moss along with the thin layer of soil beneath it (about 2–3 mm). Do not try to collect moss without any soil attached — this thin layer contains moss rhizoids and spores, which are essential for the moss to anchor into its new environment. Place collected patches in a flat tray or box, avoiding compression.
Collect only what you need — moss dries out quickly once removed from its natural habitat. Ideally, collect and plant on the same day, or store moss in a ventilated container in a cool, shaded spot for no more than 3–5 days.
How to Grow Moss on a Bonsai Pot
This is the most critical step. There are two main methods for establishing natural moss on a bonsai pot, each with its own strengths.
Method 1: Patch Planting (Sheet Method)
This approach delivers immediate visual results and is ideal when you want to display your bonsai soon. Prepare the soil surface: water thoroughly, then gently loosen and level the top 5 mm of soil. The surface should be moist but not waterlogged.
Lay each moss patch onto the soil, pressing lightly to ensure full contact between the moss and soil underneath. Leave no gaps — any floating edge will dry out and die. If patches are uneven, weigh them down with small pebbles for the first 1–2 weeks until the moss anchors itself.
Method 2: Moss Slurry (Propagation Method)
This takes longer (4–8 weeks) but produces a more naturally even and integrated result. Particularly popular in Japanese bonsai practice.
Blend a few handfuls of fresh moss with plain yogurt (or flat beer) in a 1:1 ratio. Brush the slurry onto the soil surface, inner pot walls, or even rough bark at the tree’s base. Keep the painted surfaces consistently moist for 4–6 weeks; moss spores will germinate and slowly cover the area with green growth.
For the best results, consider combining moss planting with repotting — the freshly loosened soil is perfect for moss to establish roots. See our guide on how to repot bonsai correctly for timing and technique.
Caring for Bonsai Moss Long-Term

Once established, keeping your bonsai moss healthy depends on several key factors.
Moisture: Moss needs regular misting, especially on hot days. Use a fine spray bottle rather than a direct stream — strong water pressure can dislodge patches before they anchor. During dry seasons, mist once or twice daily in the early morning and late afternoon. Avoid misting during intense midday sun, as water droplets on moss can act as lenses and cause scorch marks.
Light: Most moss species prefer light shade to partial sun — about 2–4 hours of gentle light per day is ideal. Direct afternoon sun will yellow and kill moss within days. If your bonsai requires strong sunlight, consider shading only the soil surface with a 30–50% shade cloth.
Temperature and air circulation: Moss thrives at 18–28°C and slows significantly above 32°C. Ensure good air flow around the pot to prevent stagnant humidity, which promotes white mold growth on the moss surface.
Fertilizing: Never apply fertilizer directly onto moss. High mineral salt concentration will burn and kill moss rapidly. When feeding your bonsai, apply diluted liquid fertilizer that soaks through the moss into the soil, or tuck slow-release granules under the moss edge.
During the first 3–4 weeks after planting, avoid disturbing the soil surface or applying strong water jets — the moss needs this time to anchor its rhizoids. After this establishment period, moss becomes noticeably more resilient.
Common Mistakes When Growing Bonsai Moss
Even experienced bonsai enthusiasts make these errors. Recognizing them early allows you to correct course before the moss dies completely.
Mistake 1 — Using the wrong moss type: Collecting moisture-loving moss from pond banks or drainage channels and placing it in a well-ventilated bonsai pot is the most common error. Aquatic-environment moss will wilt and die within days without constant moisture. Always match the moss species to your bonsai’s actual environment.
Mistake 2 — Poor contact with soil: If patches are not pressed firmly against the soil, the unanchored sections dry out fast and die. Always press moss flat and check that no air pockets exist between the patch and the soil beneath.
Mistake 3 — Over- or underwatering: This is the leading cause of moss failure. Moss kept perpetually wet in low-airflow conditions develops white mold. Moss that dries out too often will contract, pull away from the soil, and turn yellow. The solution is consistent morning misting and monitoring.
Mistake 4 — Direct afternoon sun exposure: Intense sun between 10 AM–3 PM scorches moss in days, leaving brown patches that rarely recover. If the bonsai needs full sun, shield only the soil and moss area with mesh or a shade panel during peak hours.
Mistake 5 — Fertilizer contact: Moss is extremely sensitive to mineral salts. Concentrated fertilizer applied directly to the moss surface will kill it within hours. Always dilute fertilizers and avoid letting granules sit on the moss.
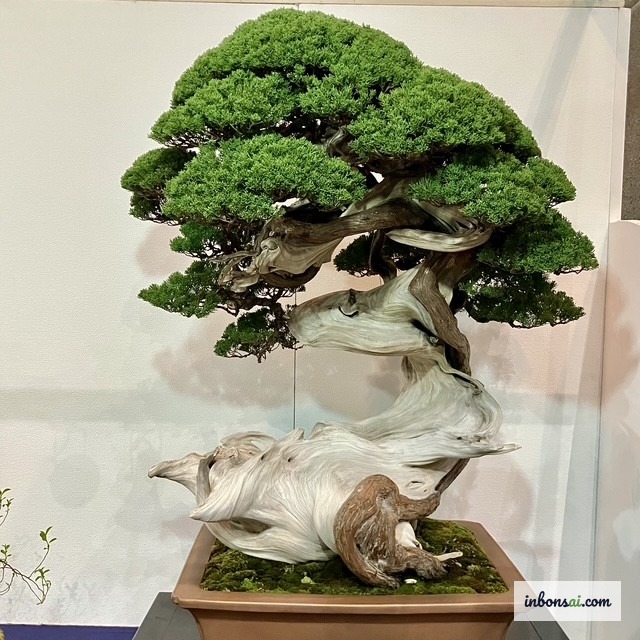
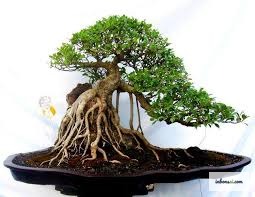
To complete the naturalistic look of your bonsai, consider pairing moss with the root-over-rock technique — combining moss with rock-anchored roots creates a particularly striking miniature landscape. If you are new to bonsai, start with the bonsai beginner’s guide to build a solid foundation before tackling advanced techniques.
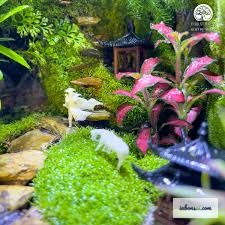
Combining Moss with Decorative Gravel and Kokedama
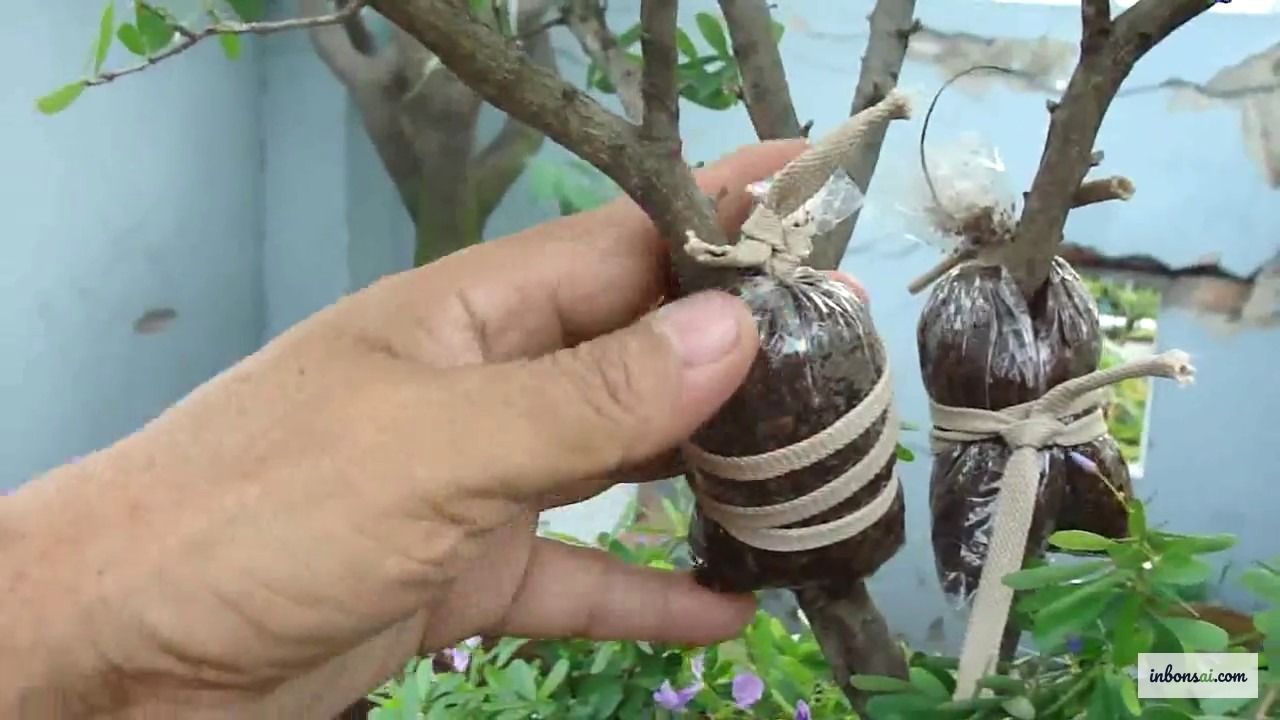
Beyond pure moss cultivation, many bonsai enthusiasts combine moss with white gravel, small stones, or create kokedama (Japanese moss balls) to enhance the overall composition. Kokedama is a ball of akadama and clay soil wrapped around the root system and then enclosed in living moss — a bonsai presented without a pot, purely in nature’s own packaging.
To make a simple kokedama at home, blend akadama soil with potter’s clay in a 1:1 ratio, knead until smooth, and wrap the mixture around the tree’s root ball. Cover the outside with fresh moss patches and secure with cotton string or thin copper wire. Hang or rest on a flat surface, misting consistently — after 4–6 weeks the moss will grow into a seamless green sphere.
Whether you choose traditional patch planting, the slurry propagation method, or venture into kokedama, the most important ingredients are patience and observation. Bonsai moss cannot be rushed — but once it is thriving, it transforms an ordinary pot into a self-contained living landscape that carries an entire world of nature within its small, perfect form.
Related Posts
How to Grow Natural Moss on Your Bonsai Pot
Jin Shari Bonsai Technique: Complete Step-by-Step Guide

Bonsai Grafting Techniques for Beginners
Air Layering Bonsai: Achieve a High Success Rate
Nebari Bonsai Technique: How to Develop Beautiful Surface Roots
Cascade Bonsai Style: A Beginner's Complete Guide
Bonsai Root Over Rock: Complete Ishitsuki Guide