Lingnan Bonsai Grow-and-Cut Technique: A Complete Guide

InBonsai Team
April 15, 2026 · 9 min read
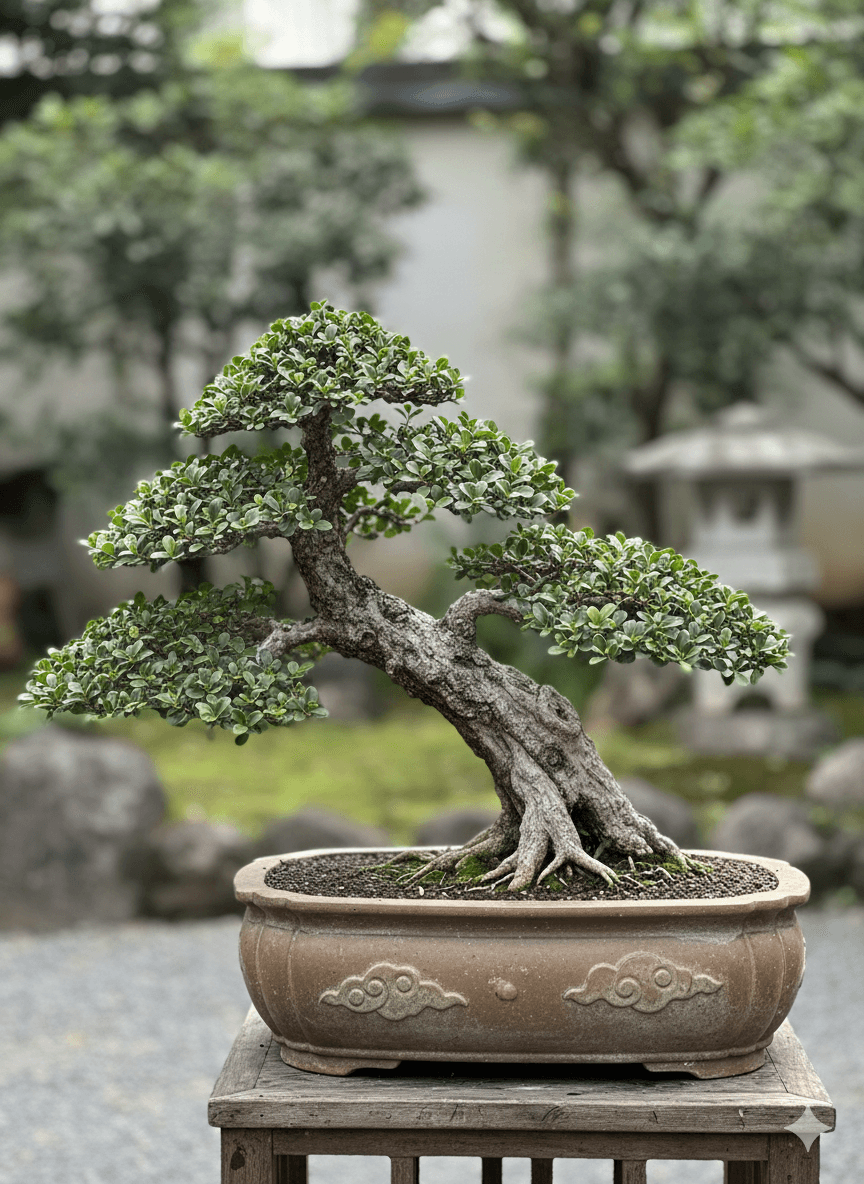
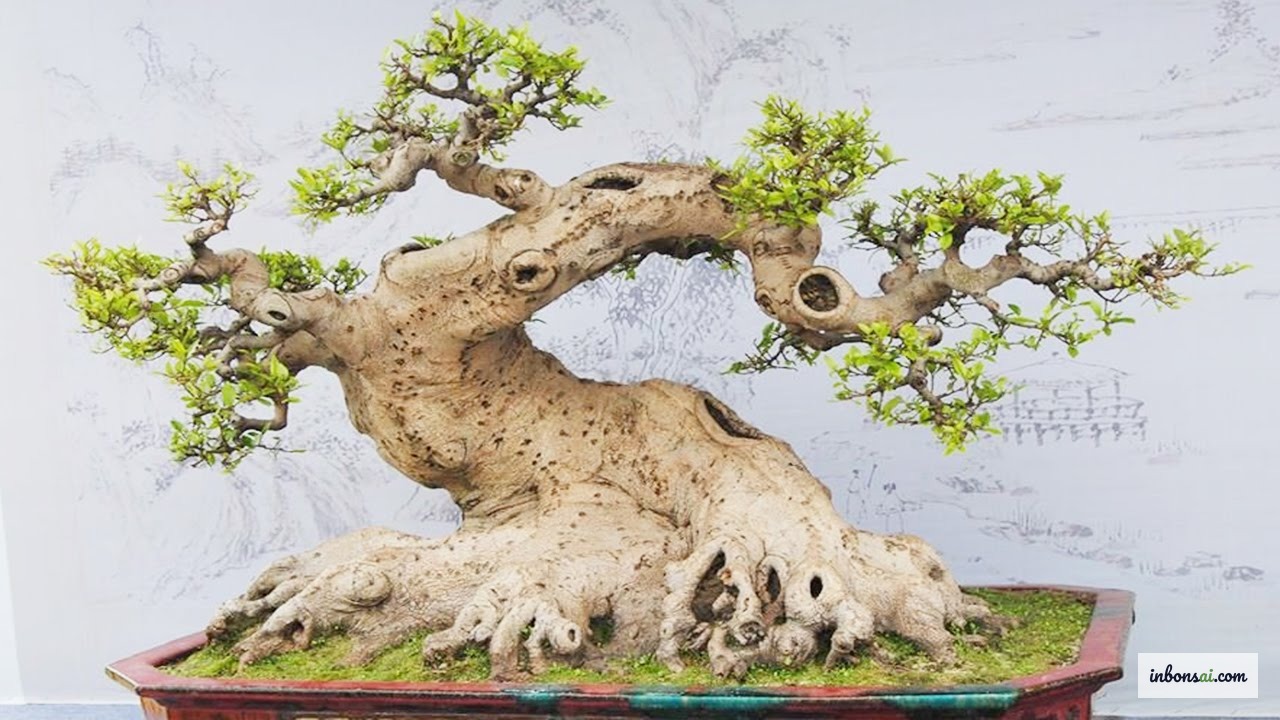
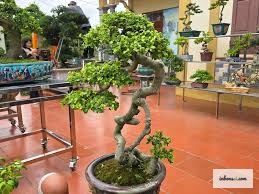
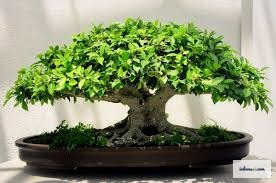
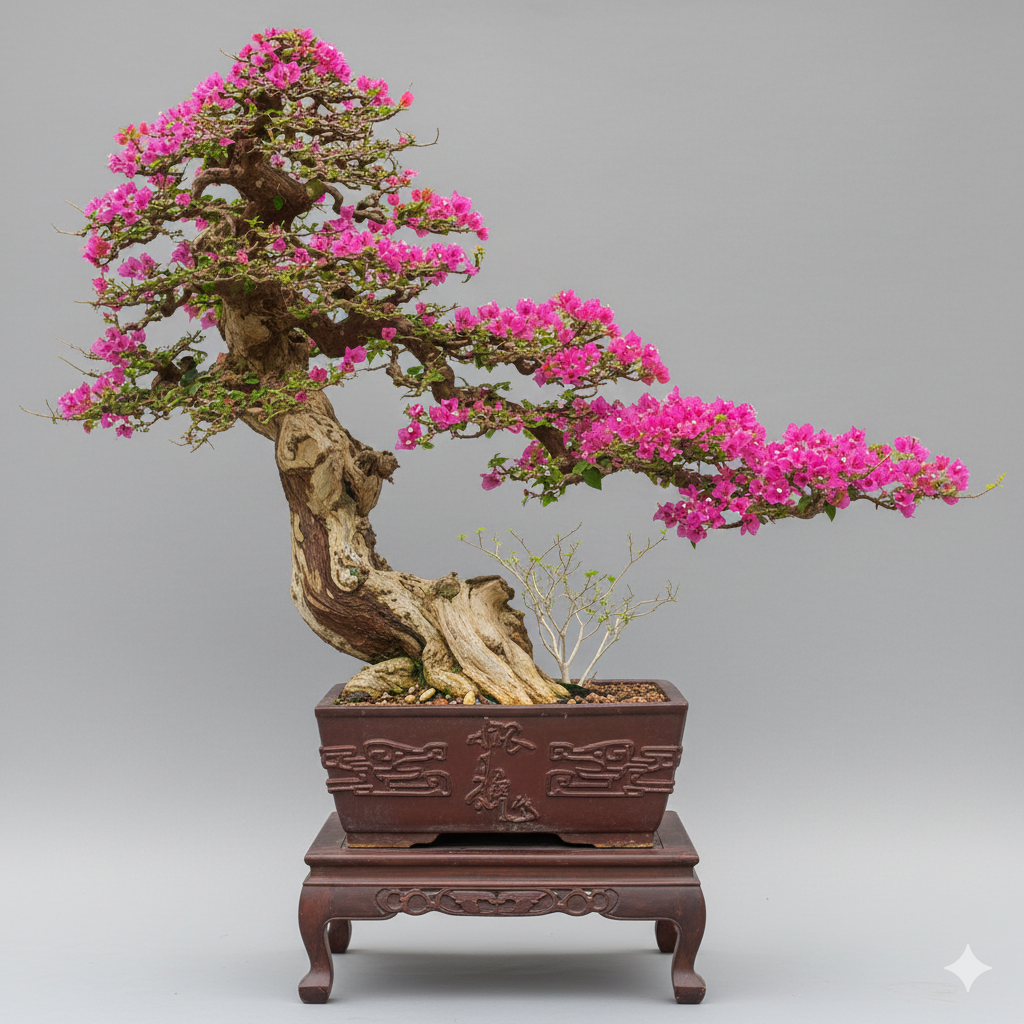
In the world of bonsai, the Lingnan bonsai grow-and-cut technique is considered the soul of this school — a unique branch-shaping method that sets it apart from all other styles. If you have ever admired a Lingnan bonsai with its exquisitely ramified branches, a thick base tapering elegantly to delicate twigs — that is the result of years of disciplined grow-and-cut practice. This guide walks you through everything from the underlying principles to hands-on application so you can use this technique in your own bonsai garden.
What Is the Grow-and-Cut Technique? The Lingnan School’s Secret to Fine Ramification
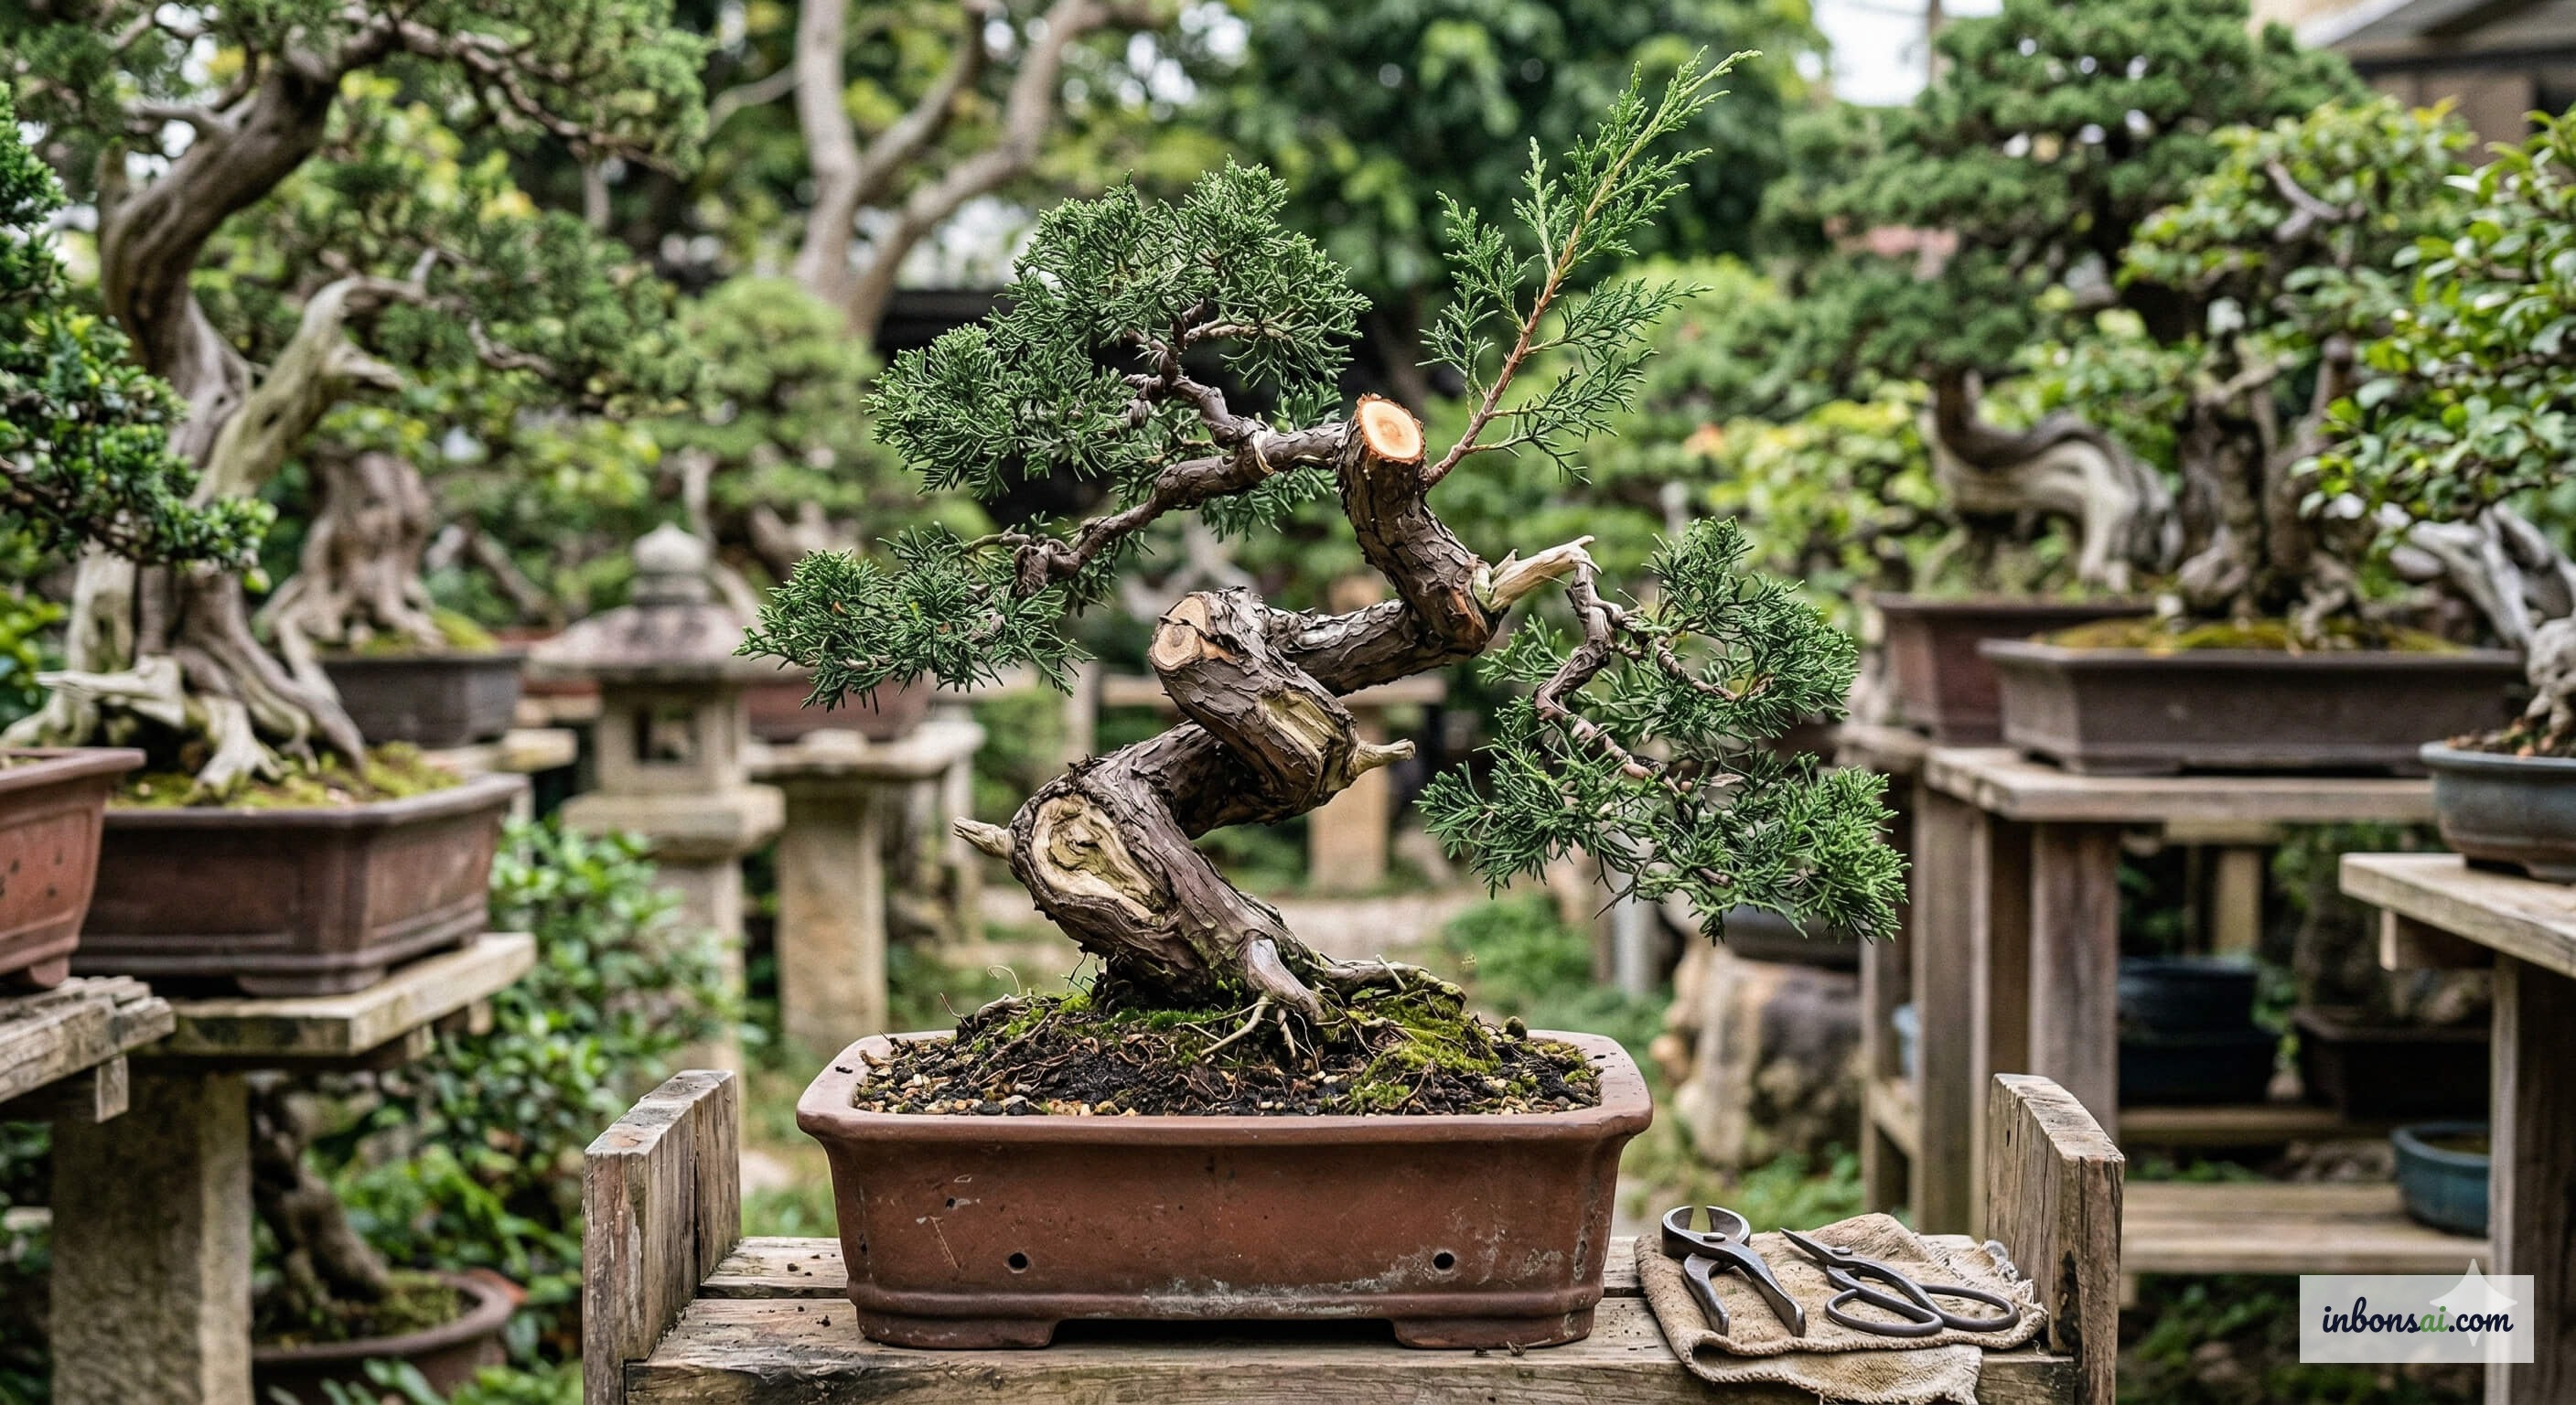
The grow-and-cut method — also called “cultivate-and-prune” or “蓄枝截干” (xù zhī jié gàn) in Chinese — is the most characteristic branch-shaping technique of the Lingnan school (岭南盆景). Rather than wiring branches as Japanese and Western schools do, Lingnan practitioners let branches grow freely to a desired length, then cut them back to a few buds. New shoots emerge from the cut point; the artist grows them out again and cuts once more — repeating this cycle multiple times.
Each cut-and-grow cycle leaves a natural joint on the branch. Over time, these joints form organic curves and bends. The branch thickens gradually from base to tip with beautiful natural taper, and the bud density increases with each cycle, producing the fine, intricate ramification that no other technique can match for naturalism.
What makes grow-and-cut different from ordinary pruning is its intentionality and planning: each cut is not about removing excess, but about directing the branch’s development toward the artist’s vision. This is a patient art — a single well-developed Lingnan-style branch can take three to seven years to perfect.
Read What Is Lingnan Bonsai? for a deeper understanding of the philosophy and aesthetics behind this style before practicing the technique.
The Biological Principles Behind the Grow-and-Cut Technique
To use grow-and-cut effectively, you need to understand how a tree responds to pruning. When you remove the tip of a branch, the tree loses its primary growth point (apical dominance). The hormone auxin no longer suppresses dormant buds below the cut, and those buds begin to swell and grow vigorously. This is why after each grow-and-cut cycle, branches typically push two to four new shoots simultaneously — producing natural Y-shaped branching.
Furthermore, the cut site stimulates the tree to concentrate nutrients in that zone to heal the wound, causing the lower part of the branch to thicken significantly. Through many cycles, the base of each branch becomes progressively stronger while the tips remain slender — creating the natural taper that bonsai artists prize.
Crucially, grow-and-cut only works well when the tree is actively growing. If you cut during a dormant period or when the tree is weak, dormant buds may fail to break, and the branch may die back from the cut point. Timing cuts to match the growing season is therefore essential to success.
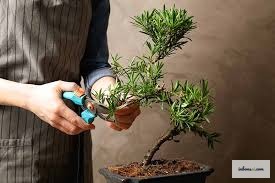
Essential Tools for the Grow-and-Cut Technique
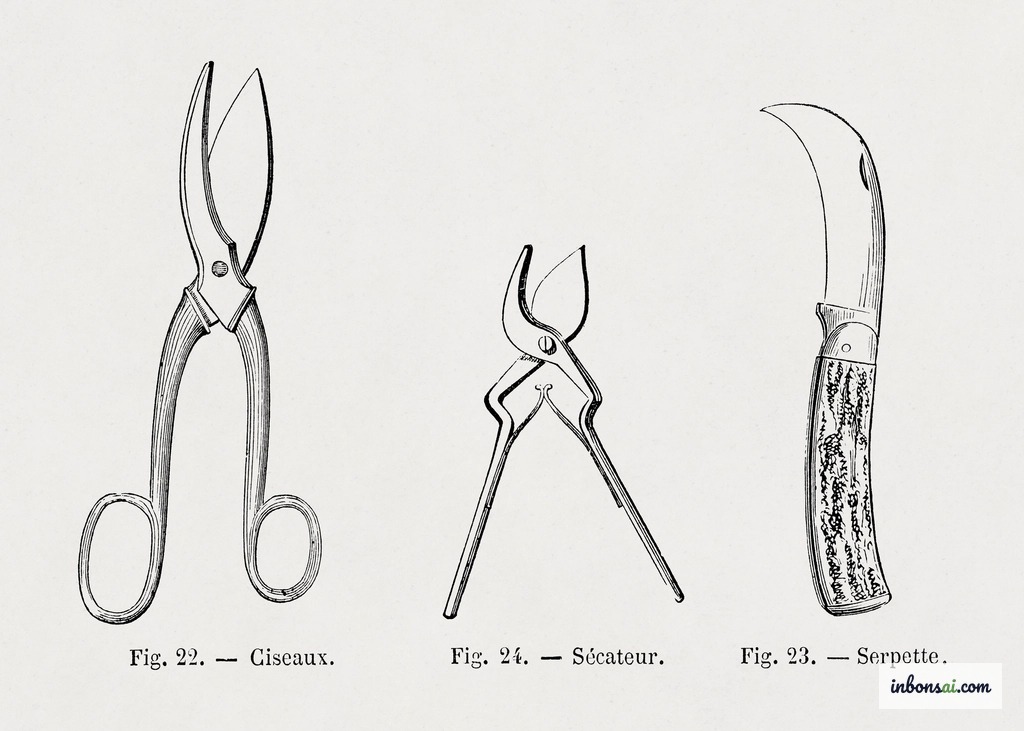
Proper grow-and-cut work requires the right tools to make clean cuts that do not crush the tree’s tissue. Core tools include:
Branch scissors: Straight-bladed, sharp scissors for branches up to 5mm. This is the most frequently used tool in grow-and-cut work. Keep blades sharp at all times to ensure clean, fray-free cuts.
Concave branch cutter (knob cutter): Used for branches larger than 5mm in diameter. The concave blade creates a slightly recessed wound that heals flush with the surface over time — a bonsai-specific tool not to be skipped.
Leaf scissors: For trimming leaves and very fine sub-branches during branch development. The long, narrow blades reach into tight spots within the canopy.
Cut paste (wound sealant): Apply to large cuts to prevent pathogens from entering and to speed healing. Not required for cuts under 3mm, but recommended for branches 8–10mm and above.
Also, always wipe tools with 70% alcohol before use to sterilize them. This prevents spreading fungal disease from one tree to another — a small habit that protects your entire bonsai collection. See also the guide to basic bonsai branch pruning for advice on selecting and maintaining tools.
Step-by-Step Guide to Performing the Grow-and-Cut Technique
With tools in hand, here is the complete process for one grow-and-cut cycle:
Step 1 — Grow the branch to target length: Allow the branch to develop freely until it reaches the length you want to add to the overall design. Typically this means growing out 15–30 cm depending on the species and stage of development. During this phase, water and fertilize well to encourage vigorous growth.
Step 2 — Identify the cut point: Choose a location just above a leaf bud or sub-branch you want to keep. The cut should sit about 2–3mm above the bud — far enough not to damage the bud, close enough not to leave a stub that will later die back.
Step 3 — Make a clean cut: Cut in one decisive motion, perpendicular to the branch axis. Avoid angled cuts, which increase wound surface area unnecessarily. For branches over 5mm, use the concave cutter for a better wound profile.
Step 4 — Apply sealant and monitor: For large cuts, apply a thin layer of cut paste immediately. Place the tree in a bright spot away from direct sun for the first one to two weeks.
Step 5 — Select and direct new shoots: After two to four weeks, observe new shoots emerging at the cut point. Keep one or two shoots with the best orientation (perpendicular to the trunk, or growing outward). Remove shoots that grow inward, in the wrong direction, or that duplicate each other’s angle.
Step 6 — Repeat the cycle: Continue growing the selected shoots, wait for the next growing season, and execute another grow-and-cut round. Each cycle adds another layer of sub-branches and multiplies the ramification density.
Seasonal Pruning Schedule — The Best Windows for Cutting
When you cut directly impacts recovery speed and ramification quality. In Vietnam, particularly in the South where there is no cold winter, grow-and-cut work generally follows two main windows:
Late dry season to early rainy season (March–May): The optimal window. Trees have built up reserves through the dry season, vitality is high, and they respond aggressively to pruning stimulation. Incoming rains provide natural moisture, supporting bud break and new growth after the cut.
Post-rainy season to early dry season (October–November): The second annual cut window. Trees have accumulated nutrients through the active rainy growing season and are still warm enough to recover before cooler weather arrives (if any).
Avoid grow-and-cut during:
- June–August (peak rainy season): High rainfall combined with high temperatures creates ideal conditions for fungal infection through fresh wounds.
- Flowering and fruiting periods: Trees are diverting energy into reproduction; wounds heal slowly.
- When trees are diseased or stressed: Wait until the tree is fully healthy before making cuts.
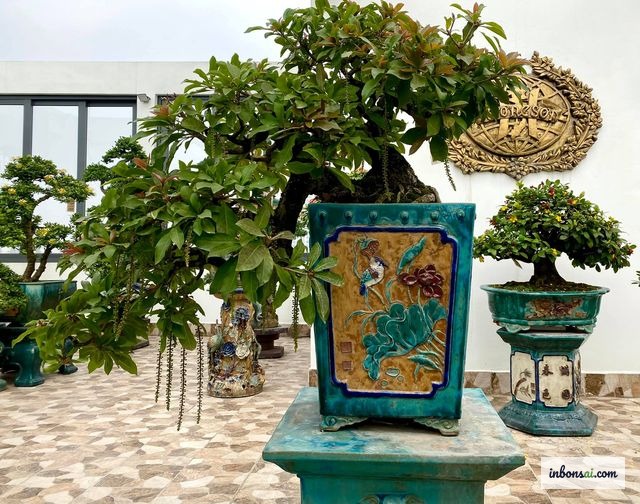
Applying Grow-and-Cut to Popular Bonsai Species
Different species respond to grow-and-cut in different ways. Here are key characteristics of the most common Lingnan bonsai species:
Ficus (Ficus microcarpa — Chinese Banyan): The ideal species for grow-and-cut. It recovers quickly, pushes strong buds after cutting, and can handle two to three cycles per year. Note: Ficus sap is a skin irritant — wear gloves when pruning.
Cluster Fig (Ficus racemosa): Similar to the Chinese Banyan but grows more slowly and takes longer to heal after cuts. Reduce cut frequency and allow the tree sufficient recovery time between rounds.
Weeping Fig (Ficus benjamina): Suitable for grow-and-cut but sensitive to environmental changes. After pruning, avoid moving the tree abruptly.
Indian Oak (Barringtonia acutangula): Requires more care — cut before the flowering season (April–May). Recovery is good but new growth is soft and brittle; avoid mechanical stress during the flush.
Yellow Apricot Blossom (Ochna integerrima): Apply grow-and-cut after flowering is complete (approximately the second or third lunar month). Combine with the trunk shaping technique to simultaneously develop branches and control trunk form.
Common Mistakes in Grow-and-Cut and How to Fix Them
Even experienced practitioners sometimes make the following errors:
Mistake 1 — Cutting too frequently without sufficient recovery time: Eager beginners often want rapid results and cut repeatedly. The result is exhausted trees, weak branches, and eventual dieback. Rule: each branch needs at least one full growing season between grow-and-cut cycles.
Mistake 2 — Cutting too close to the bud: A cut less than 1mm from a bud can damage it, preventing budbreak or producing a weak, stunted shoot. Always leave 2–3mm between the cut and the nearest bud.
Mistake 3 — Failing to eliminate surplus shoots: After cutting, leaving all new shoots to compete spreads nutrients too thin, and none grows strong. Select carefully and keep a maximum of two high-quality shoots.
Mistake 4 — Cutting when the tree is already stressed: A tree freshly repotted, recently fertilized with a strong dose, or battling pests is not a candidate for grow-and-cut. The tree needs to focus all its energy on a single stressor at a time.
Mistake 5 — Neglecting fertilization after cutting: After each cycle, the tree needs extra nutrients to push new growth. Apply a higher-nitrogen (N) fertilizer during this phase to support leaf and stem development.
If you are new to bonsai, the article on branch creation operations in Lingnan bonsai provides the full branch-formation workflow from the Lingnan perspective.
Combining Grow-and-Cut With Other Bonsai Techniques
Grow-and-cut works best not in isolation but as part of a broader Lingnan bonsai system:
Combined with trunk-chop (giữ cành cắt thân): While grow-and-cut focuses on branch ramification, trunk-chop targets trunk form and taper. The two complement each other perfectly: use trunk-chop first to build the distinctive knuckled trunk structure, then apply grow-and-cut to develop the branch canopy on top of that foundation.
Combined with light wiring when needed: Although the Lingnan school prefers grow-and-cut over wiring, minimal wire is sometimes needed to direct a key branch in the early stage. Use it lightly and remove promptly once the branch has settled into position.
Combined with regular organic fertilization: A good nutrition cycle — organic fertilizer before cutting (to build reserves) and nitrogen-rich fertilizer after cutting (to drive bud break) — measurably shortens the time between grow-and-cut cycles.
In summary, success with the Lingnan bonsai grow-and-cut technique comes not just from following the correct procedure, but from patient observation, adjusting to each tree’s individual response, and building a long-term relationship with your material. The fine, naturally ramified canopies that define Lingnan bonsai are worth every year of patient work.
Related Posts
Lingnan Bonsai Grow-and-Cut Technique: A Complete Guide
Linh Nam Bonsai Trunk Chop & Branch Keeping Technique
Linh Nam Bonsai Cascading Style - Step-by-Step Shaping Guide

Methods for Creating Scenery for Lingnan Rockery Bonsai (Penjing)
Methods for Creating Root Styles for Lingnan Bonsai